


I was very pleased with how the Epyon model turned out. It was a very great experience from start to final detailing. For Christmas this year, I decided to get myself a Gundam Gouf. It made an appearance in the original Gundam series, and then another appearance in “The 08th MS Team”. Heres a link to see it in action.
The design of this Gouf is much more utilitarian and brutal than the Epyon. From a modeling perspective, this Gouf has a lot of potential in material depiction and wear. I loved depicting worn paint and gunmetal.
After making this model, I now want to make a Zaku with a camoflauge paint scheme. It’ll have to wait for later.


Weathering the Epyon model

After assembling the Epyon model, it didn’t look complete. Typically Gundam models are finished by inking in parting lines and adding decals. After I proceeded with that step, it still didn’t look complete.
I stumbled upon some youtube tutorials on weathering Gundam models. I tried some of those techniques on smaller parts and was very satisfied. I moved onto bigger parts, and then spent a few hours drybrushing to get the effect that I wanted. I wanted to indicate maroon and dark grey paint being worn out from use.
I was very satisfied with the results. This motivated me to work on another model.


Gundam Epyon HG model
With things slowing down, I have a little more time on my hands. I decided to catch up on things that I’ve been putting off. One of those things is a Gundam HG Epyon model. I bought this around 7-8 years ago at an anime convention in San Diego. Its traveled with me and been taking up space. A couple months ago, I decided to finally work on it.
It brought back many memories watching anime in my early 20s. I used to collect the 1/144 models from Gundam Wing. I rewatched some of those episodes now, and they were ridiculous! The series was very dry, but there were some great giant robots in that series.


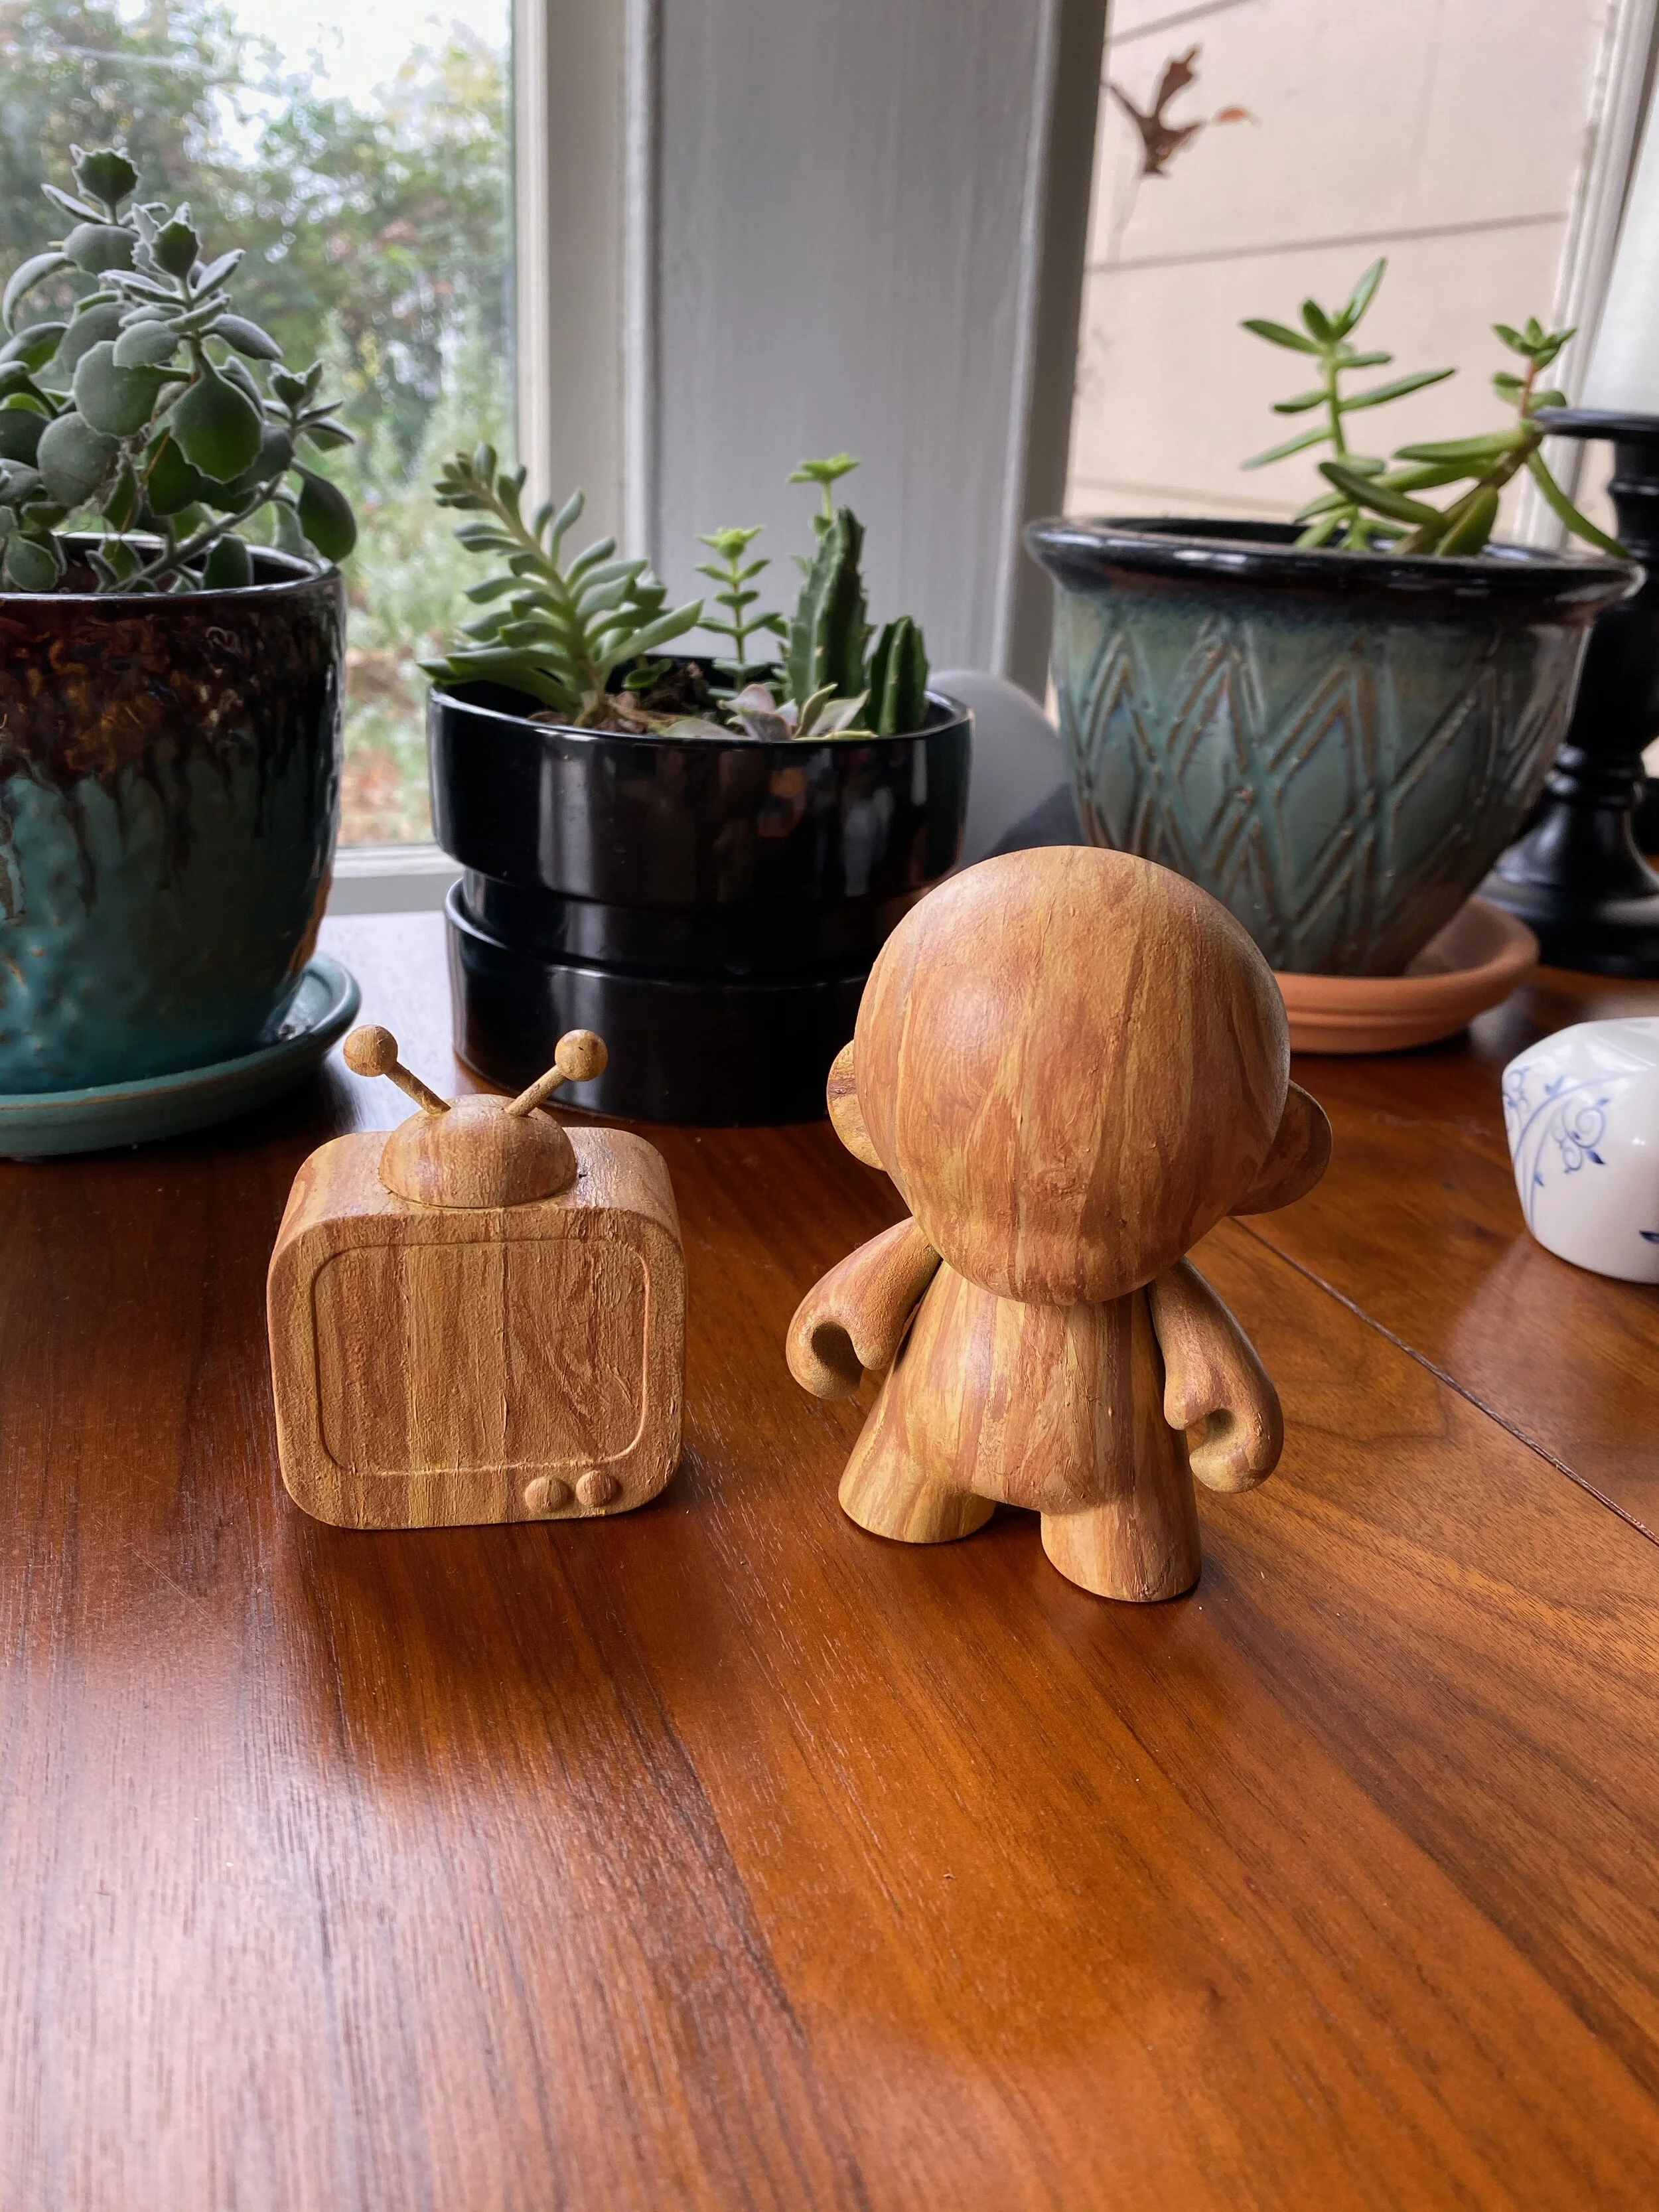
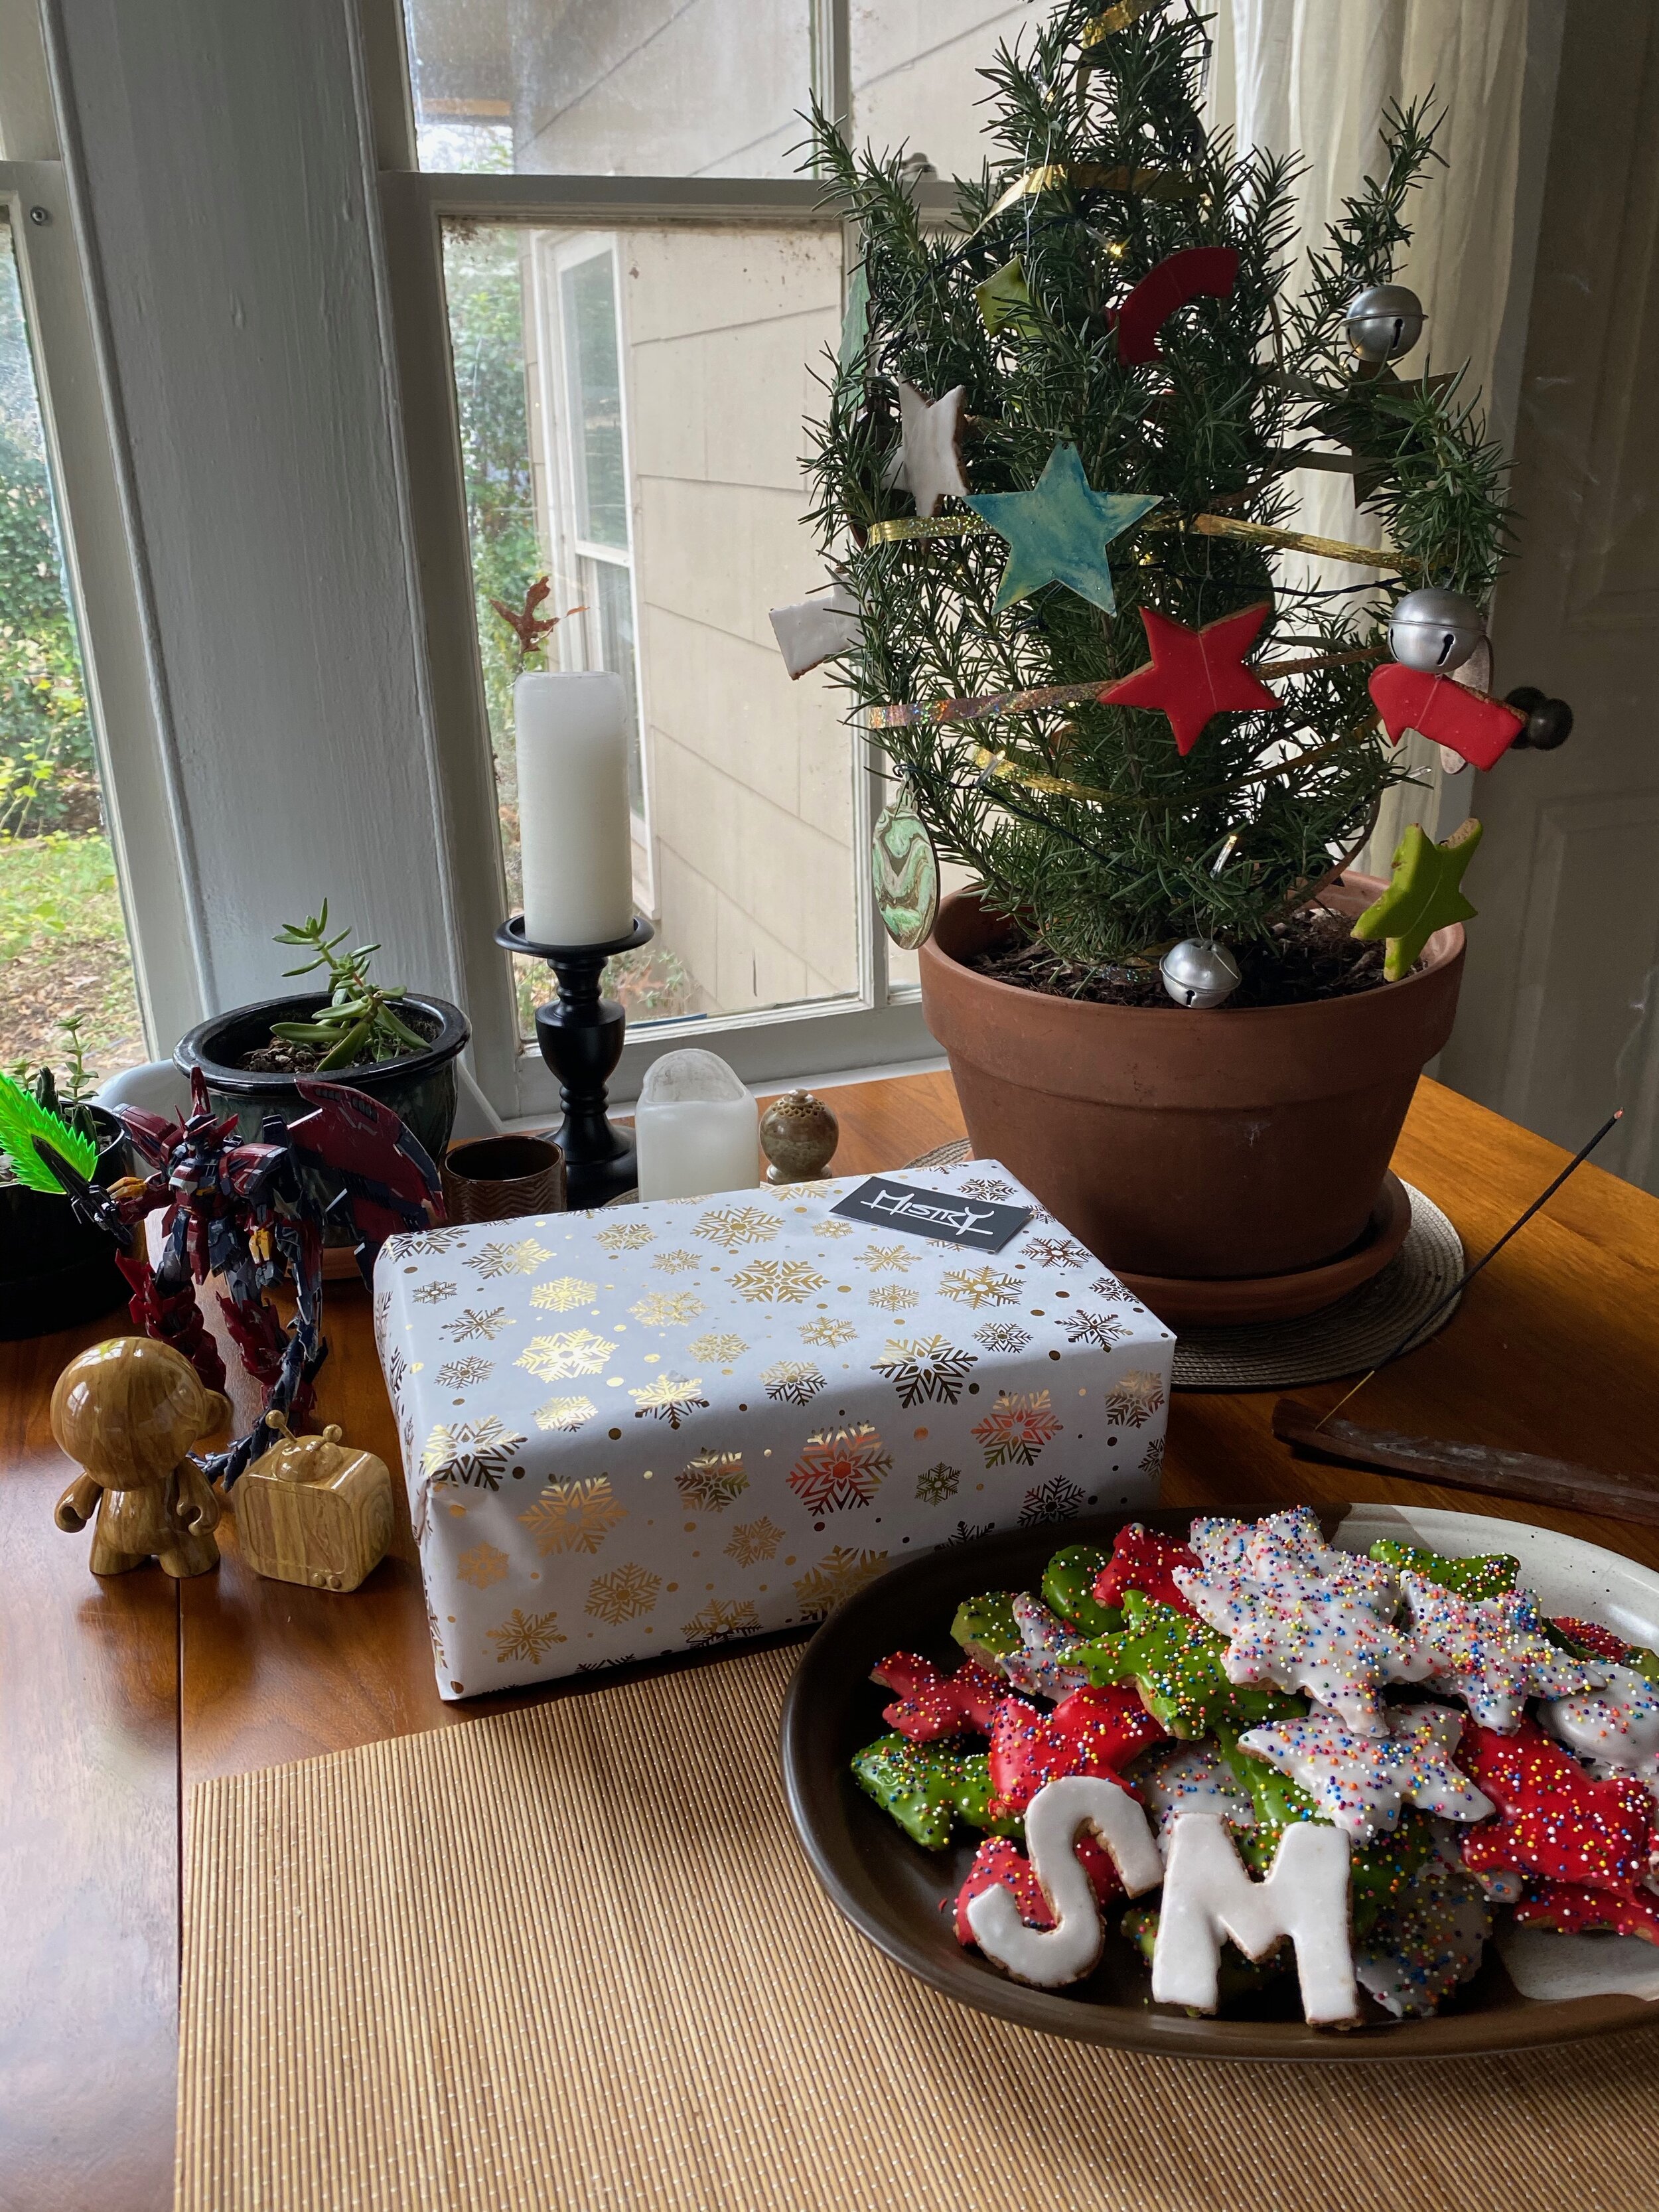
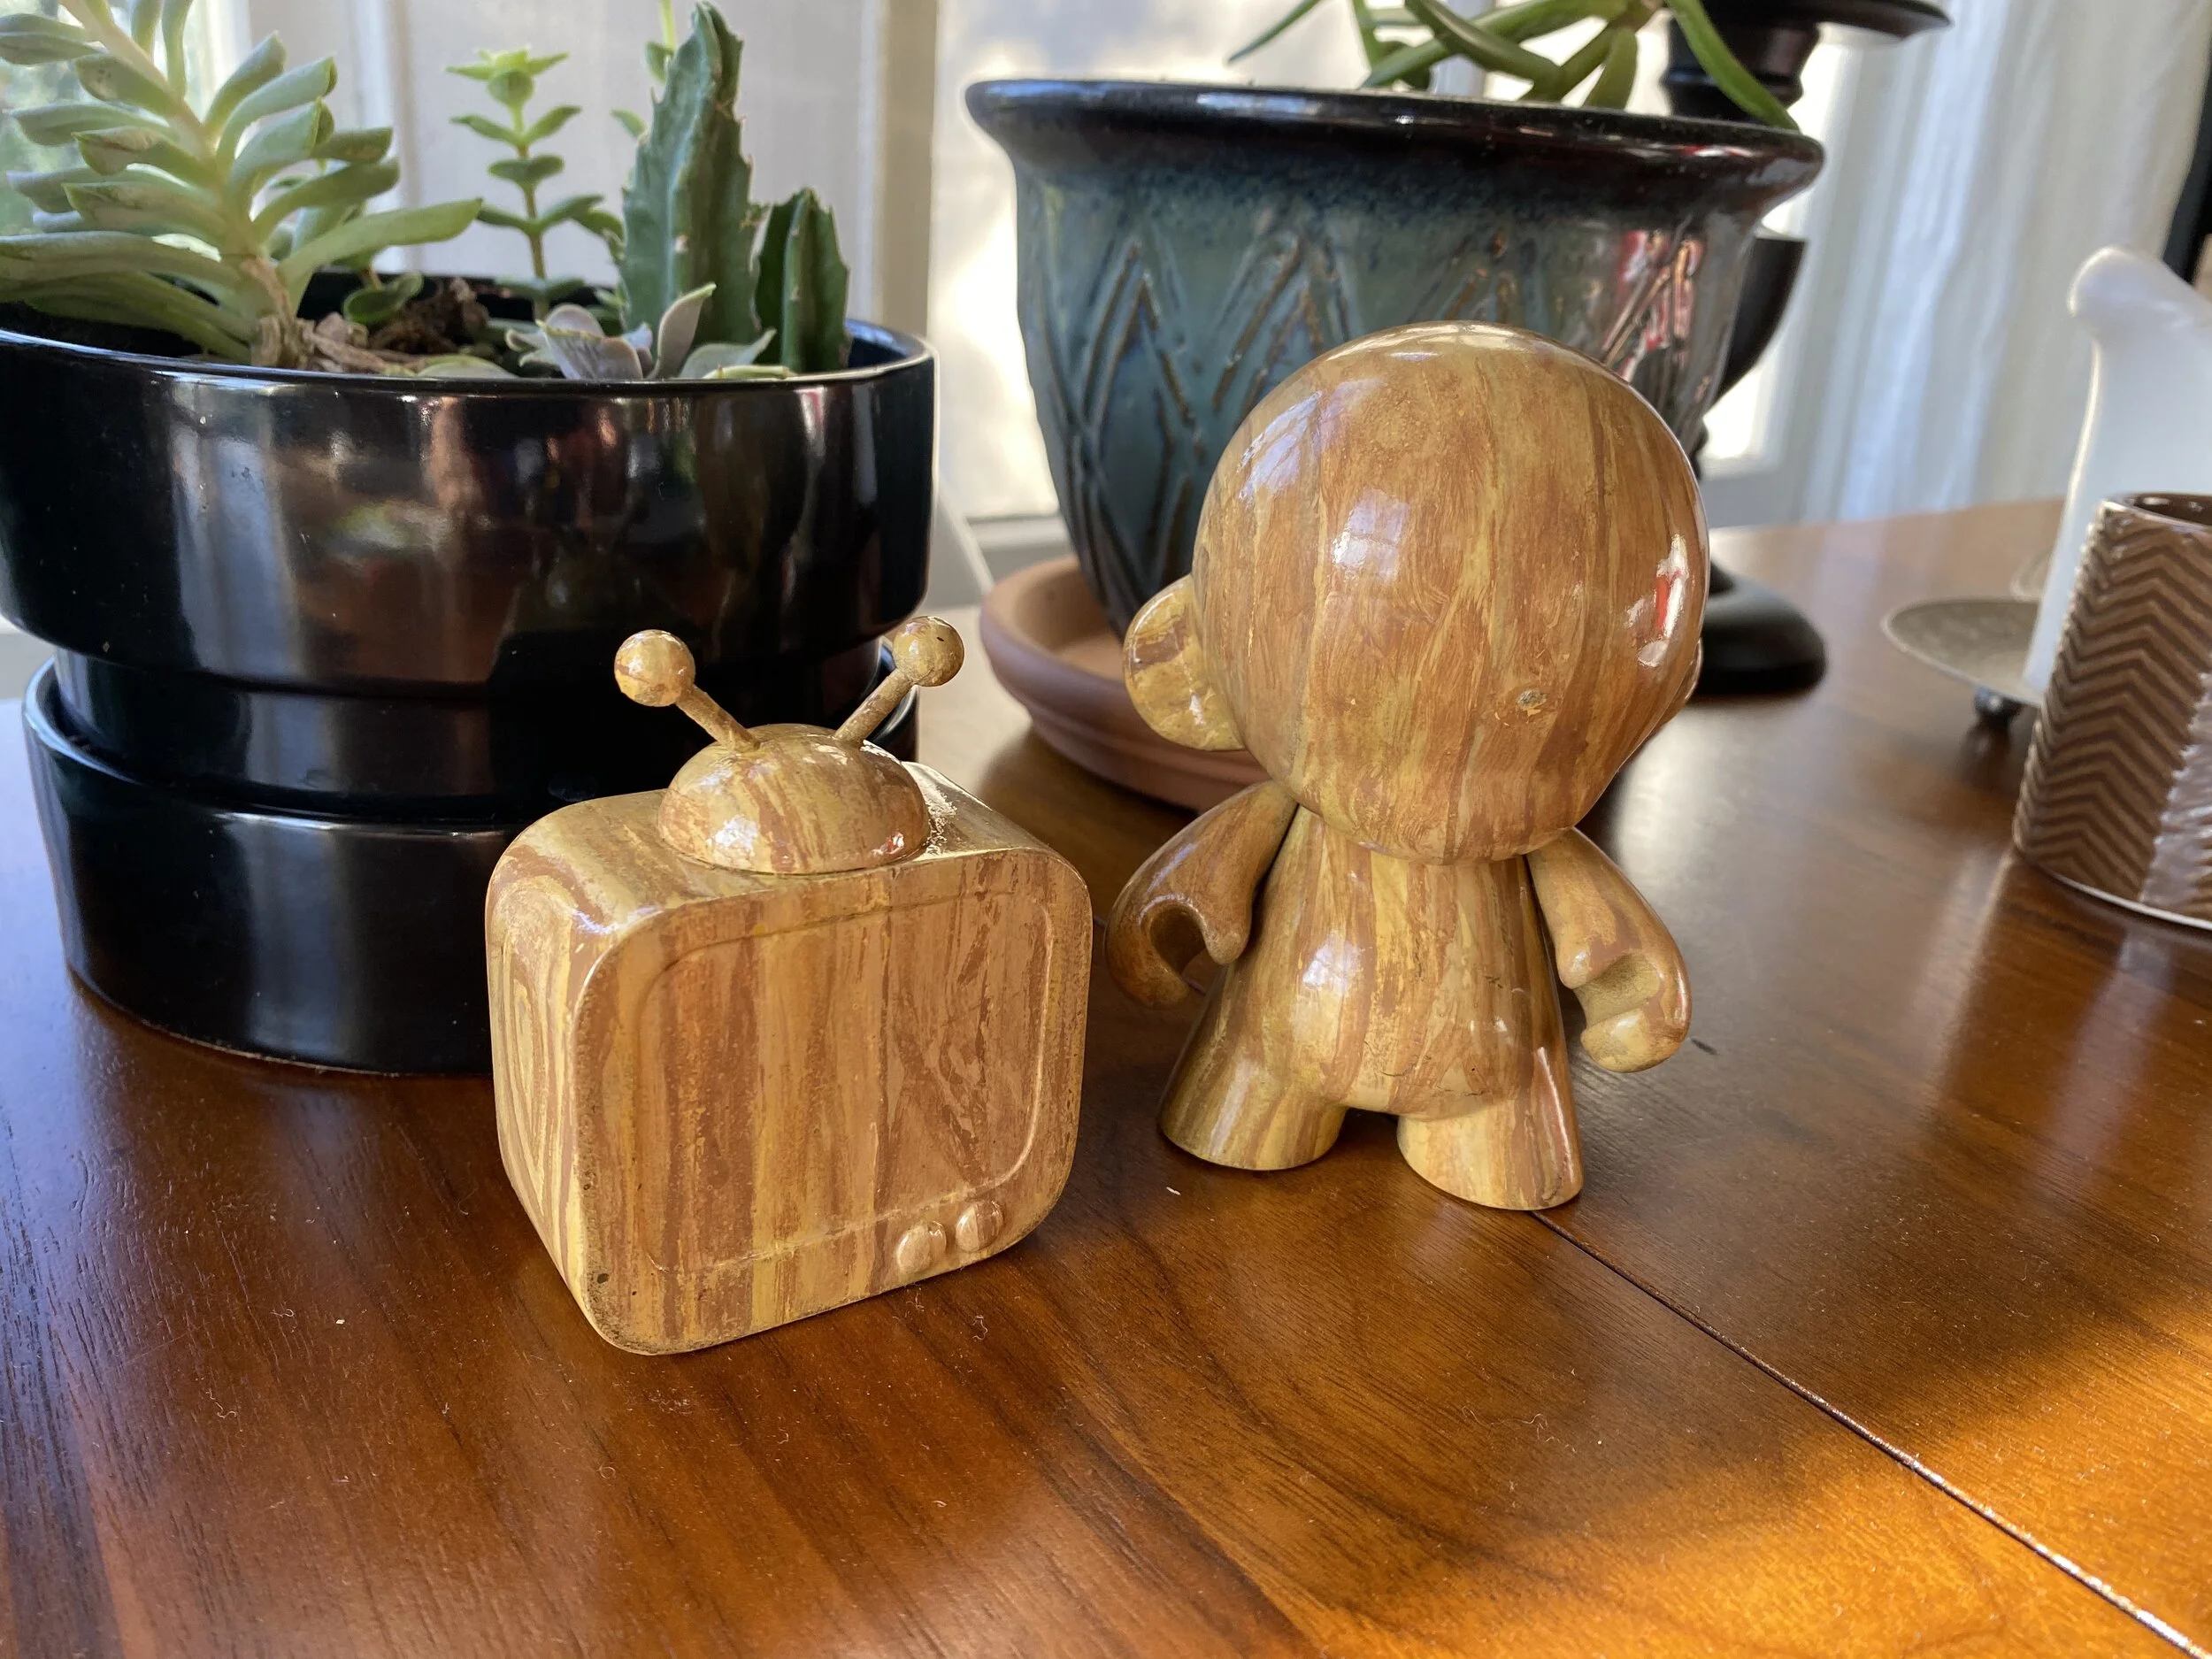
My completed Munny
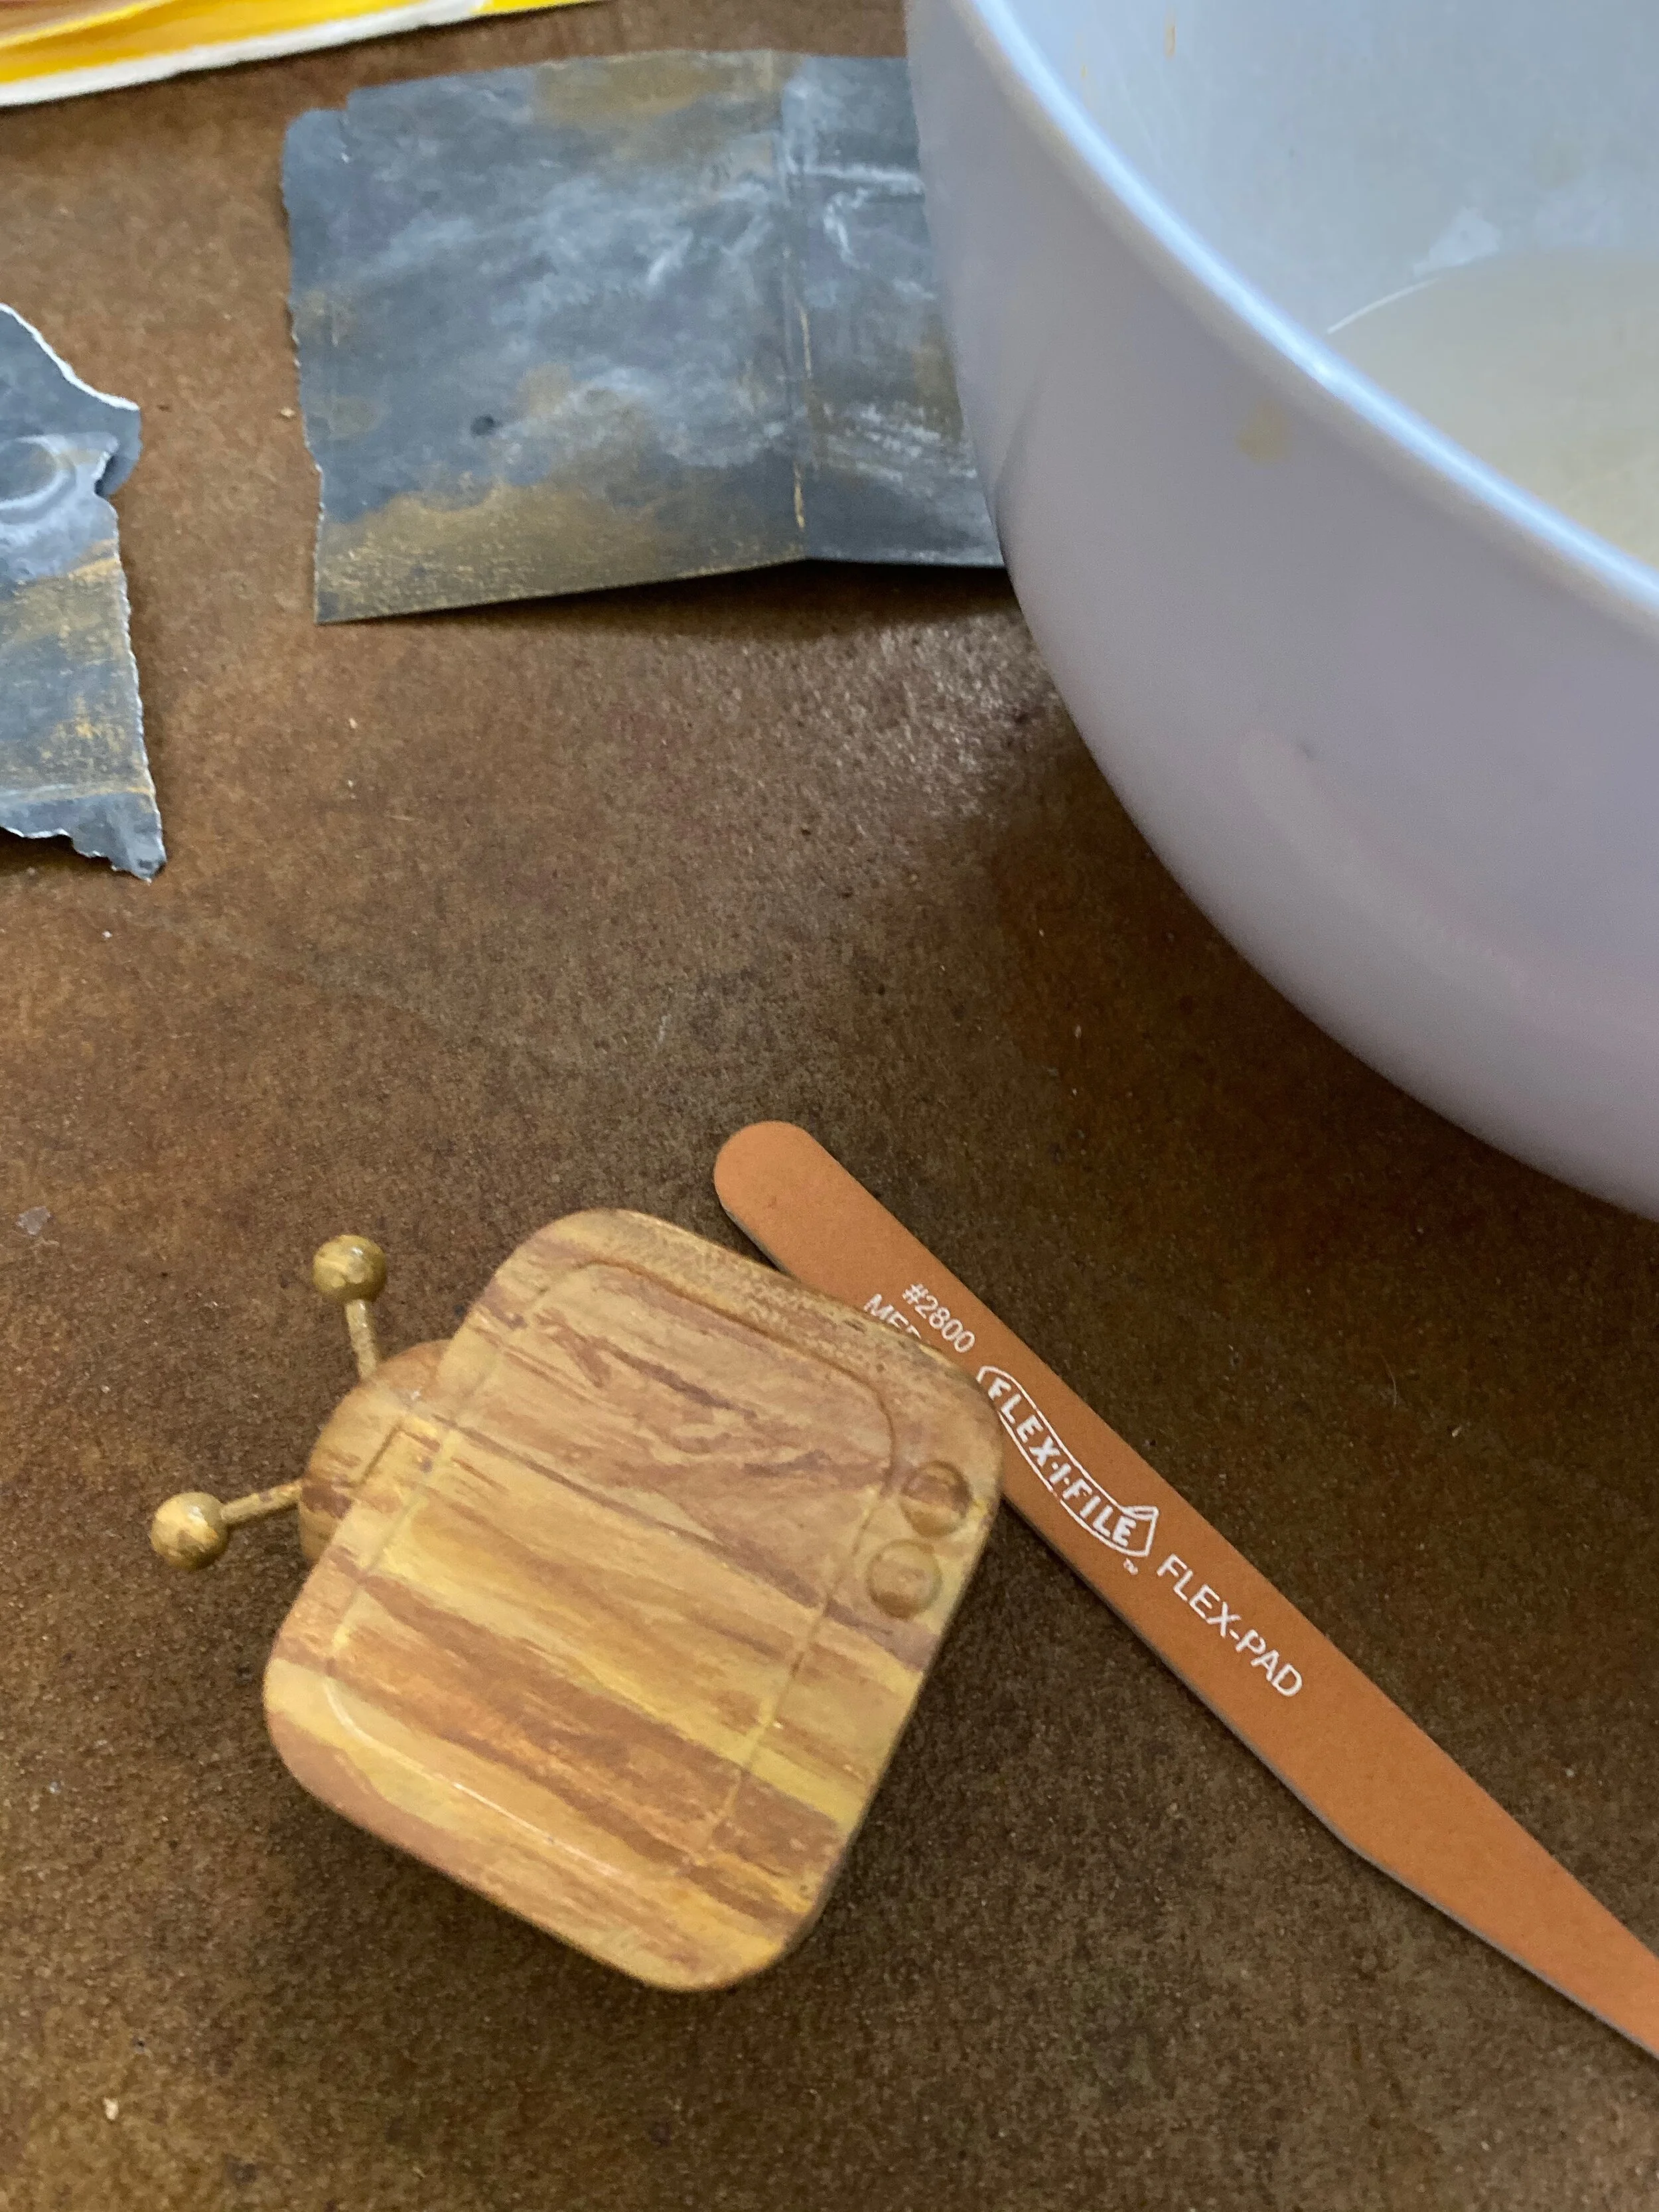
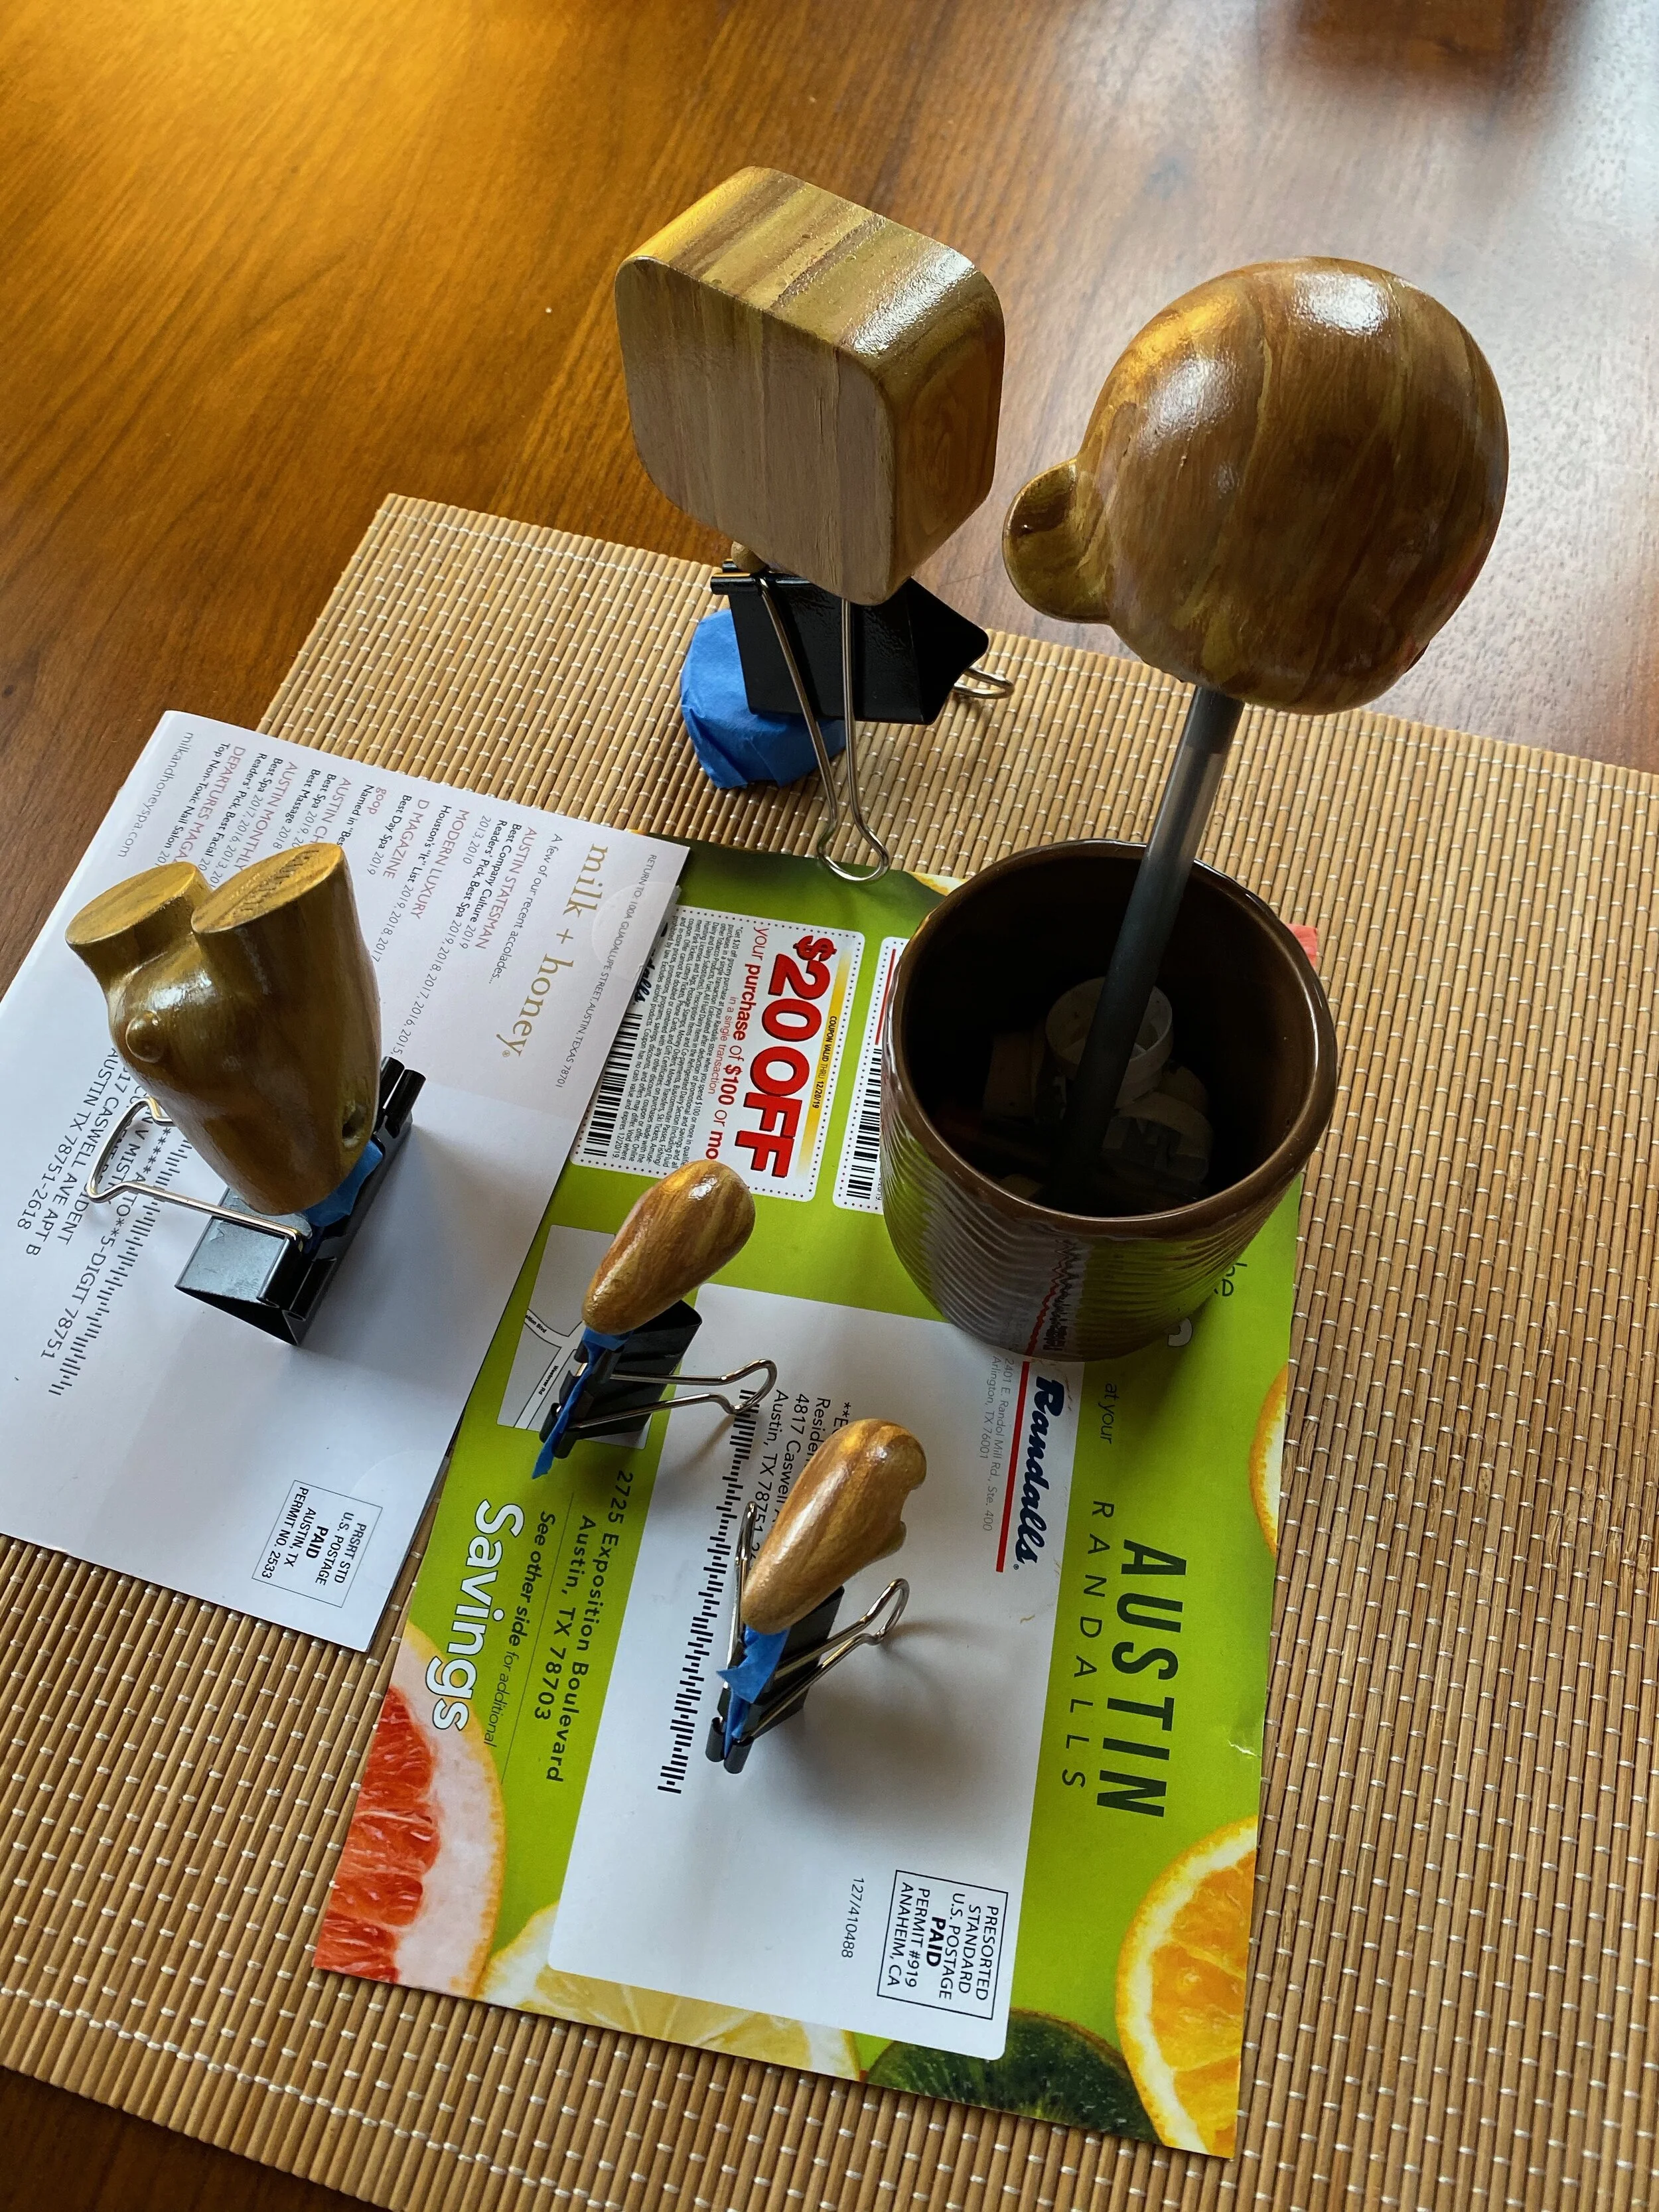
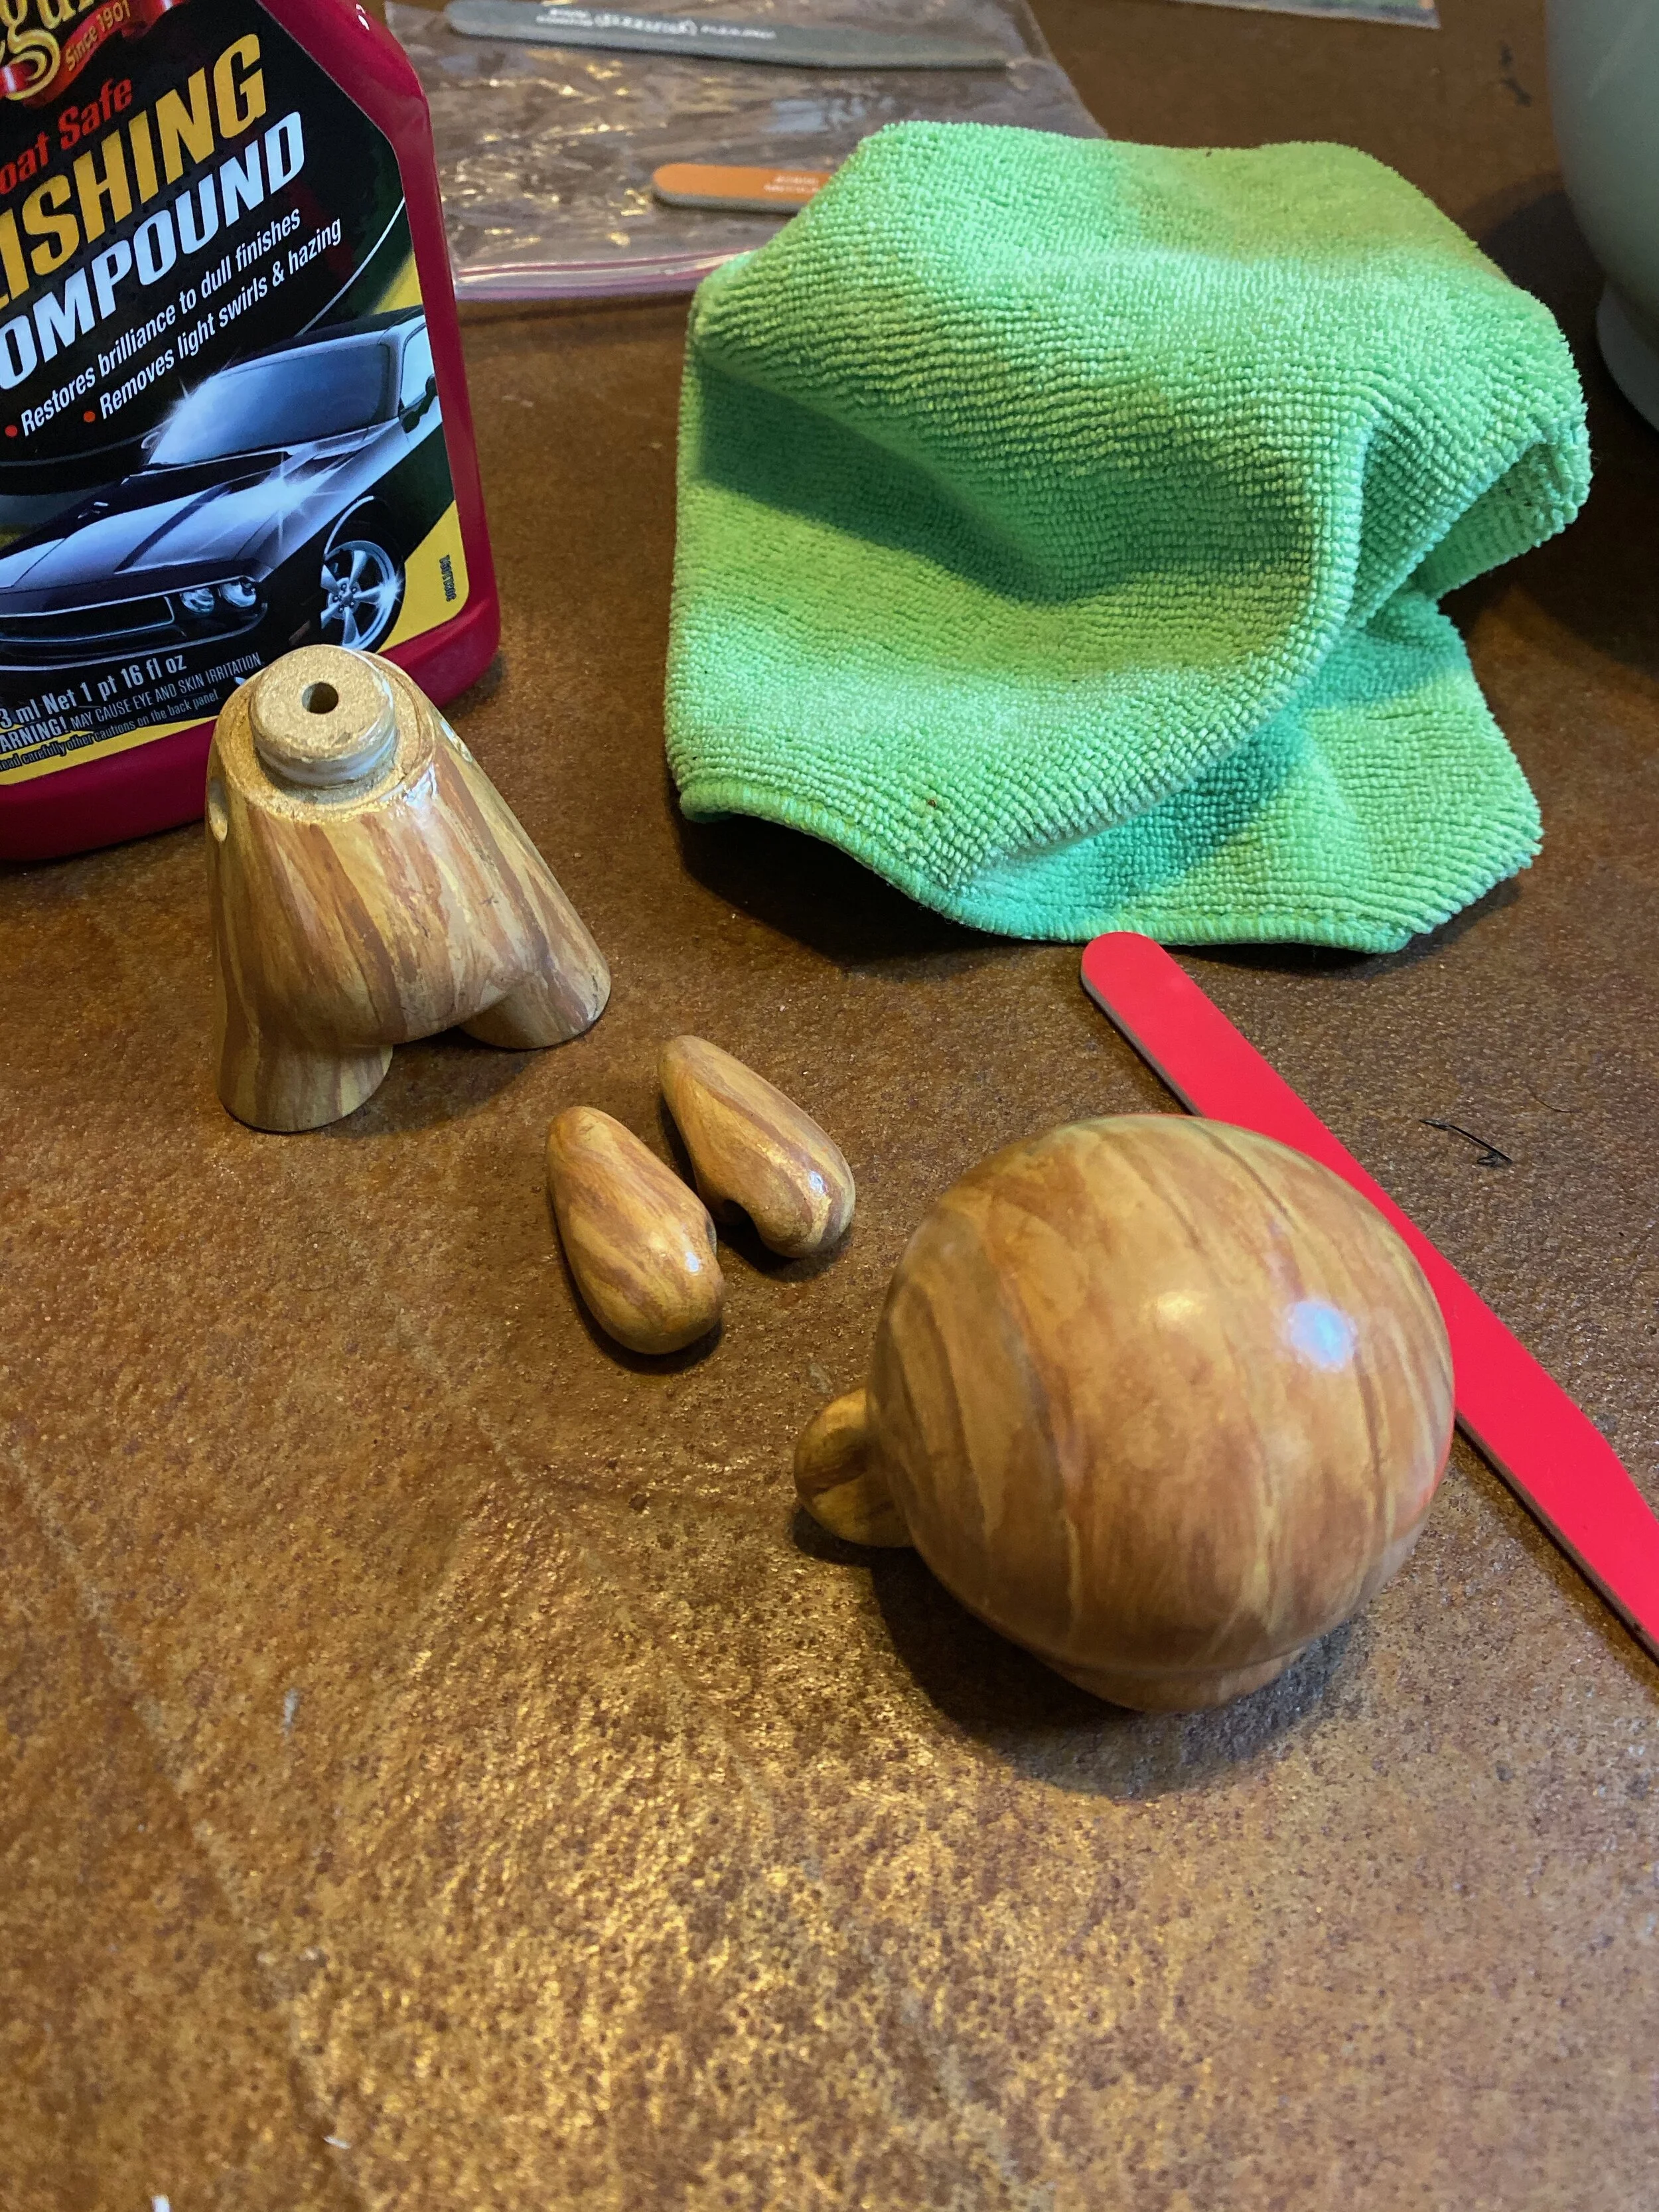
It took three coats of clearcoat to get the desired gloss that I wanted. After the first coat of clear, I wetsanded using the 1500 grit board. I waited two days for the clearcoat to cure, and then used a 2800 grit board with polishing compound to eliminate the orange peel.
I noticed that I was sanding down to the paint layer. That was a good sign to put on another layer of clear. I applied a nice wet layer of clearcoat and let the pieces dry for another few days. After the clear was fully cured, I was very satisfied with the results.
I may have been a bit obsessive with this project, but I wanted to apply some of the skills that I’ve learned during school. I used to make finished car clay models and prototypes. Most of my work nowadays is on the computer, or with pen and paper. It feels nice to work with your hands and transform raw materials into art.
My Munny project
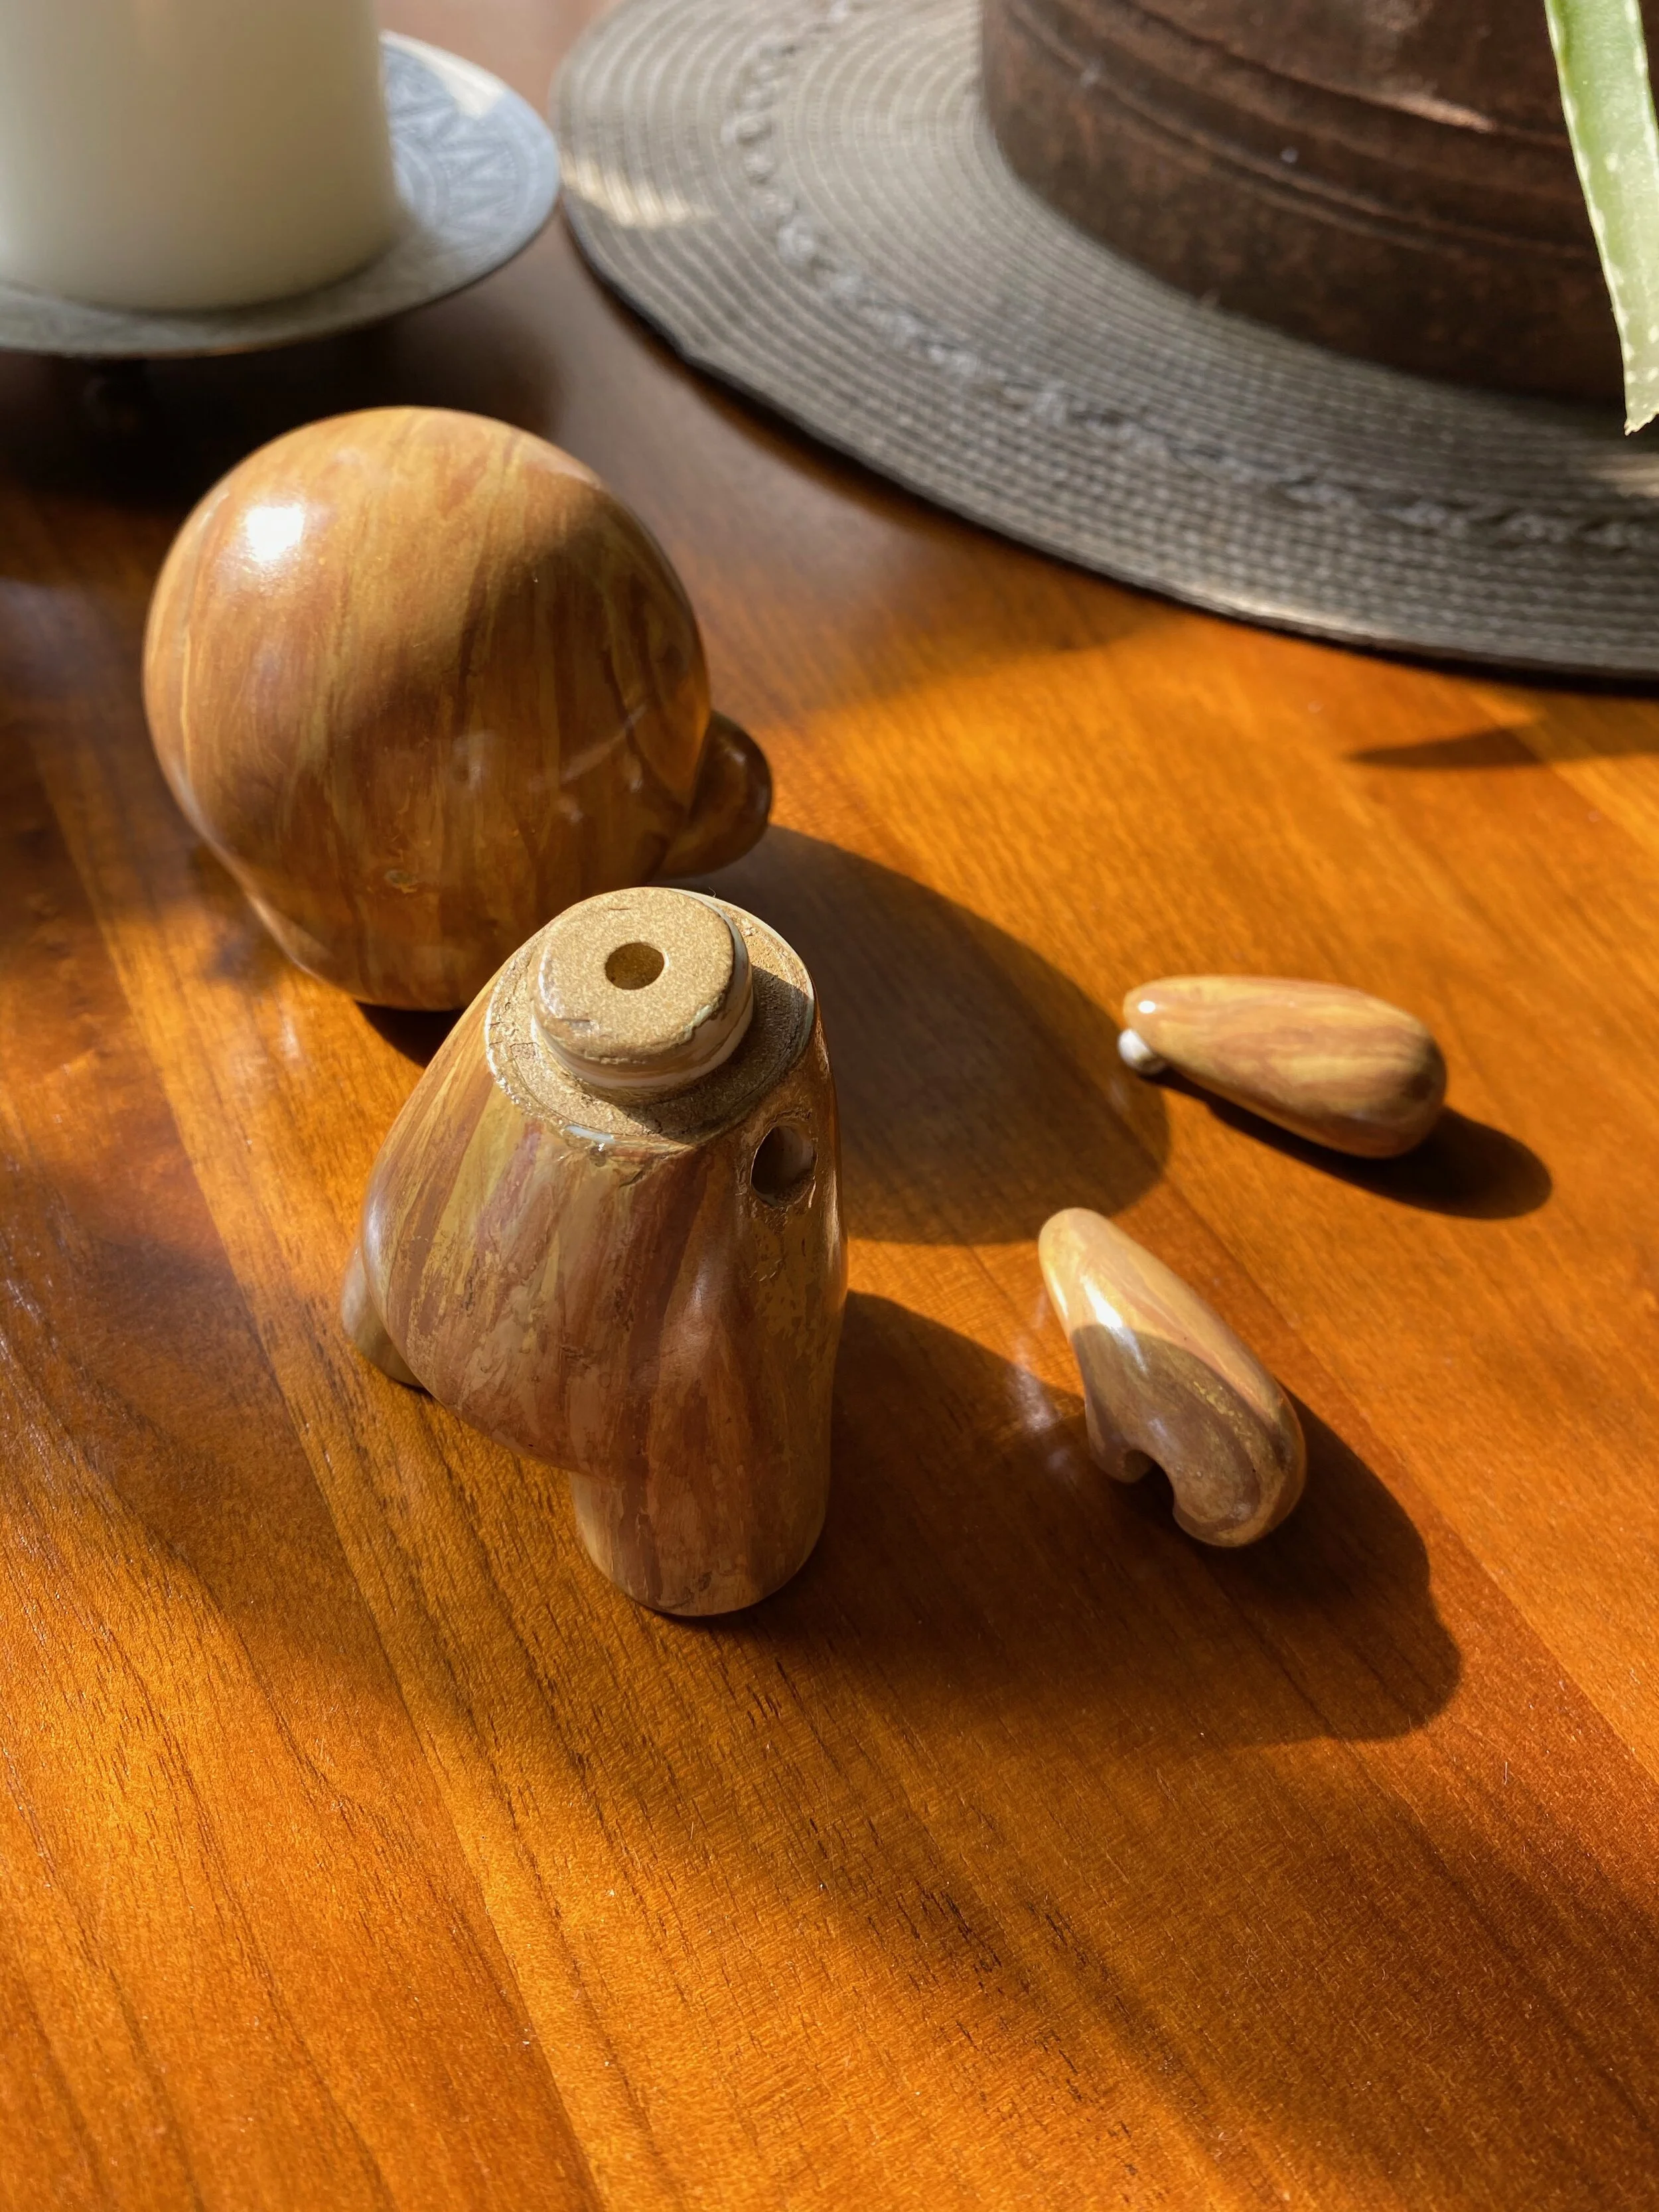
Lately, I’ve been catching up on personal projects that I’ve been putting off. One of them was working on a Munny figure that was given to me by a former coworker. Initially, I was going to make a design that matched my desk. After applying the basecoat, I decided to add detail with woodgrain.
I was very satisfied with the woodgrain patterns, but then wanted to see how this would look with a fully glossy finish. I used processes that I learned from making car models during school. Right now, I’m going to let the second layer of clearcoat fully dry before another wet sanding and polish.