

My latest project that I’m working on is a Porsche 911 Turbo painting. The 930 generation Porsche is probably my favorite version of the 911. When I was a kid, this was the iconic bedroom poster, alongside the Countach and Testarossa. I wanted to make a painting of a red 911 racing down an open road during a beautiful sunny day.


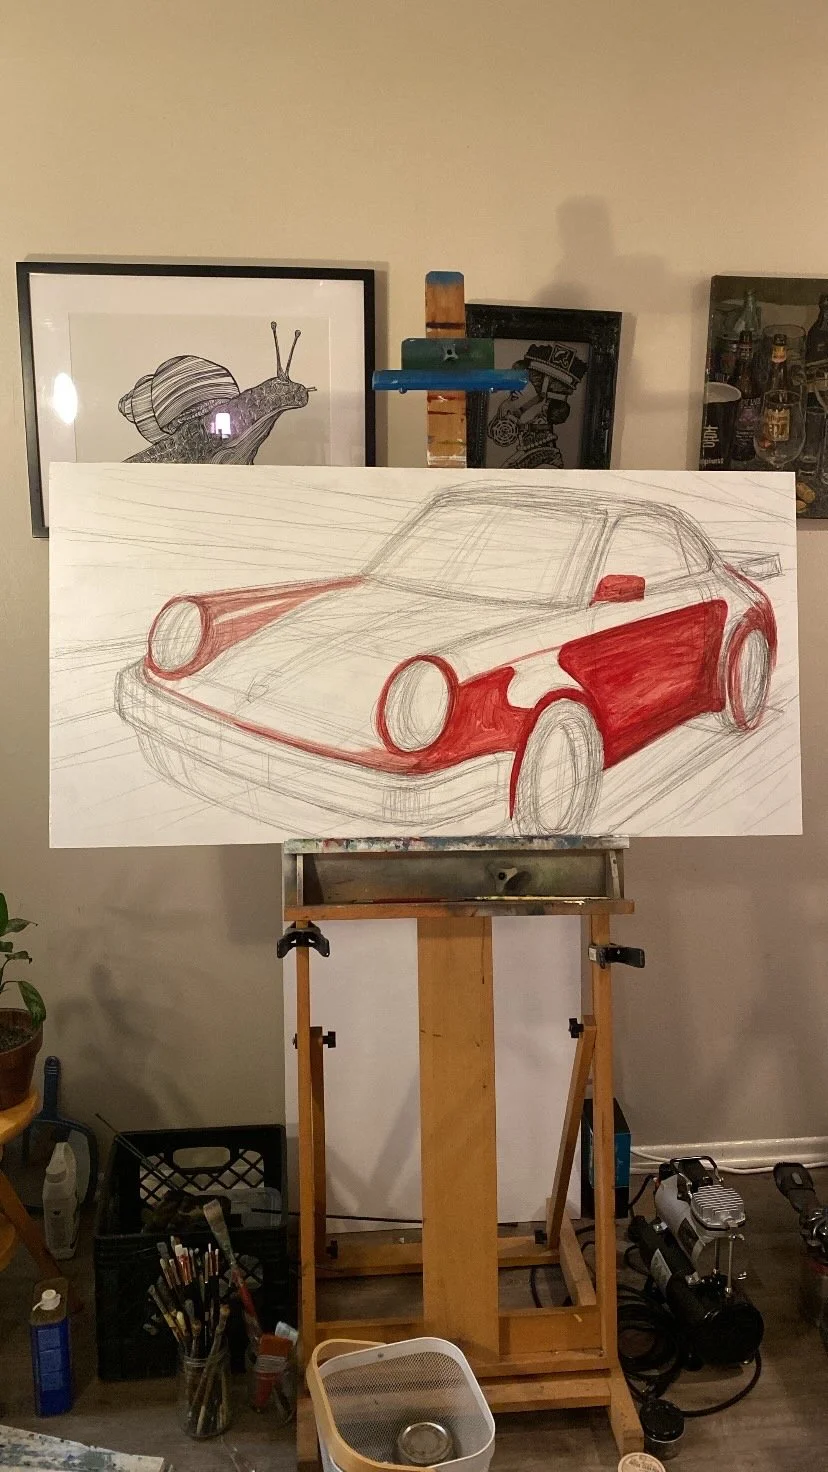


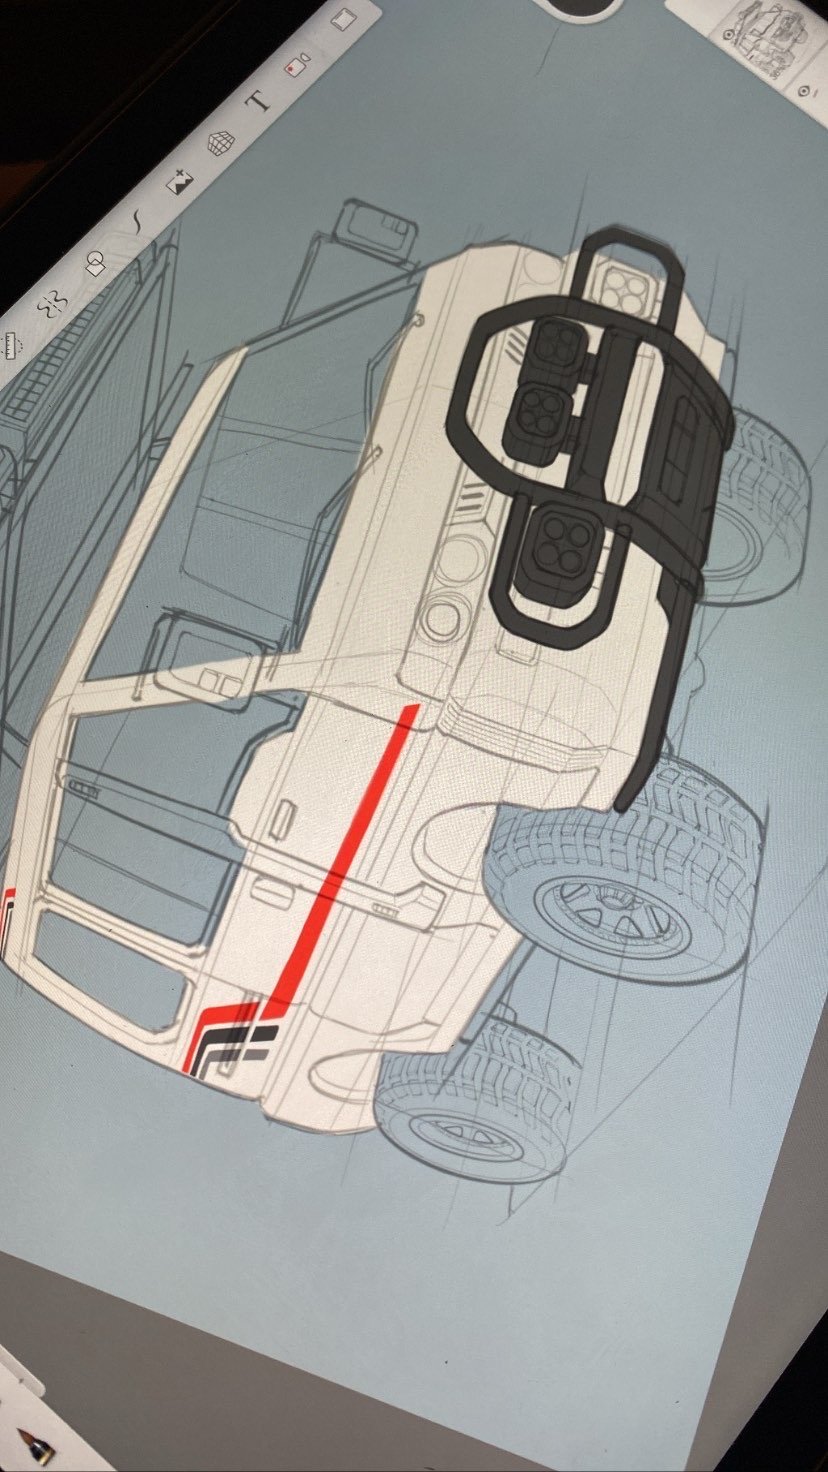
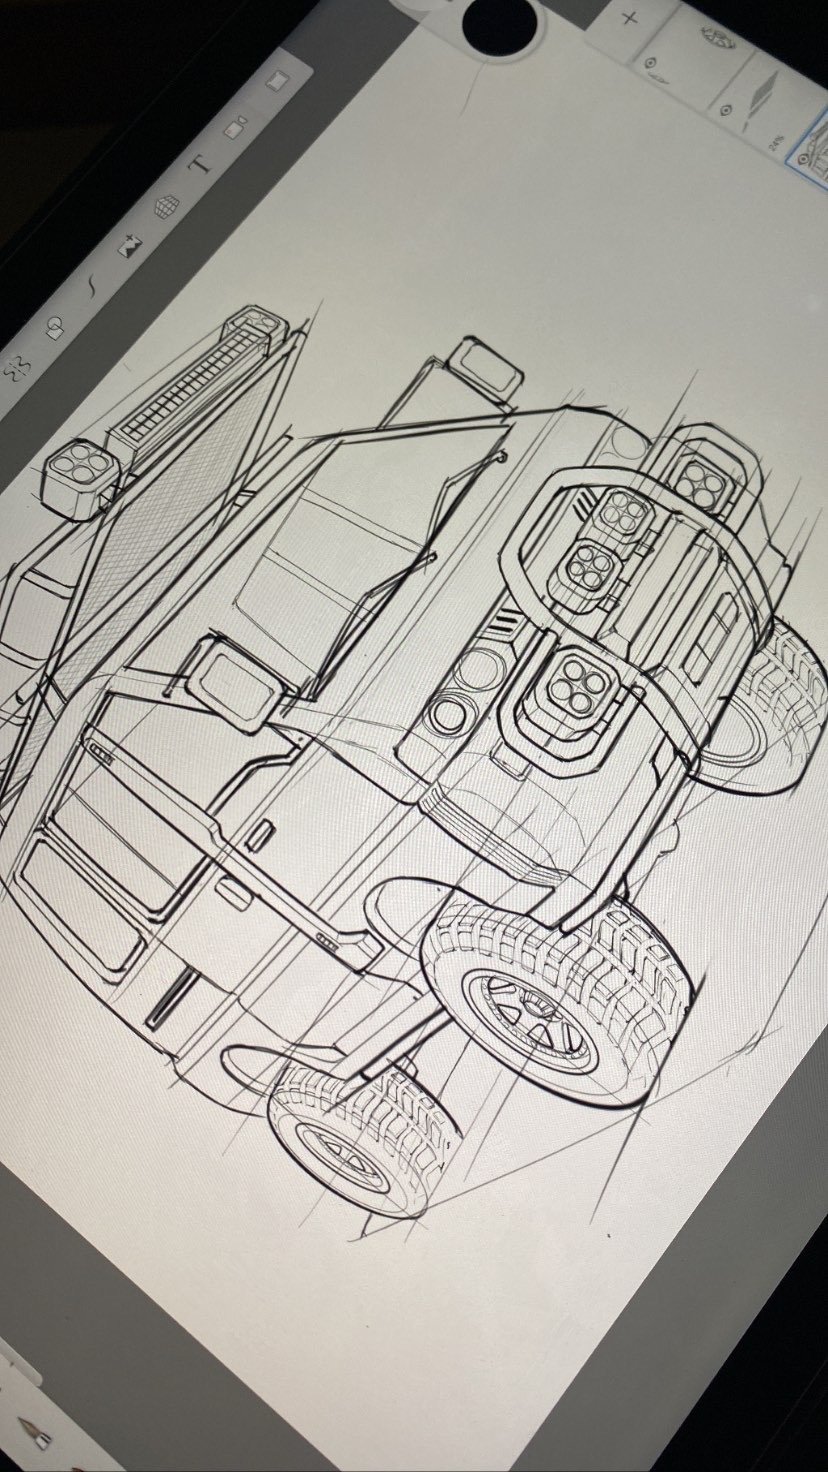
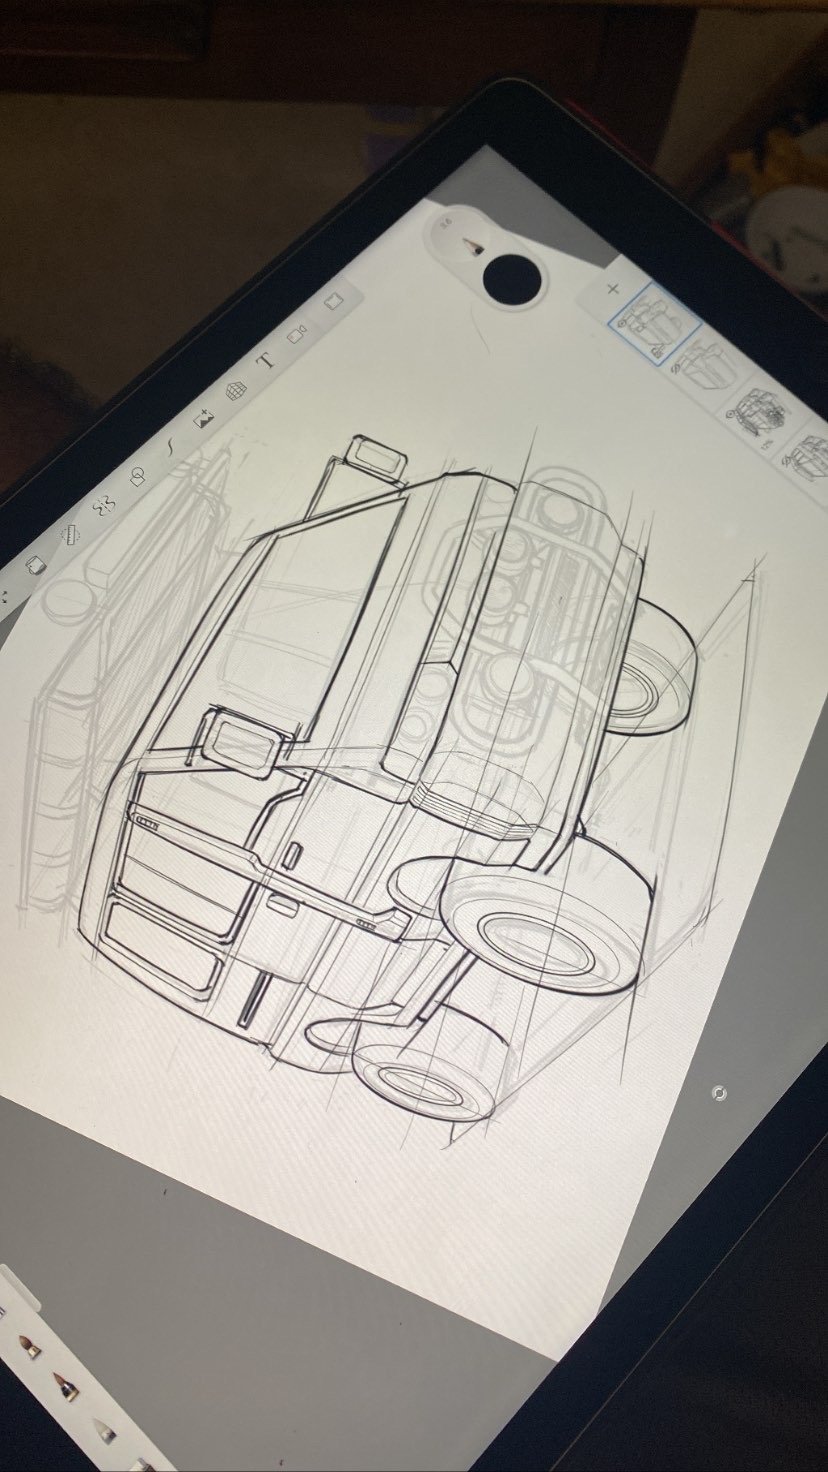
Progression from initial sketch to the current state.