


One thing I always wanted to do with a 3D printer was to create some interesting plant pots. I did an image search and saw some really interesting designs
that you couldn’t produce with conventional injection molding.

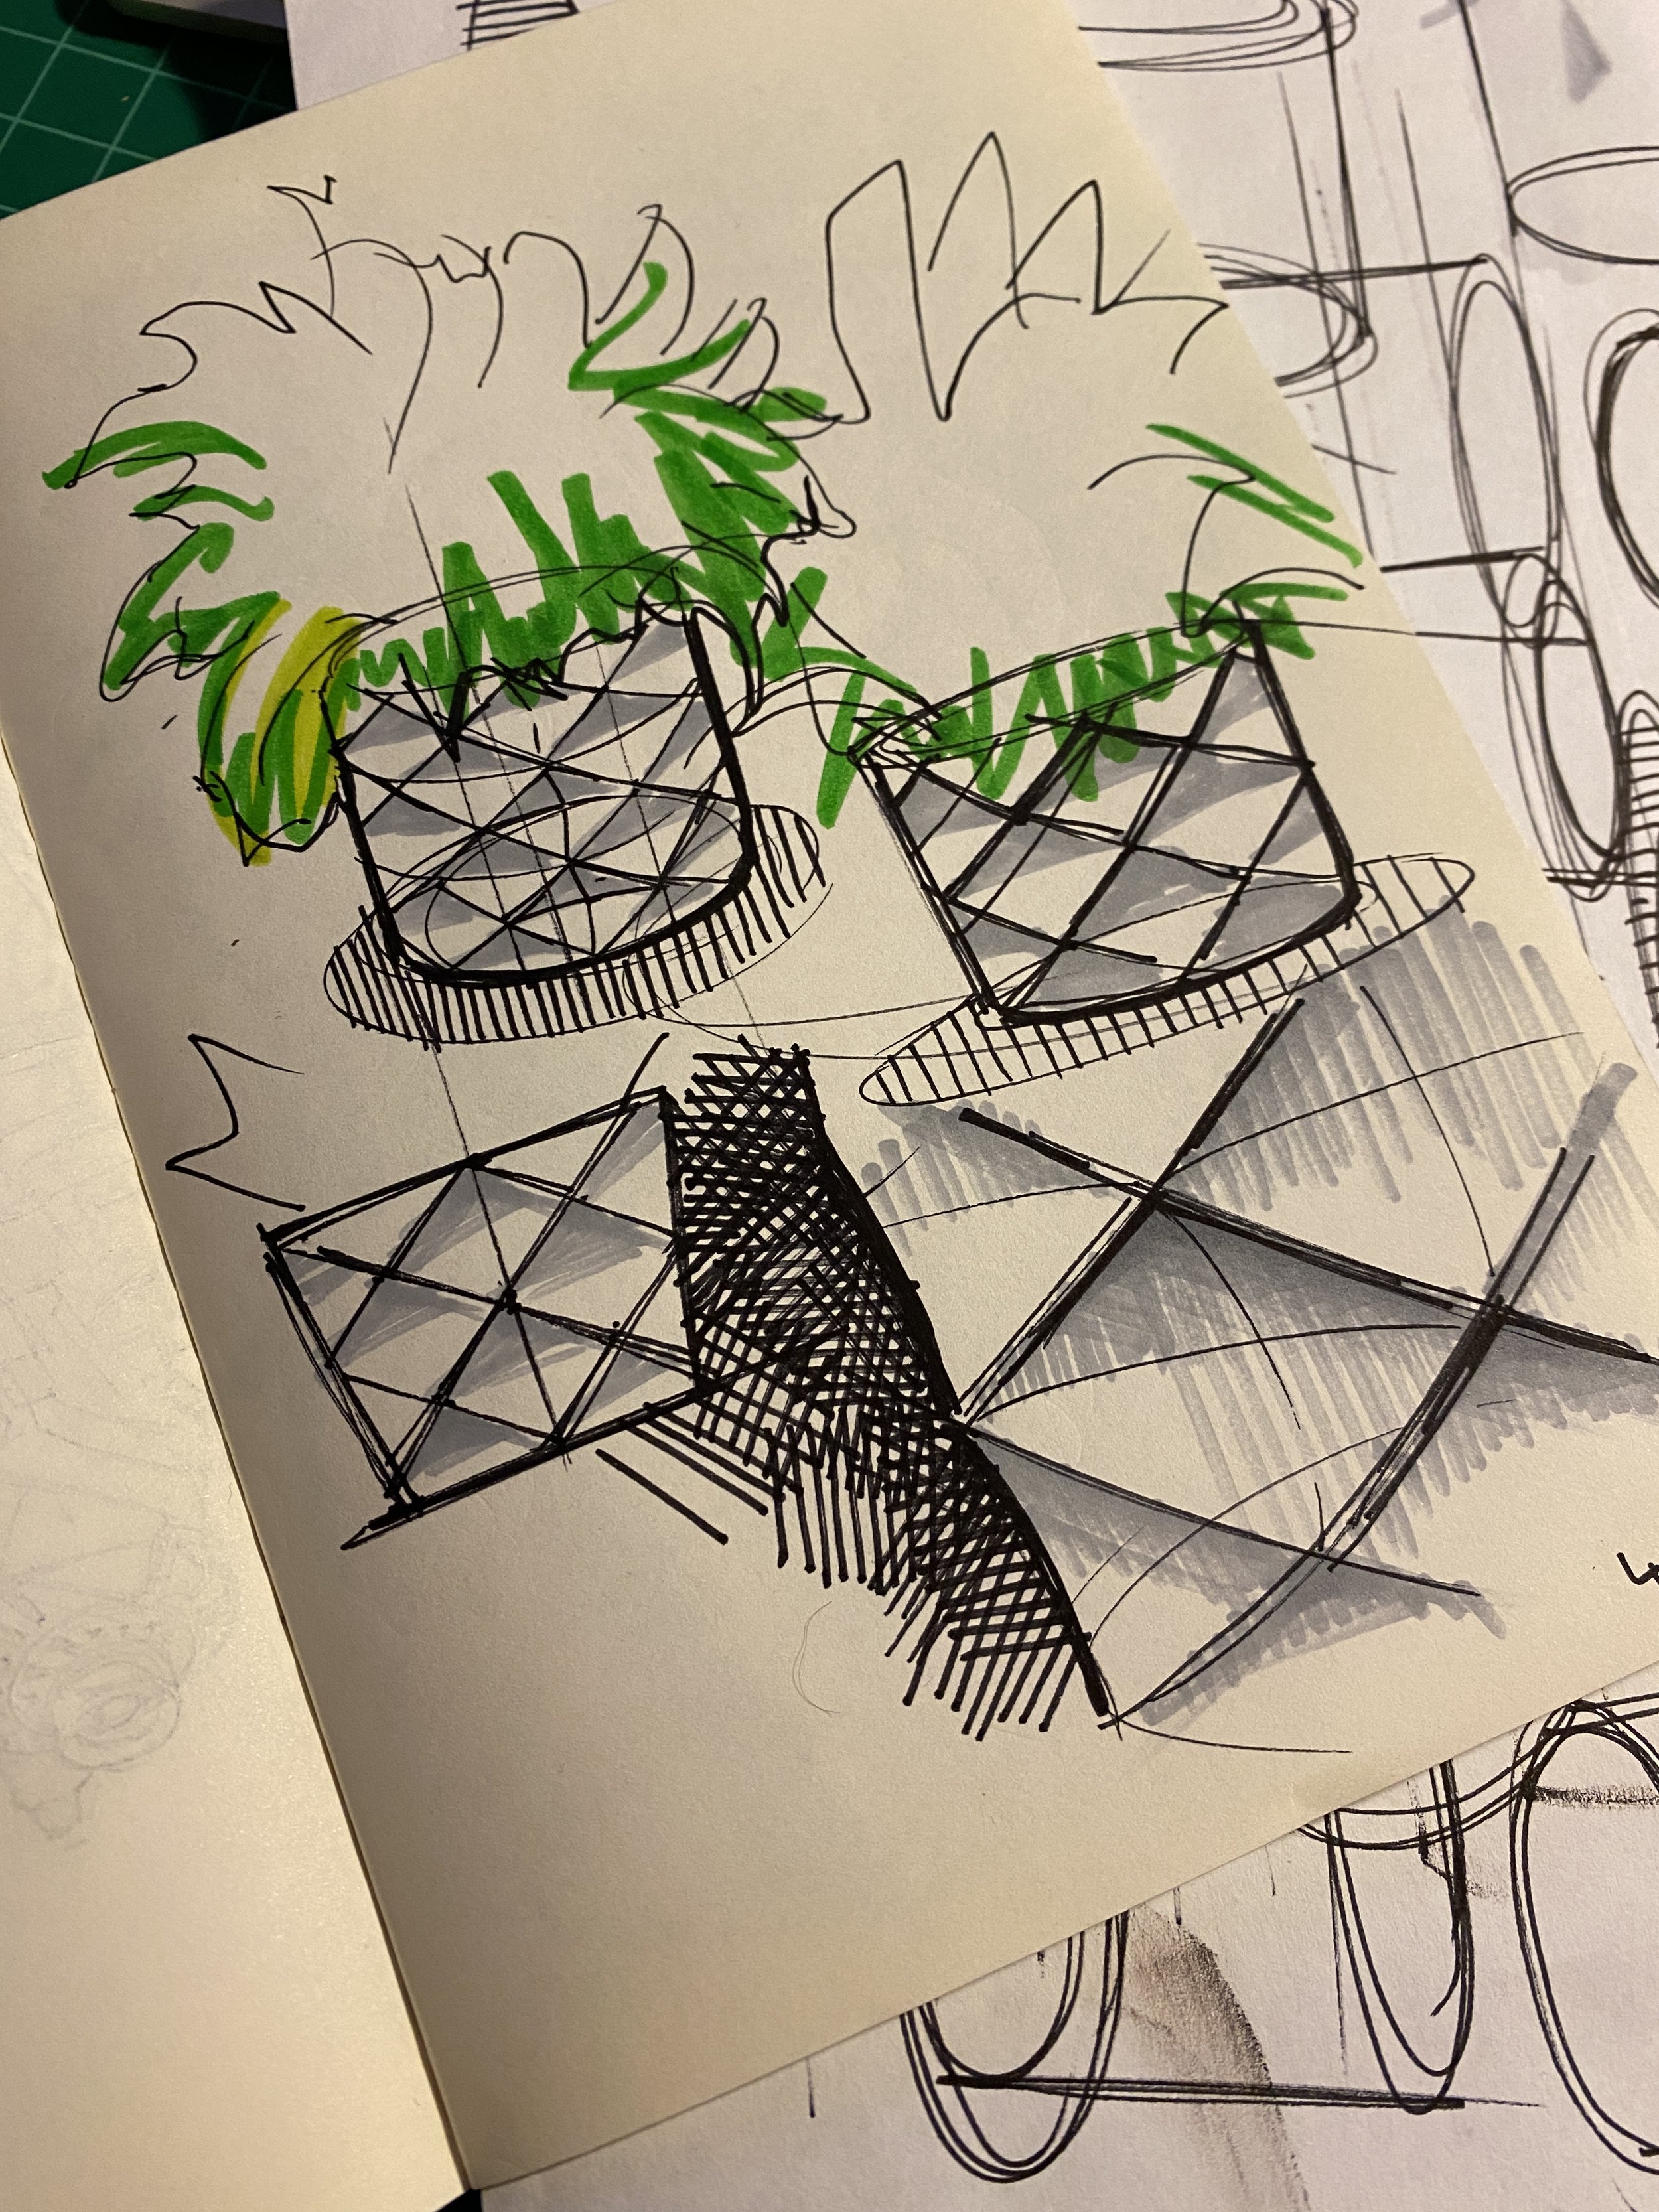

I sketched out three different types of ideas. The first is a “screw” type design. It’s a design that looked more scalloped and organic.
The second design involves a pillowed “waffle” design that wraps around the pot. With the third design, I sketched out a more geometric idea that where each layer resembled a ring of bricks.

Amongst the three, I liked the “screw” design the best, and wanted to see how it can be made. With Adobe Illustrator, I explored different types of profiles. Some profiles were more dense, while other profiles were more organic or geometric.
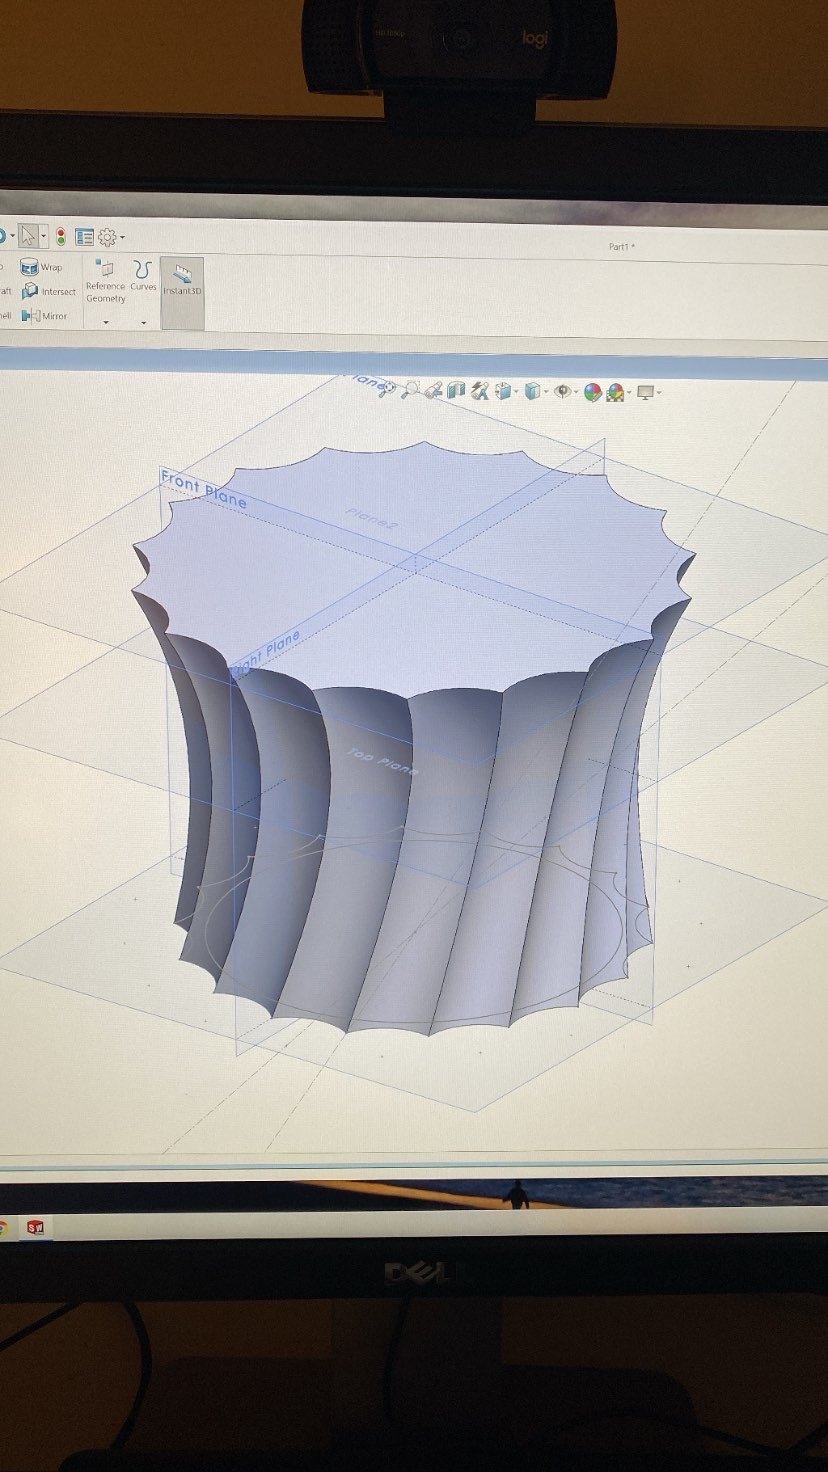
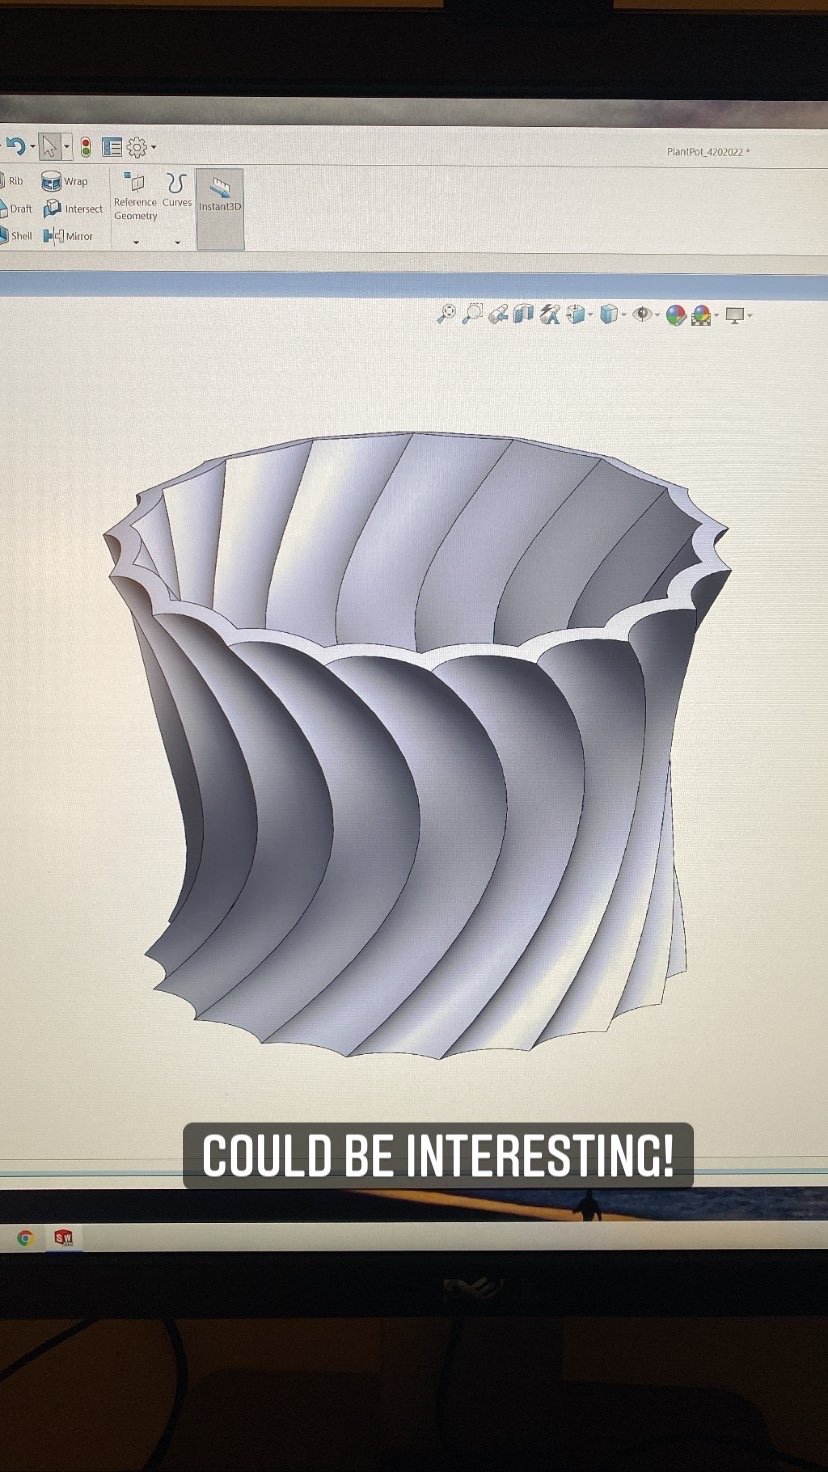
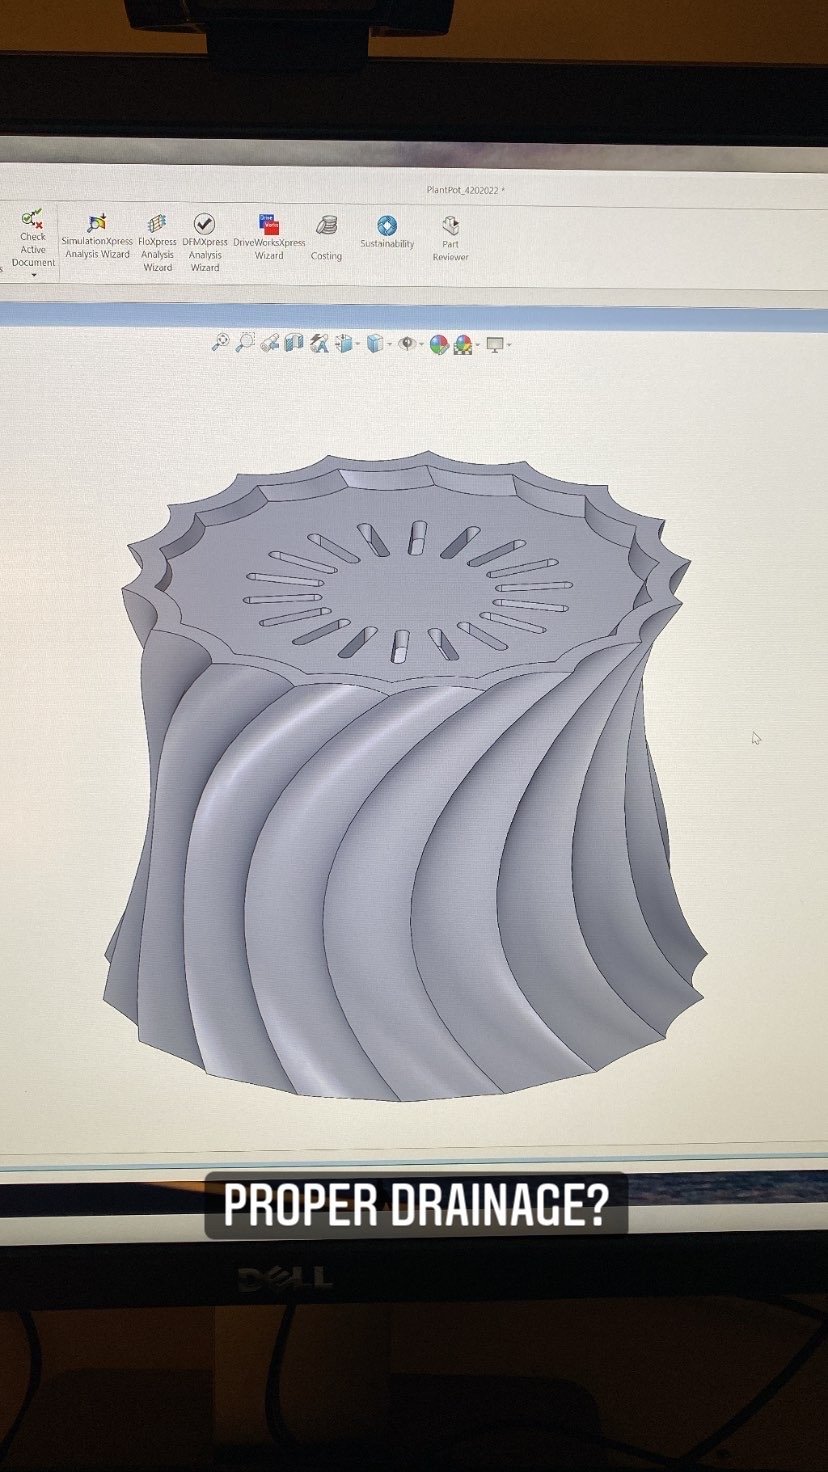
Using Solidworks, I tried modeling a few of these profiles and liked the scalloped profile the best. I copied the profile onto three planes and experimented with size and rotation to get the right shape. After finding the right shape, I added a base with drainage holes that features a rotated pill-shaped hole design.
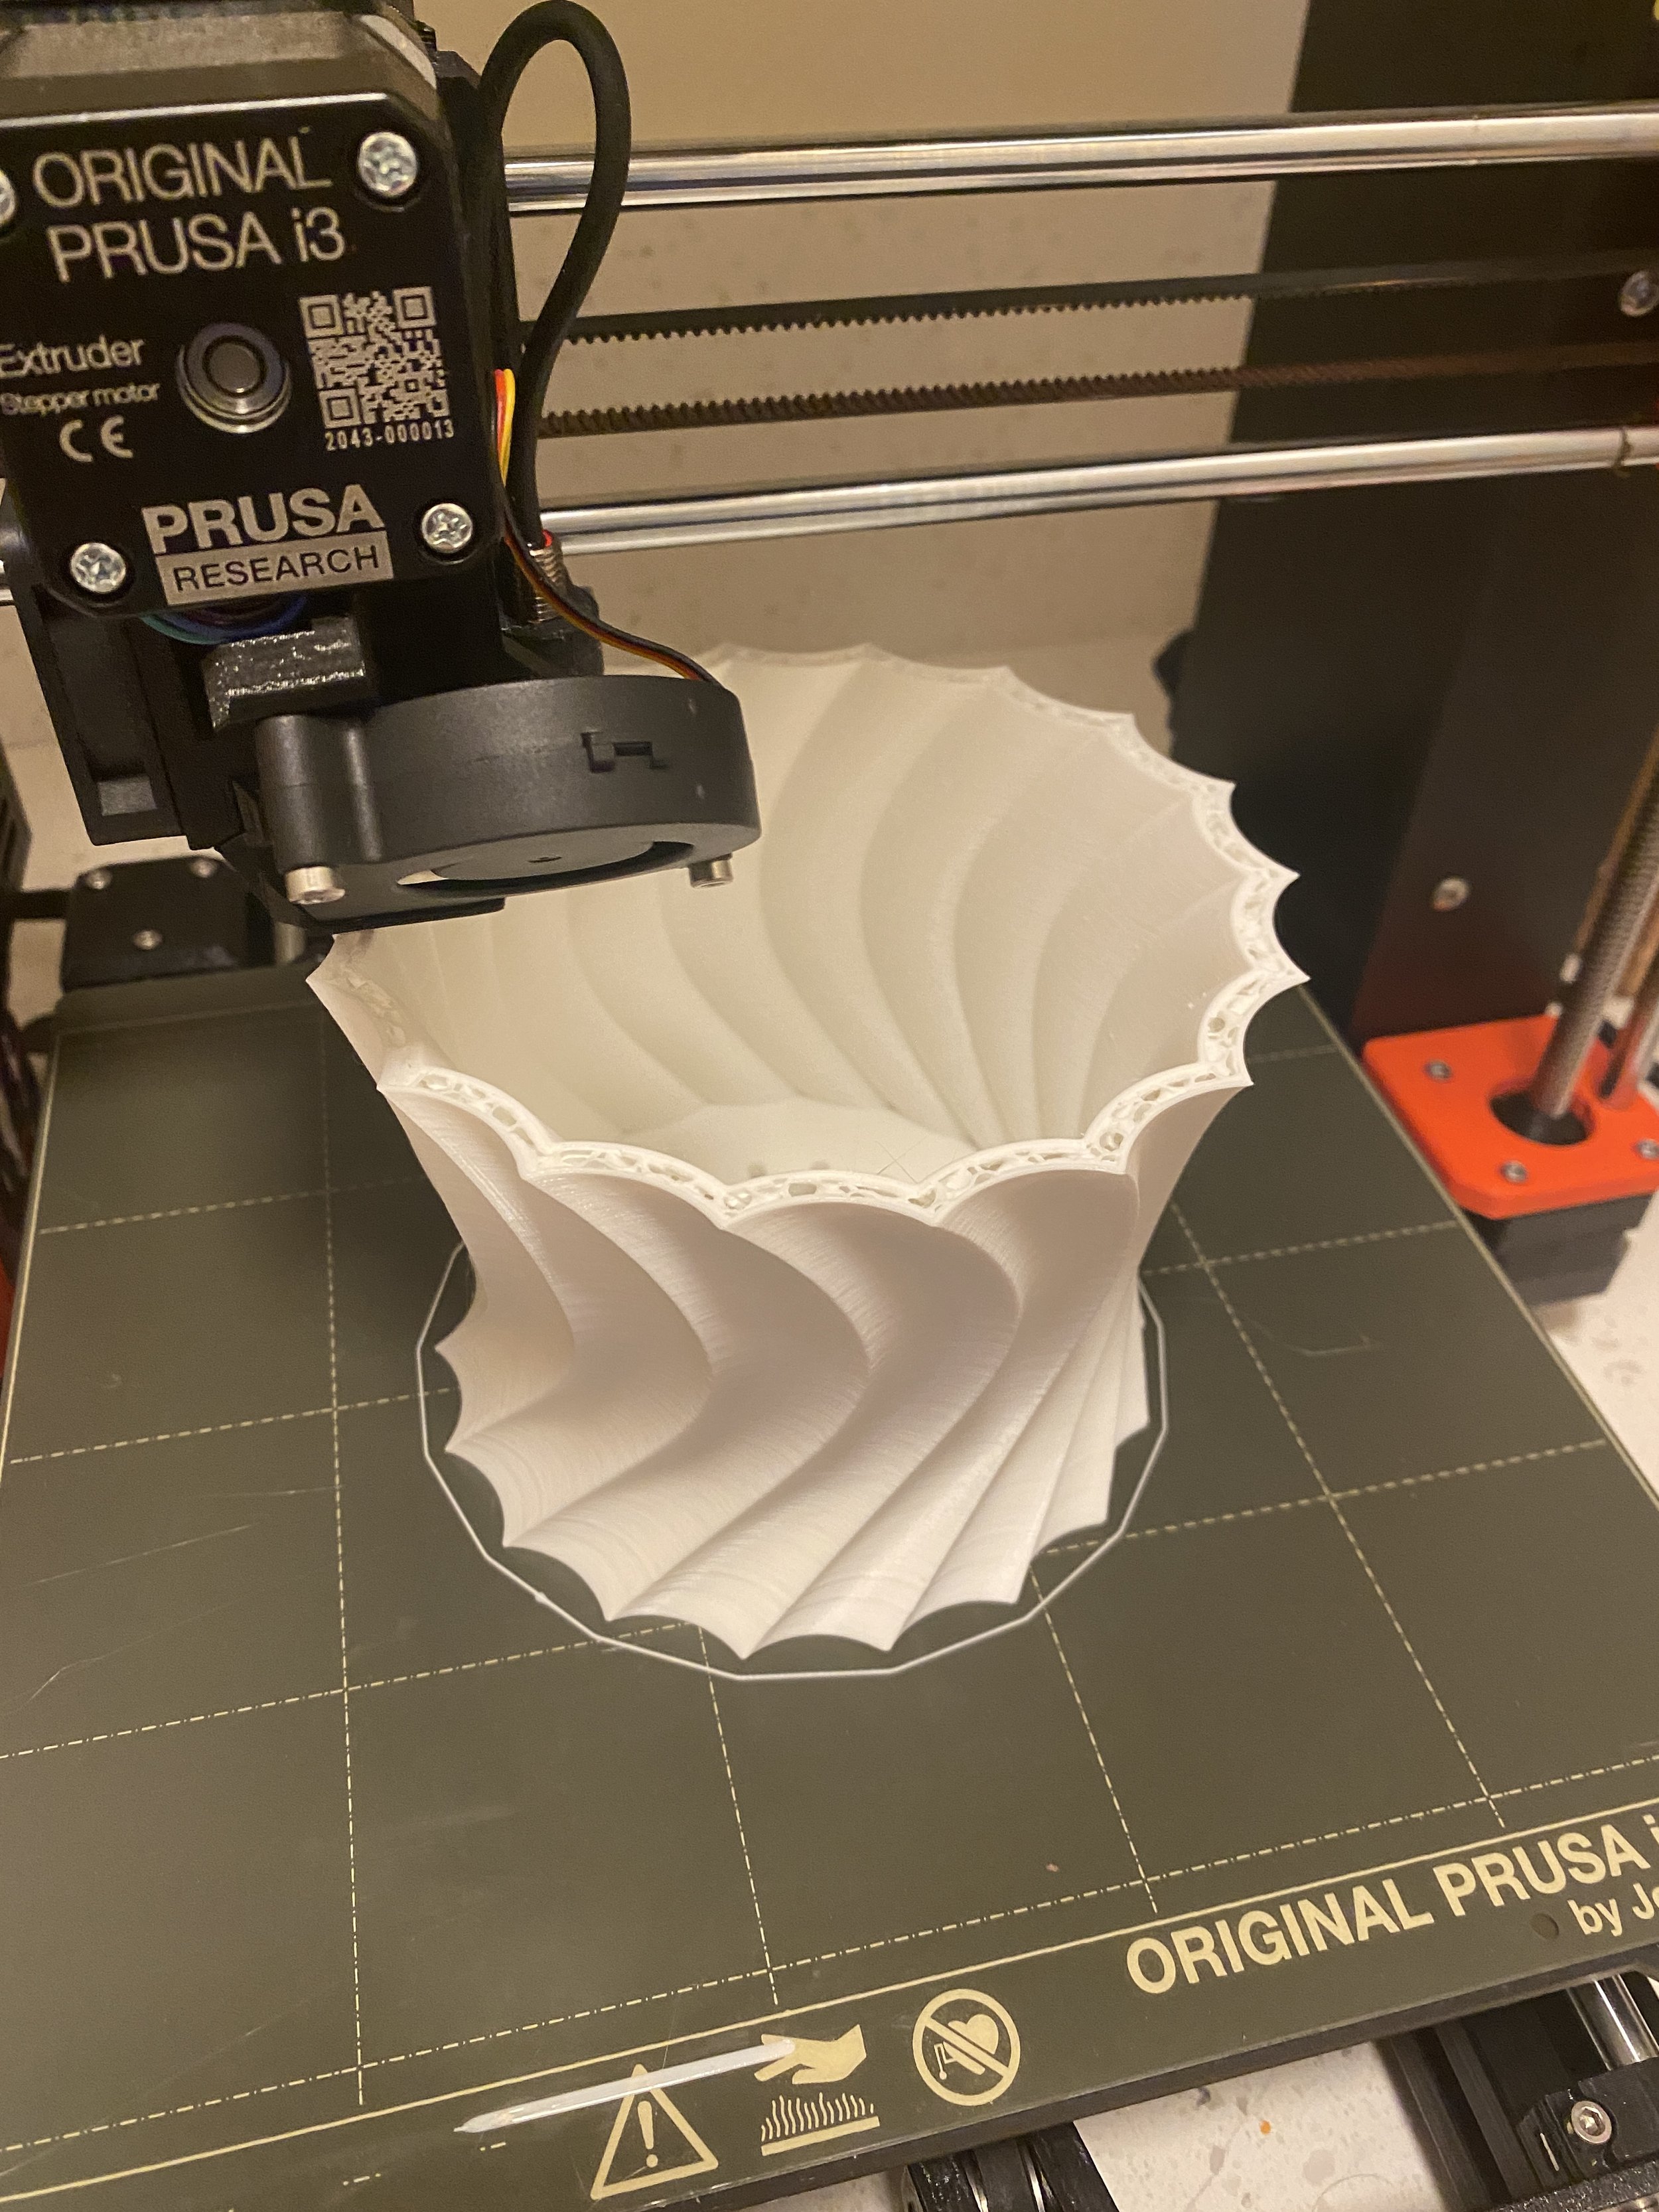
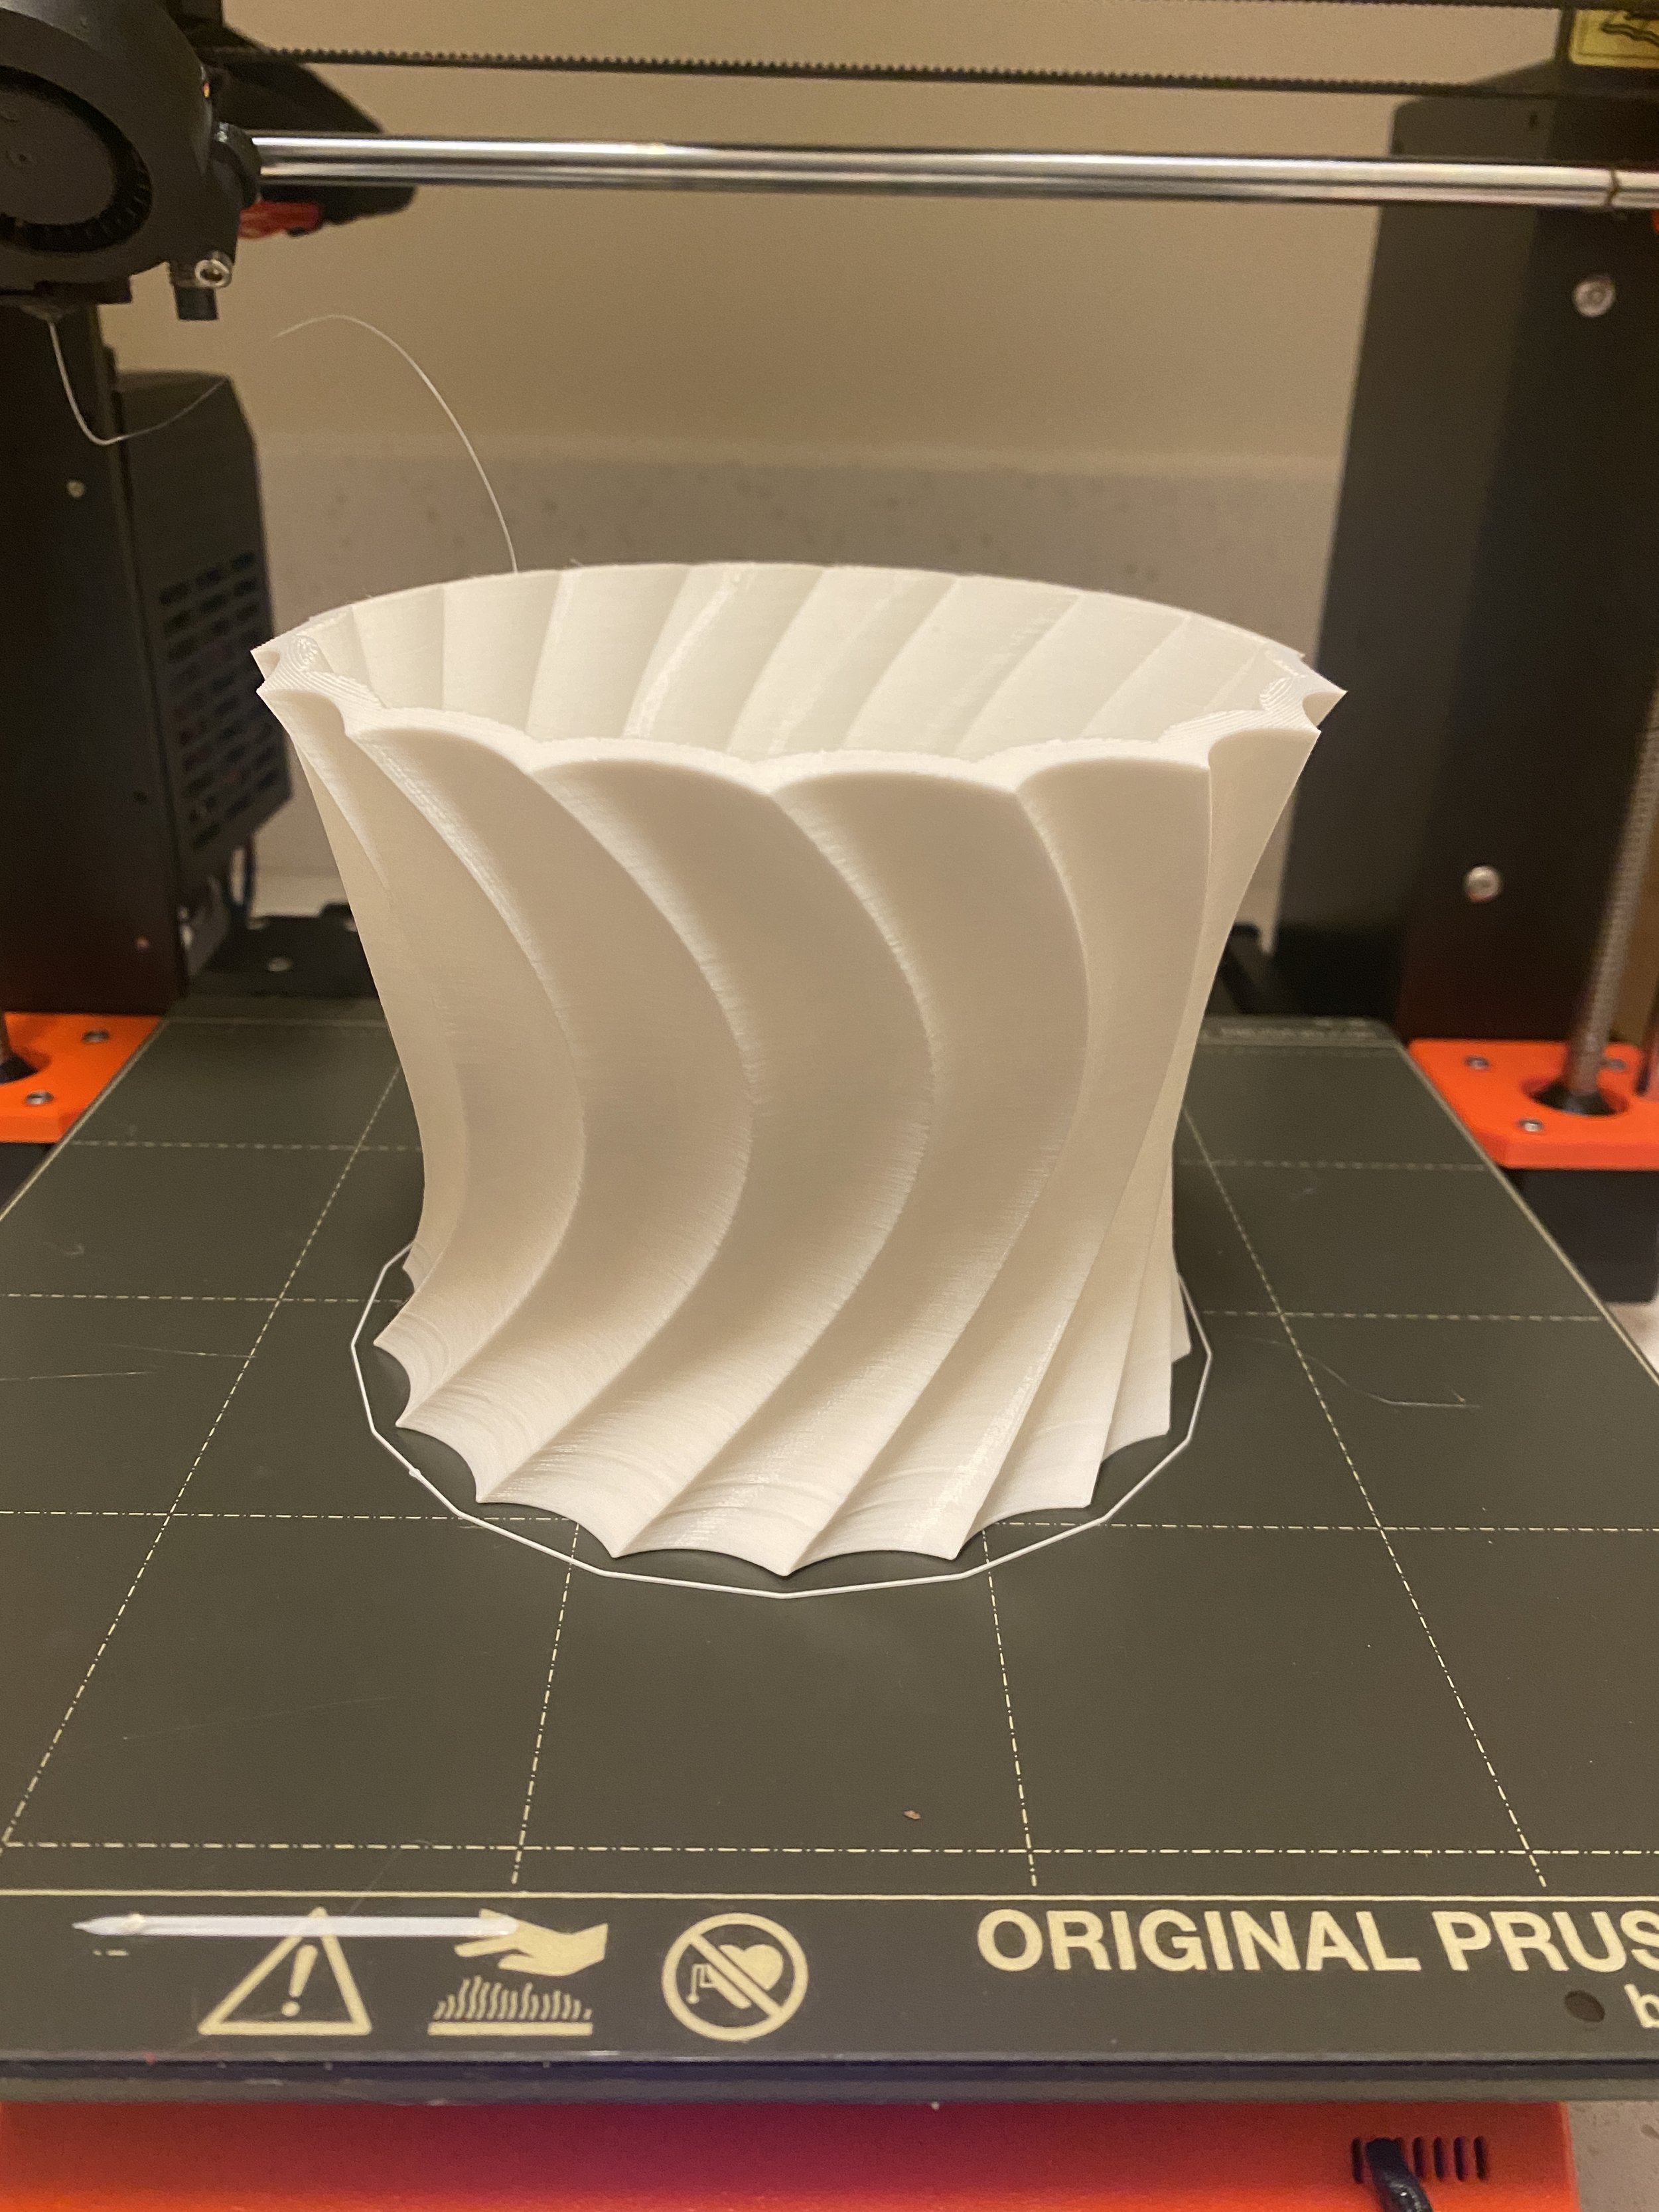
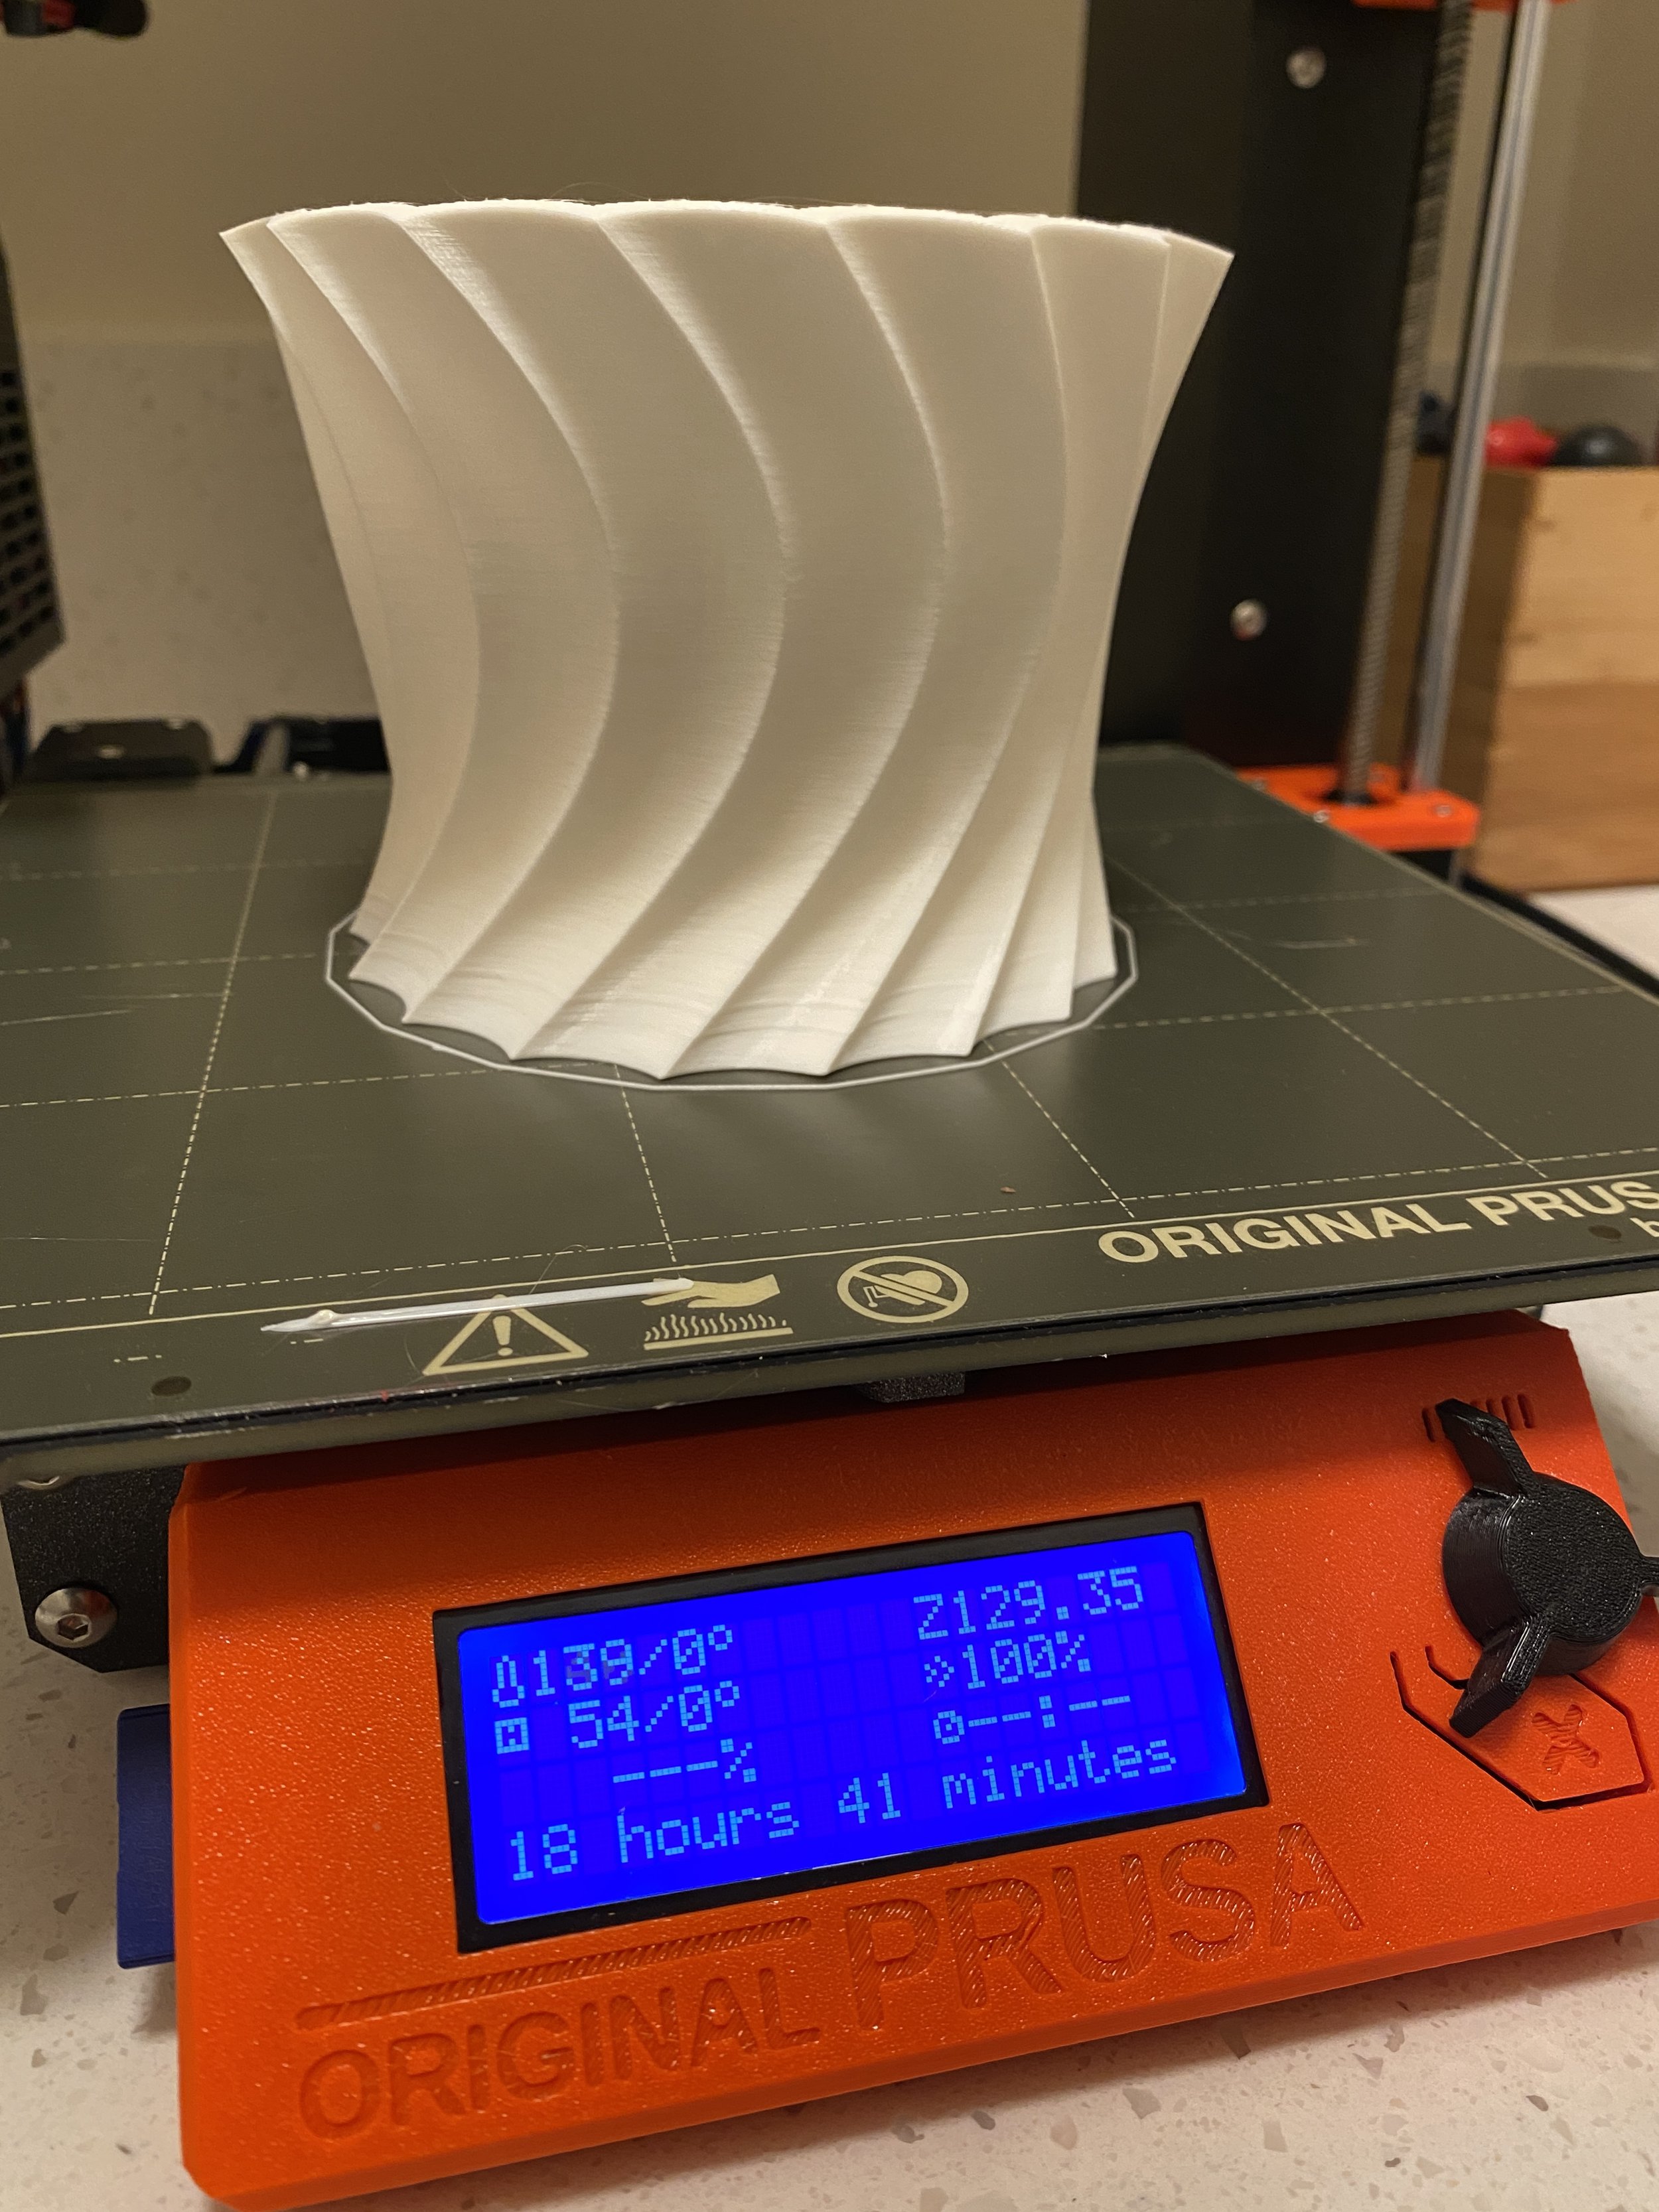
After almost 19 hours of printing, the first design turned out great!


I was very pleased with how this pot turned out. The overall shape looks modern and sculptural.
The rotating design has movement like a turbine.
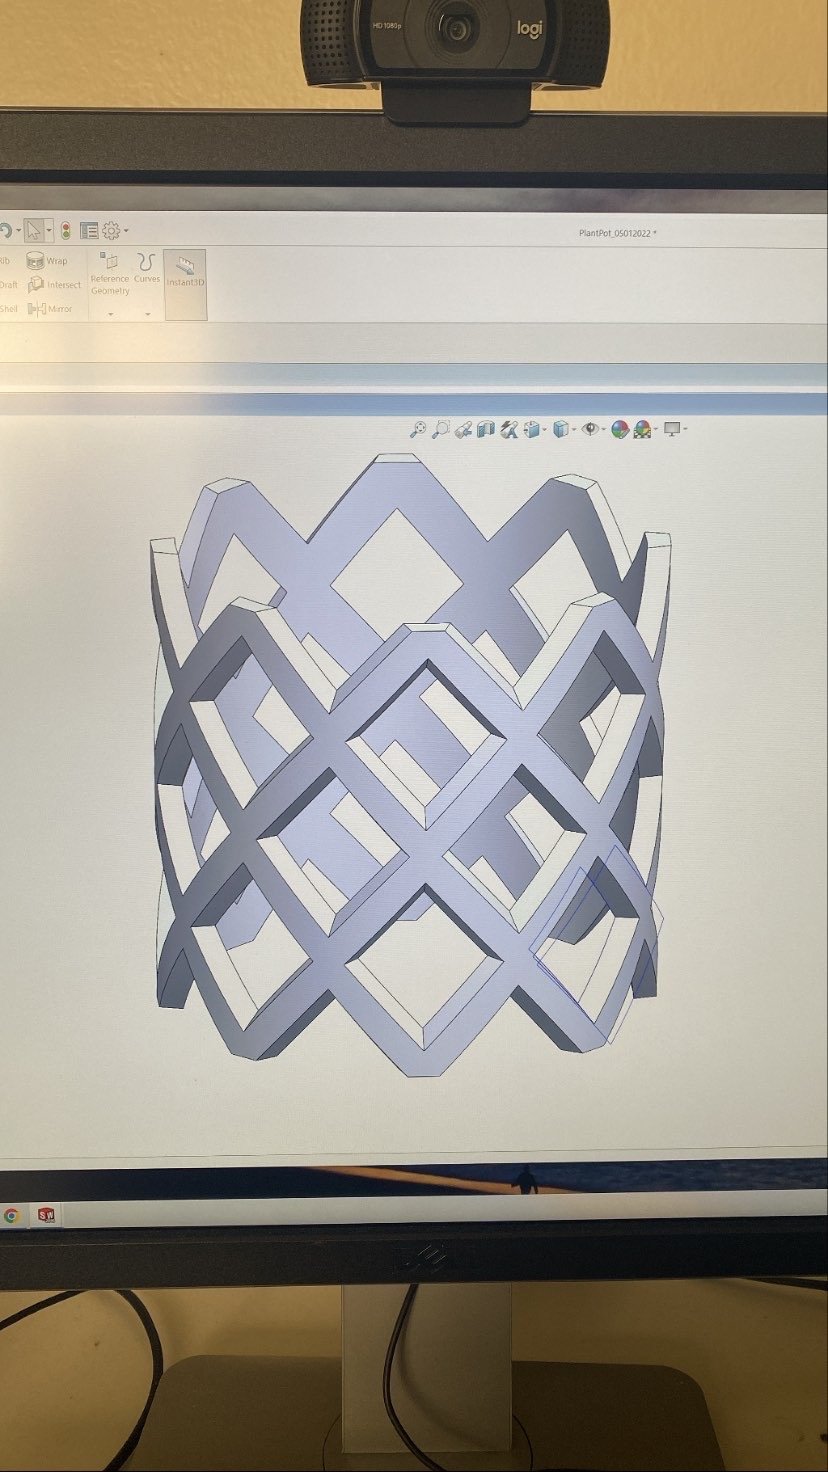
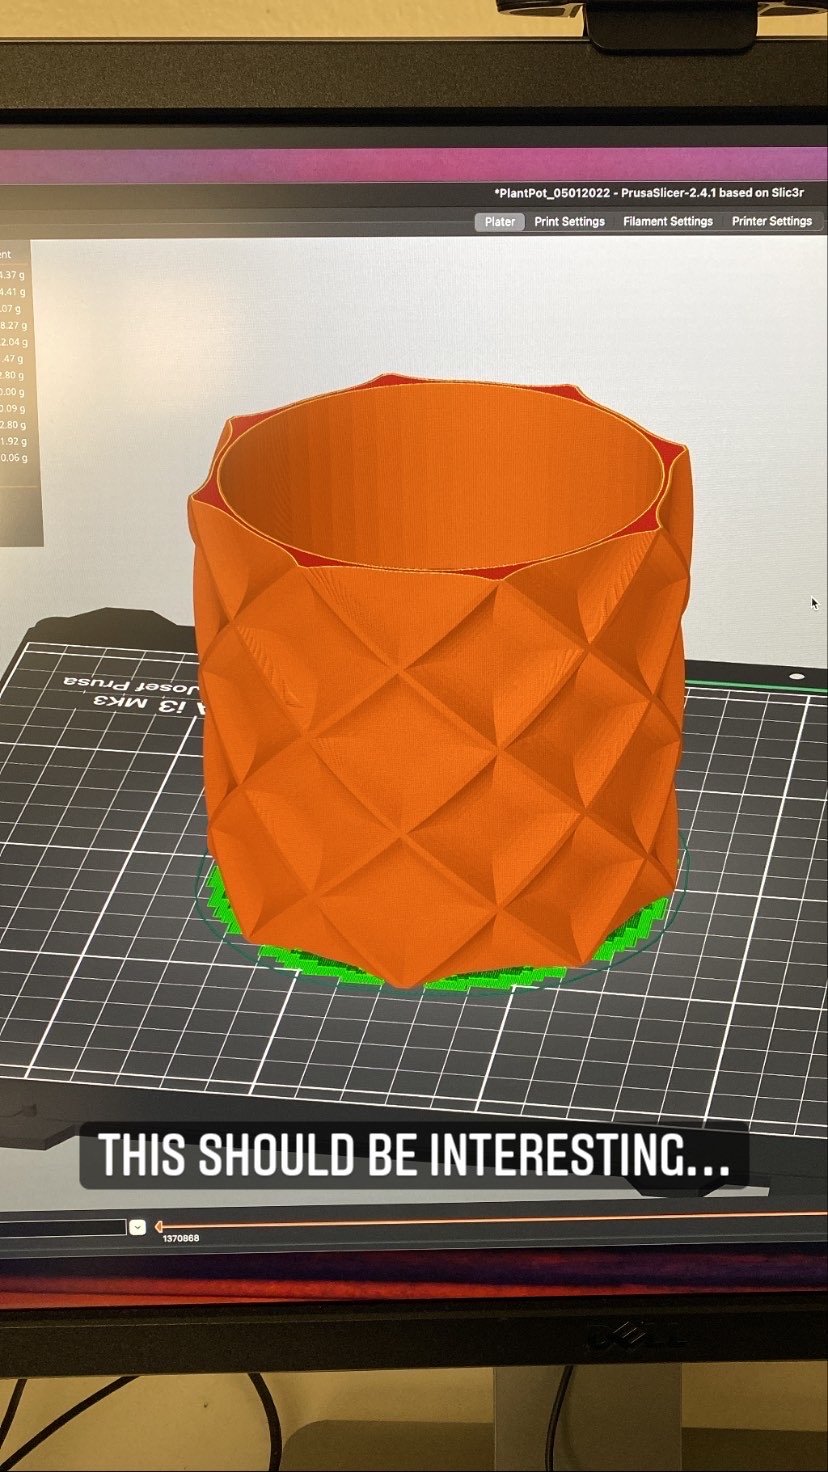
The next design I attempted to model was the “waffle” design. After a few attempts trying to emulate the scalloped surfaces I sketched, I settled upon creating a more geometric pattern and then added rounds to the inner surfaces to create a softer look. The pattern almost resembles a pineapple skin.
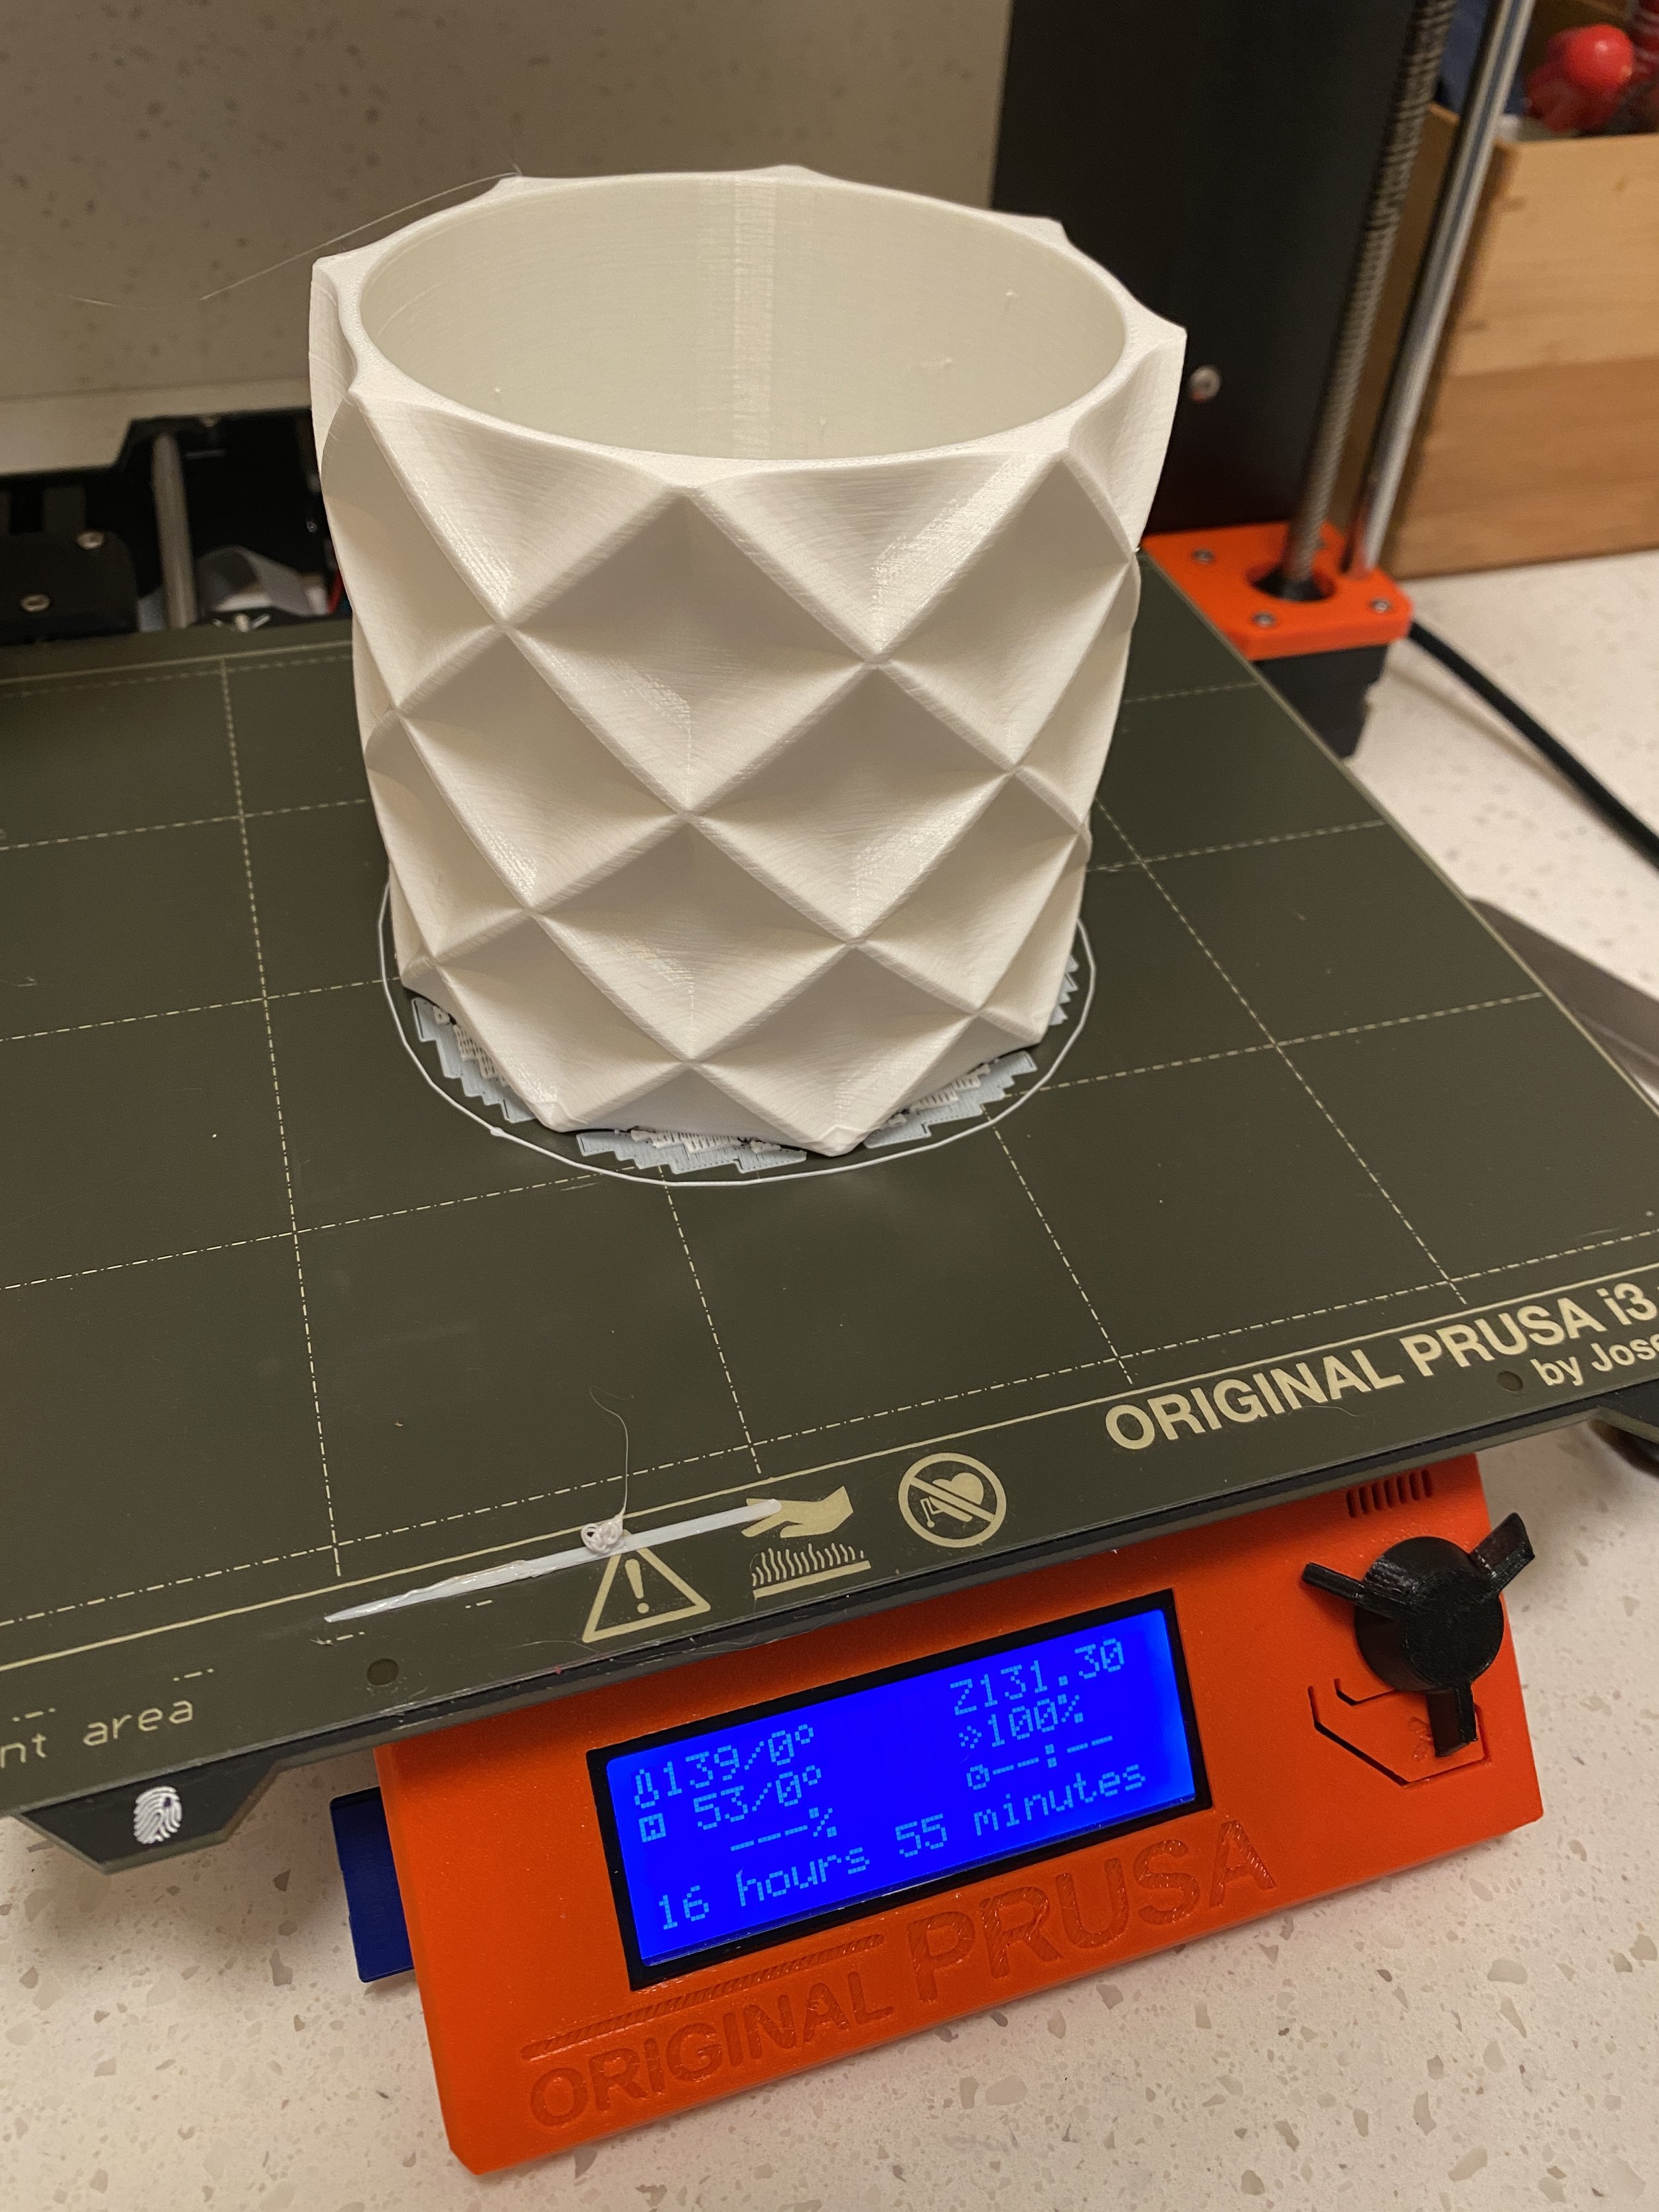

After 17 hours of printing, I was very satisfied with the result. The overall design looks more robust
compared to the more organic 1st design.


I’m very satisfied with how these first two designs turned out. I may create more designs in the near future. If theres enough interest, I may sell these pots individually.


