3D Printed Plant Pots


One thing I always wanted to do with a 3D printer was to create some interesting plant pots. I did an image search and saw some really interesting designs
that you couldn’t produce with conventional injection molding.


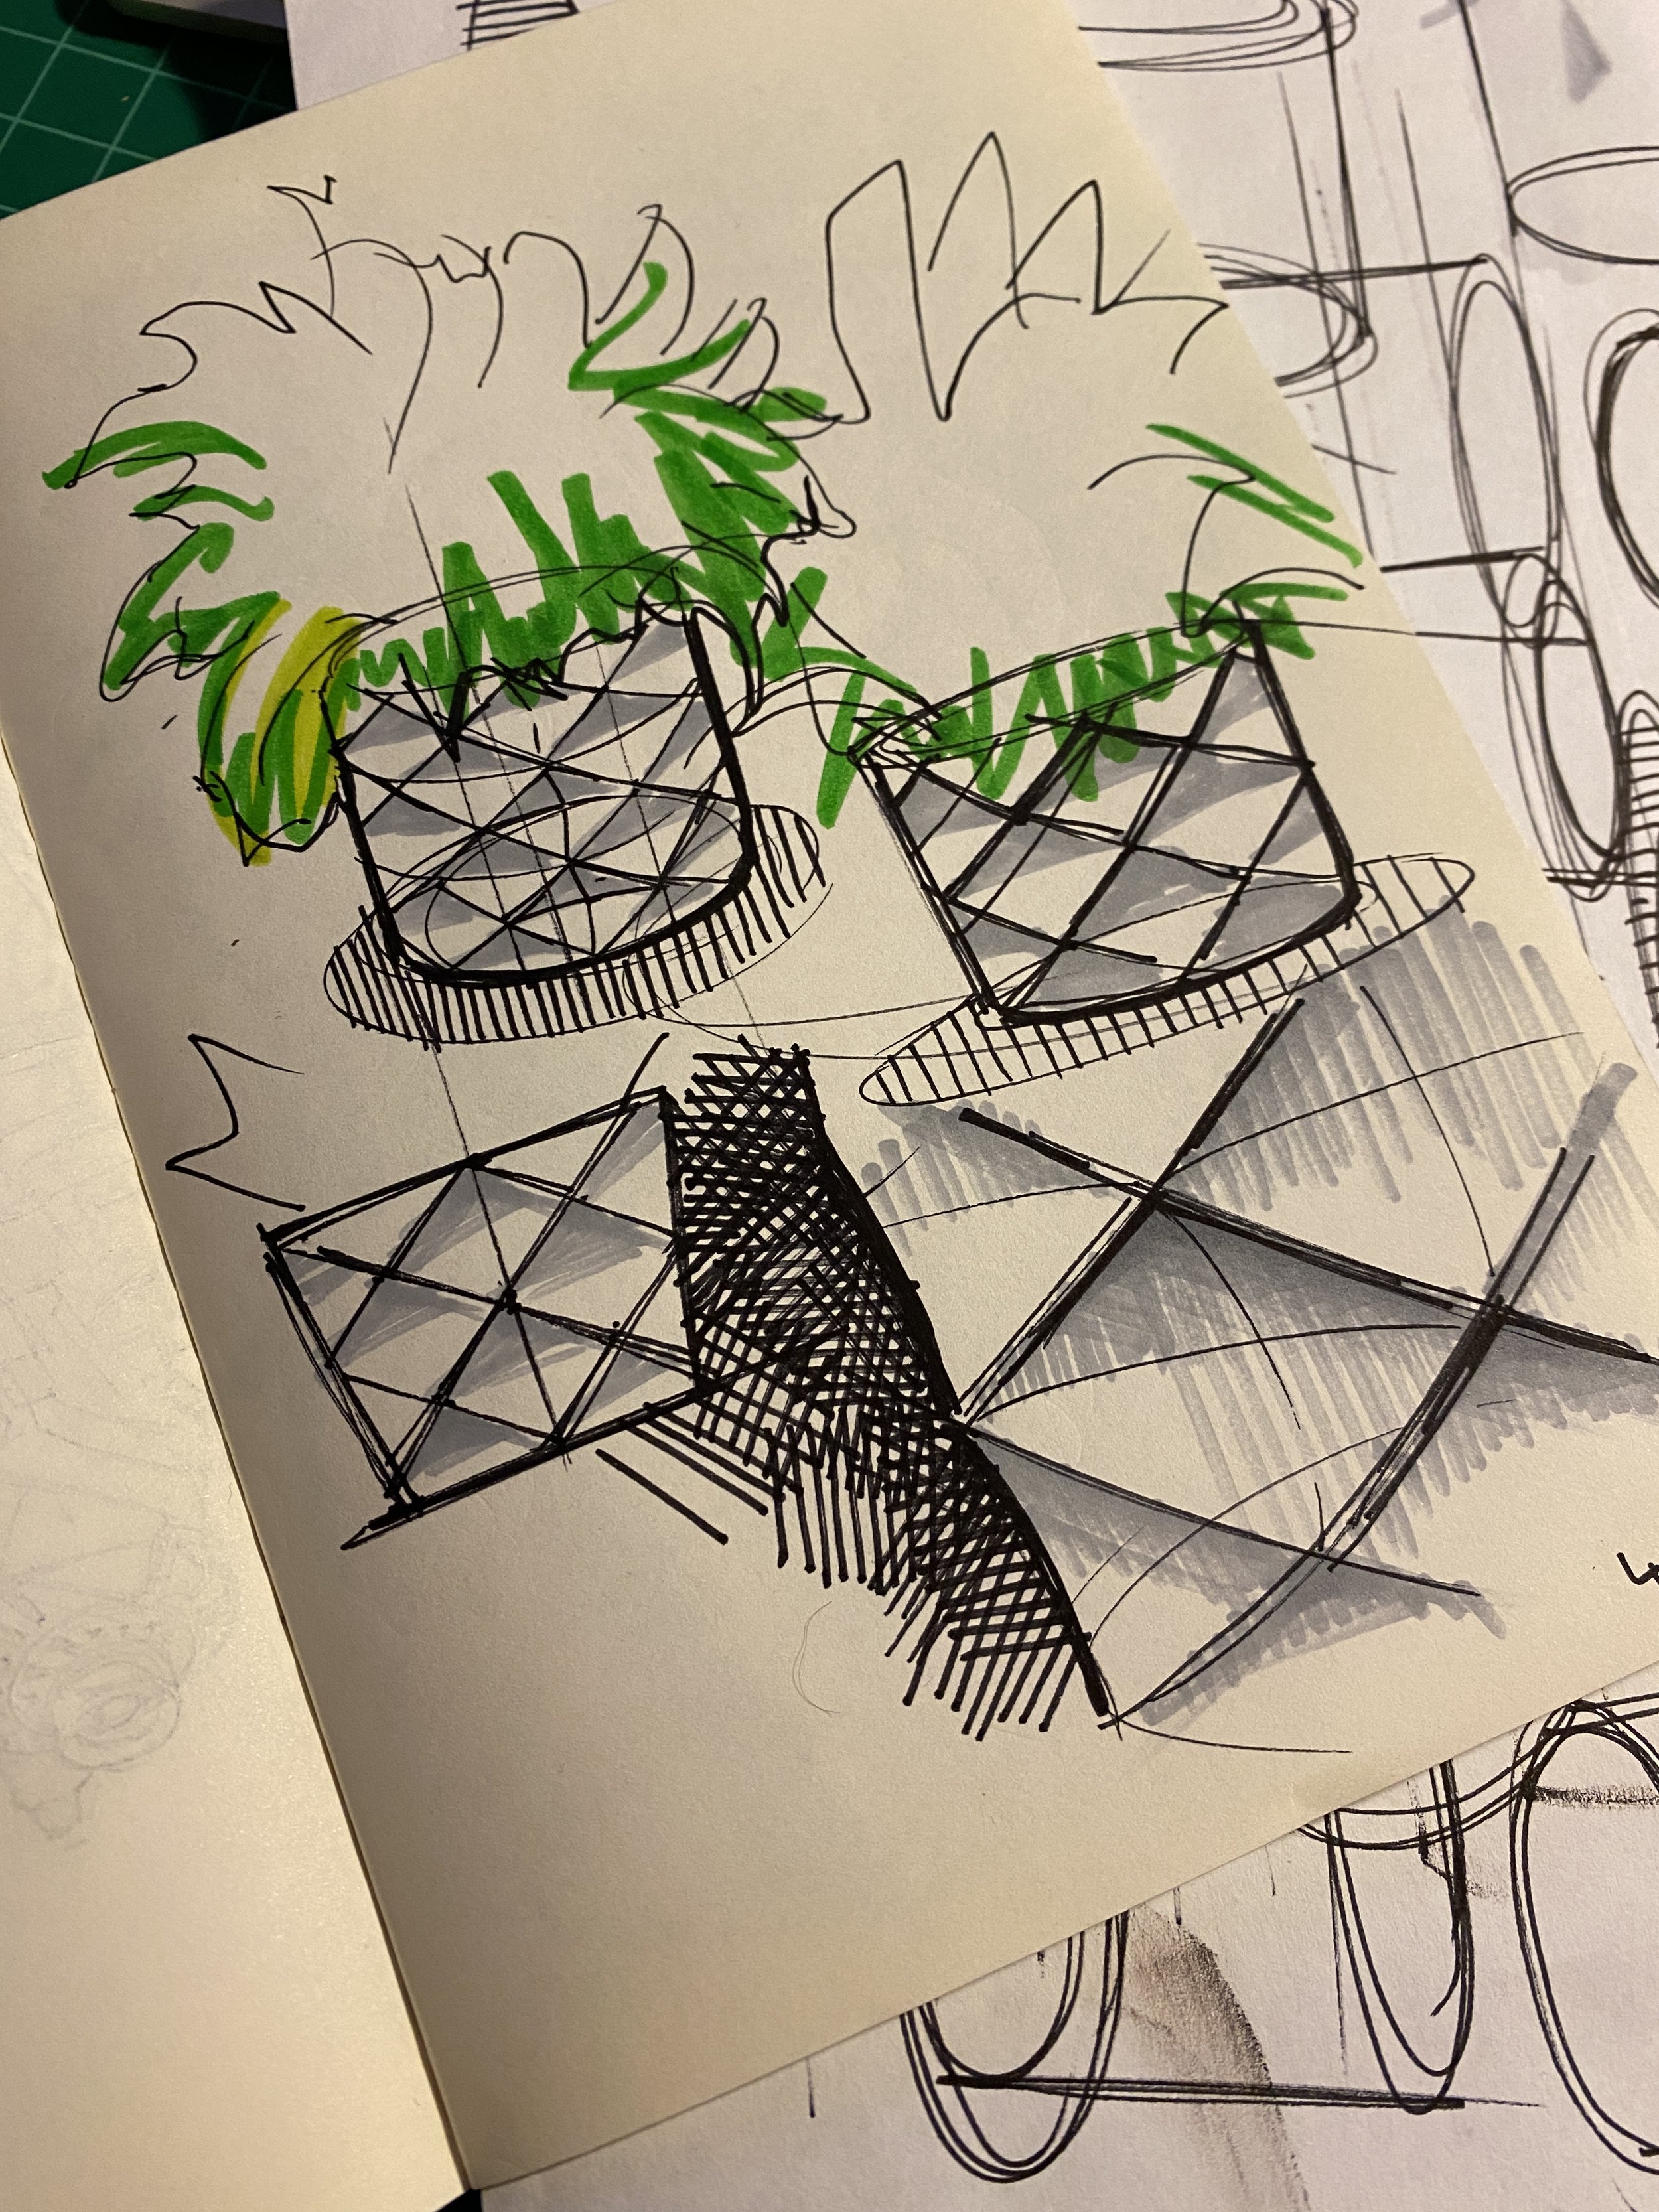
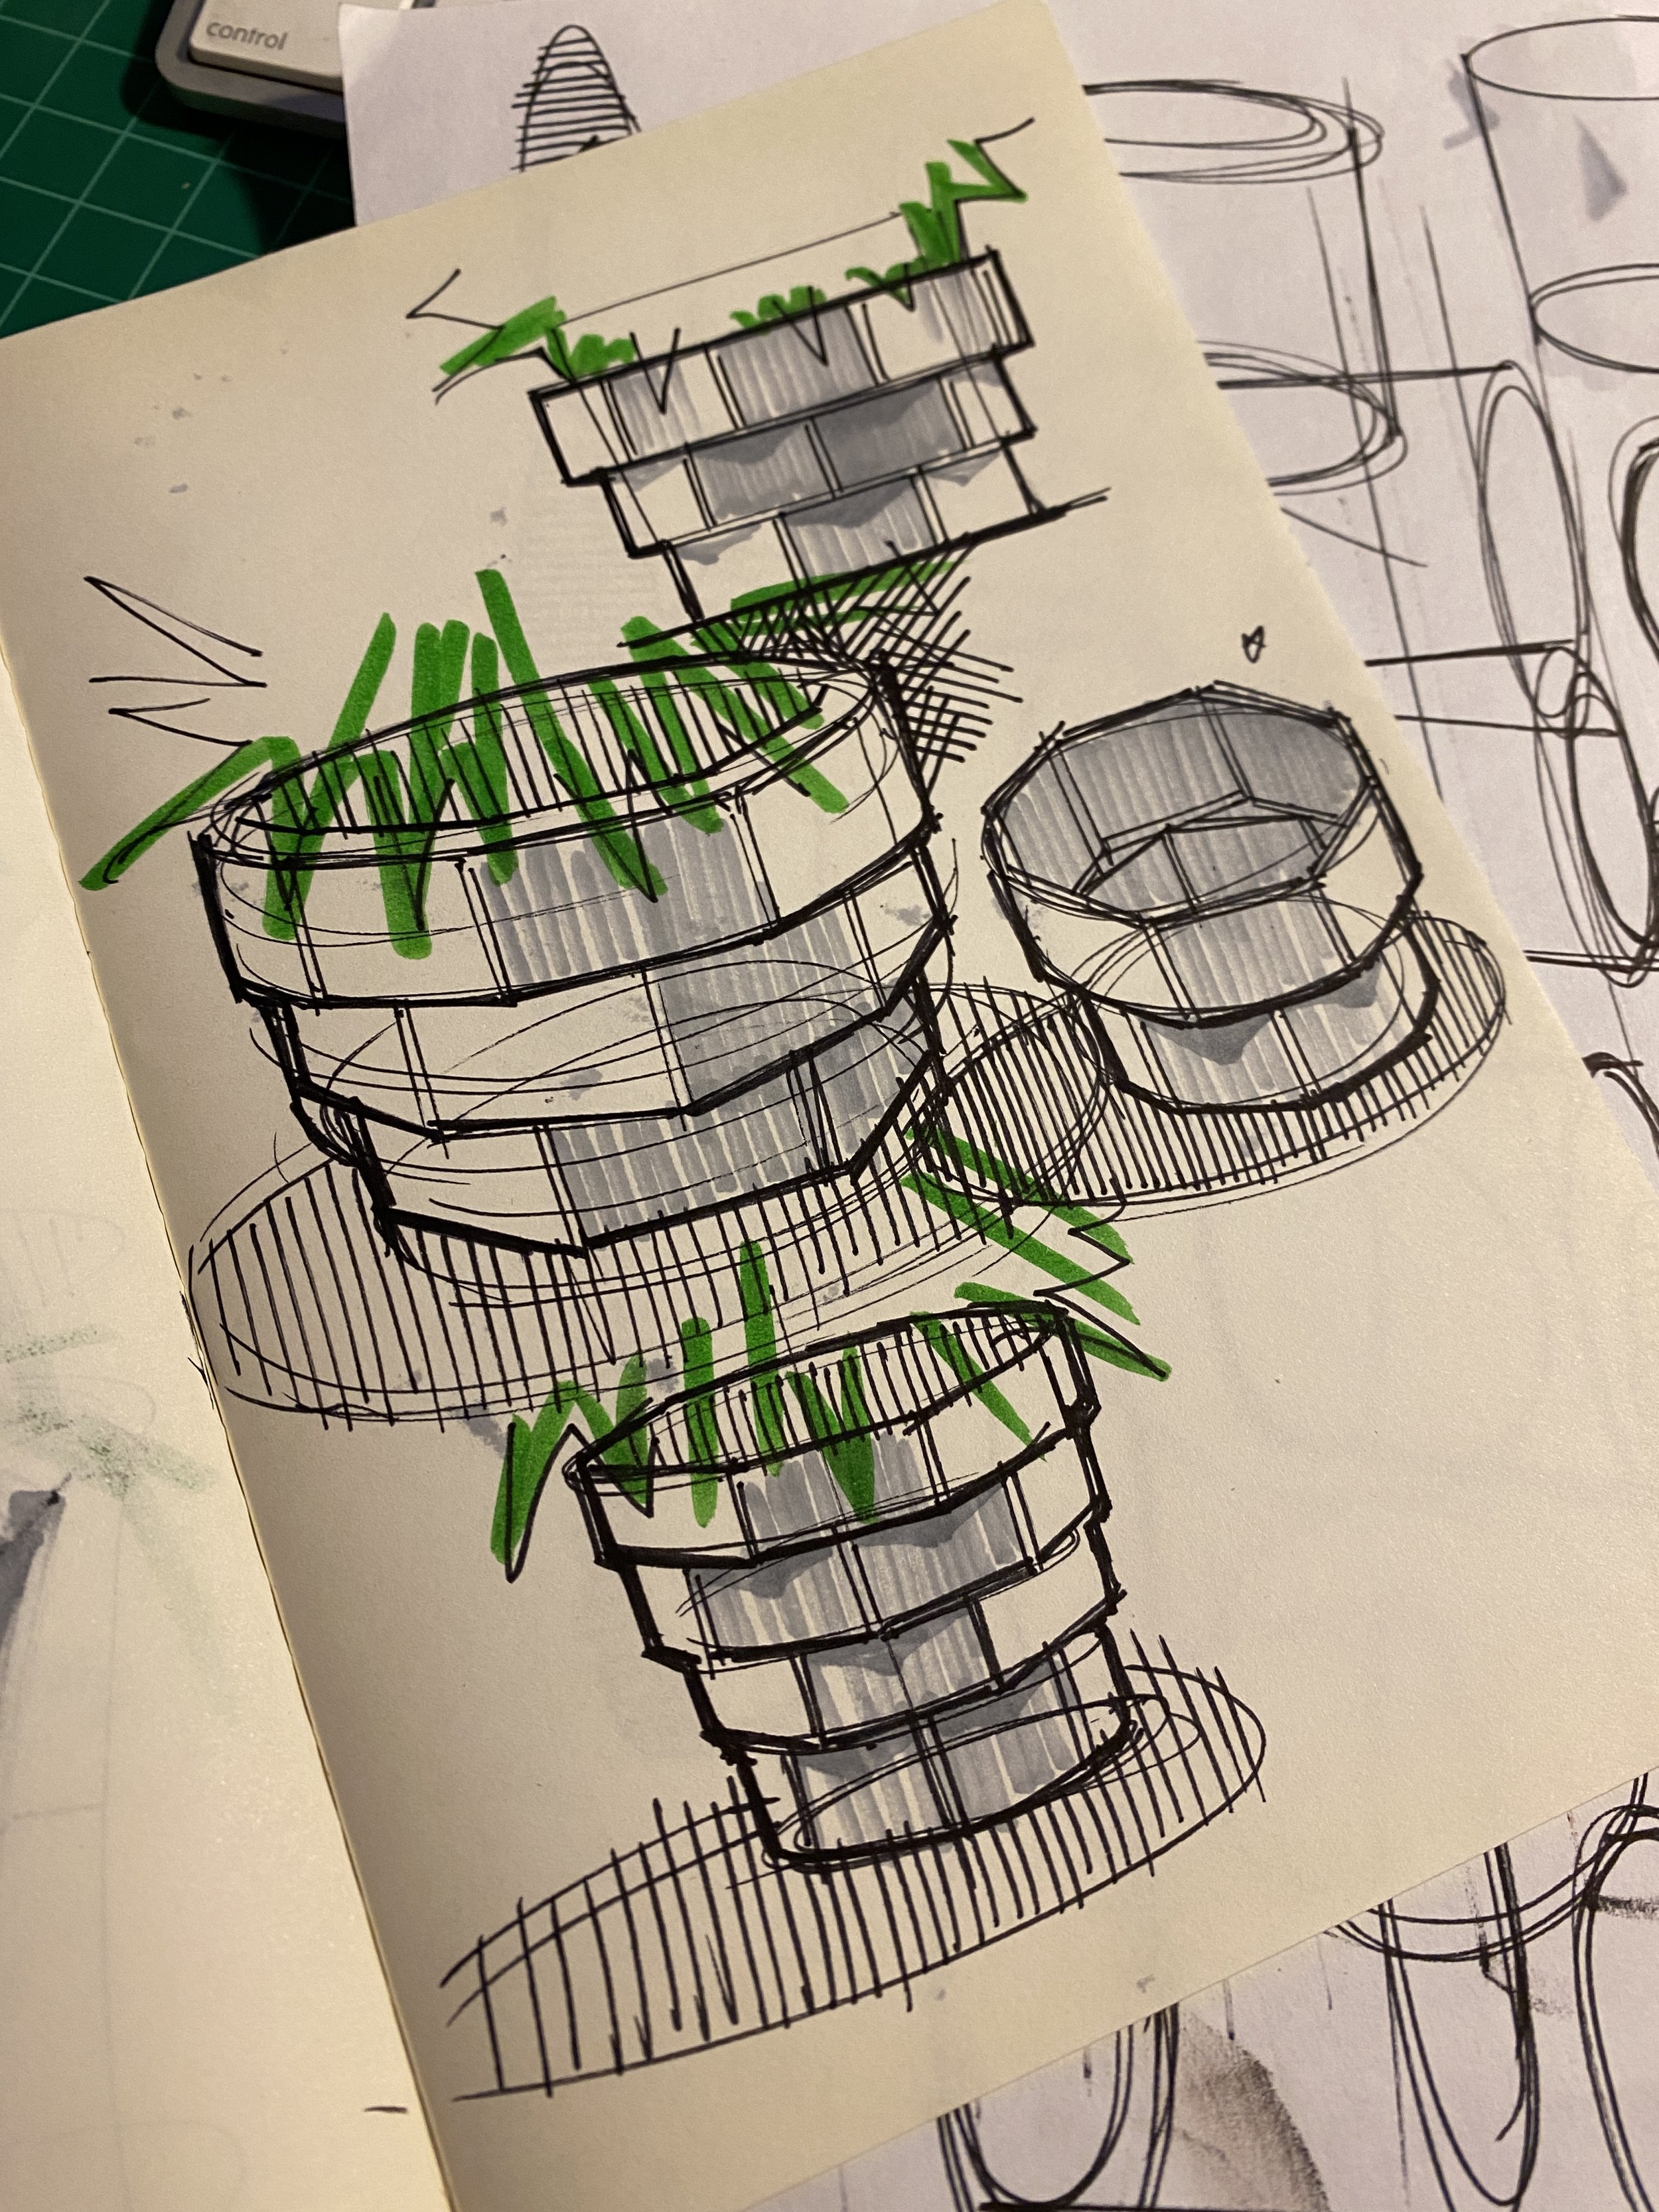
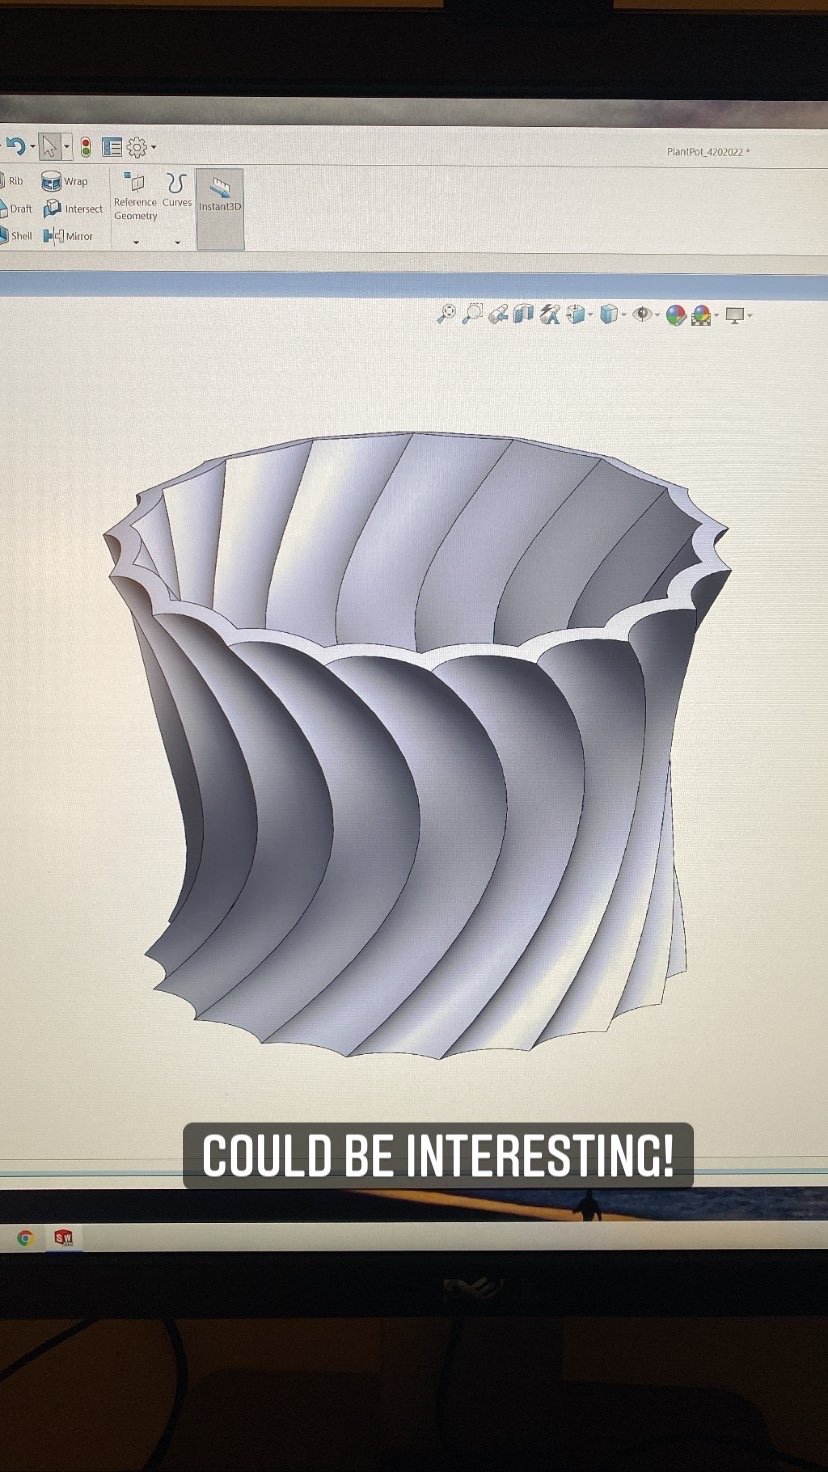
I sketched out three different types of ideas. The first is a “screw” type design. It’s a design that looked more scalloped and organic.
The second design involves a pillowed “waffle” design that wraps around the pot. With the third design, I sketched out a more geometric idea that where each layer resembled a ring of bricks.


Amongst the three, I liked the “screw” design the best, and wanted to see how it can be made. With Adobe Illustrator, I explored different types of profiles. Some profiles were more dense, while other profiles were more organic or geometric.


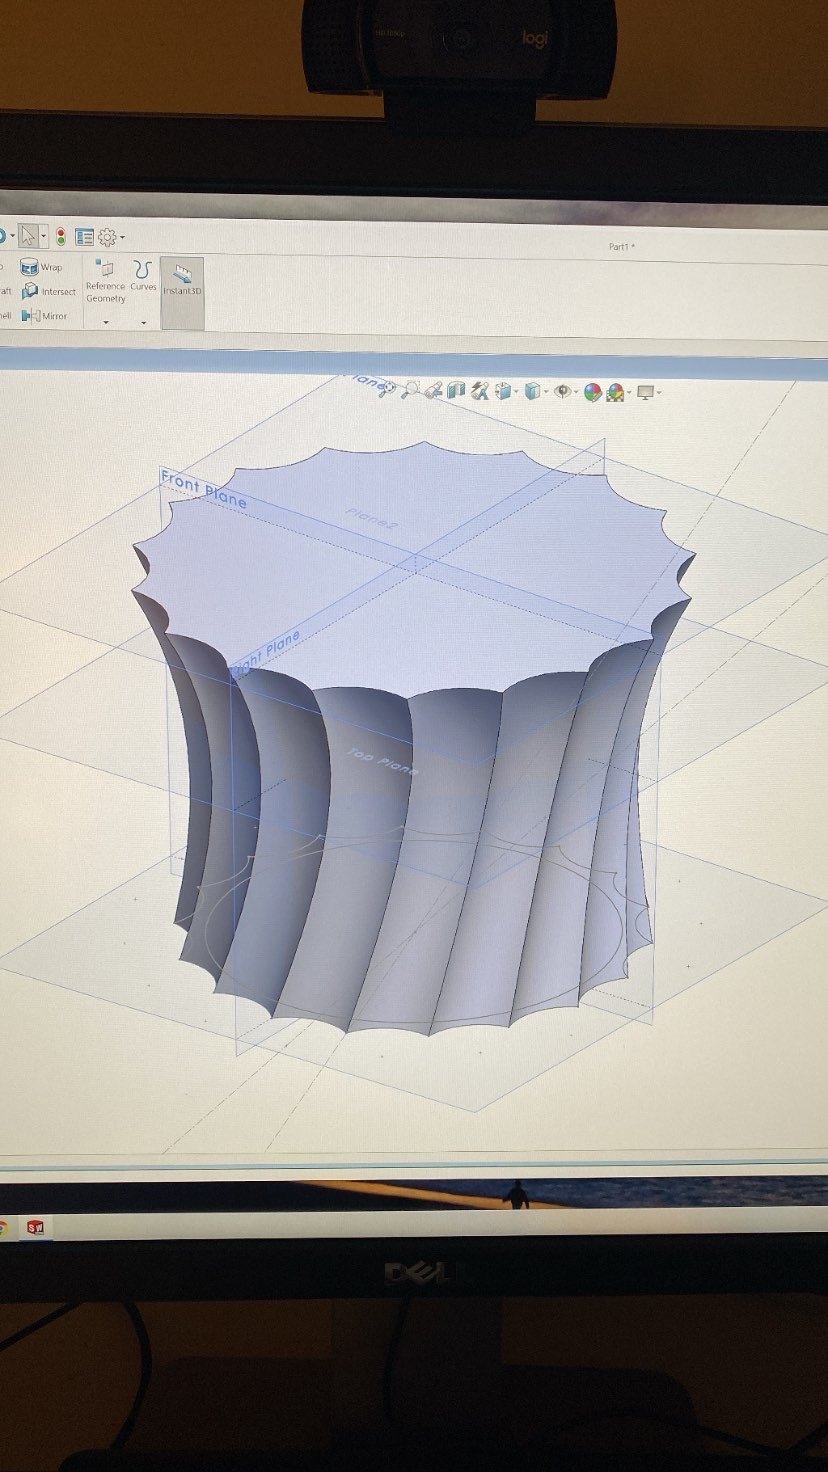
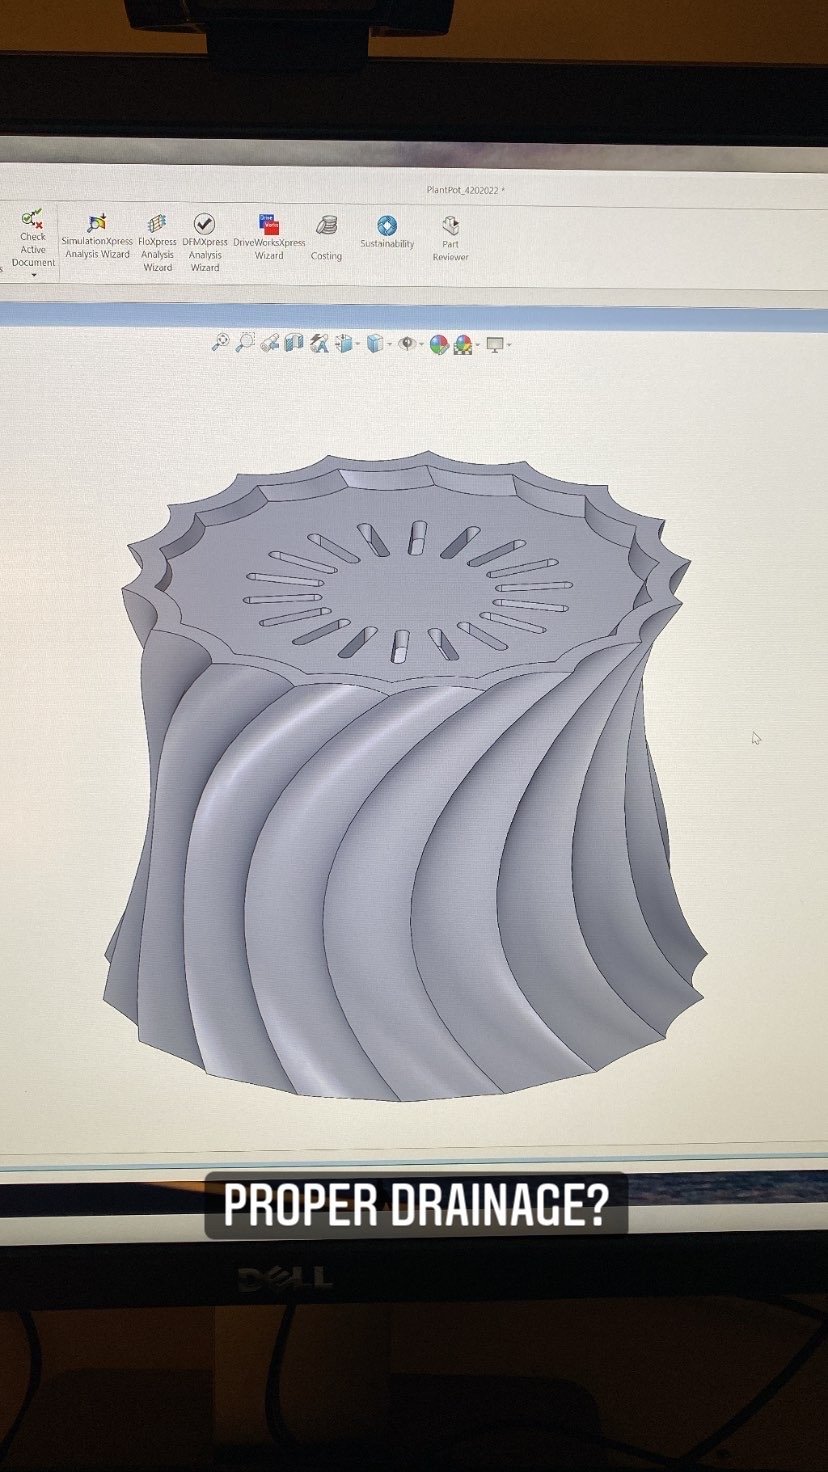
Using Solidworks, I tried modeling a few of these profiles and liked the scalloped profile the best. I copied the profile onto three planes and experimented with size and rotation to get the right shape. After finding the right shape, I added a base with drainage holes that features a rotated pill-shaped hole design.


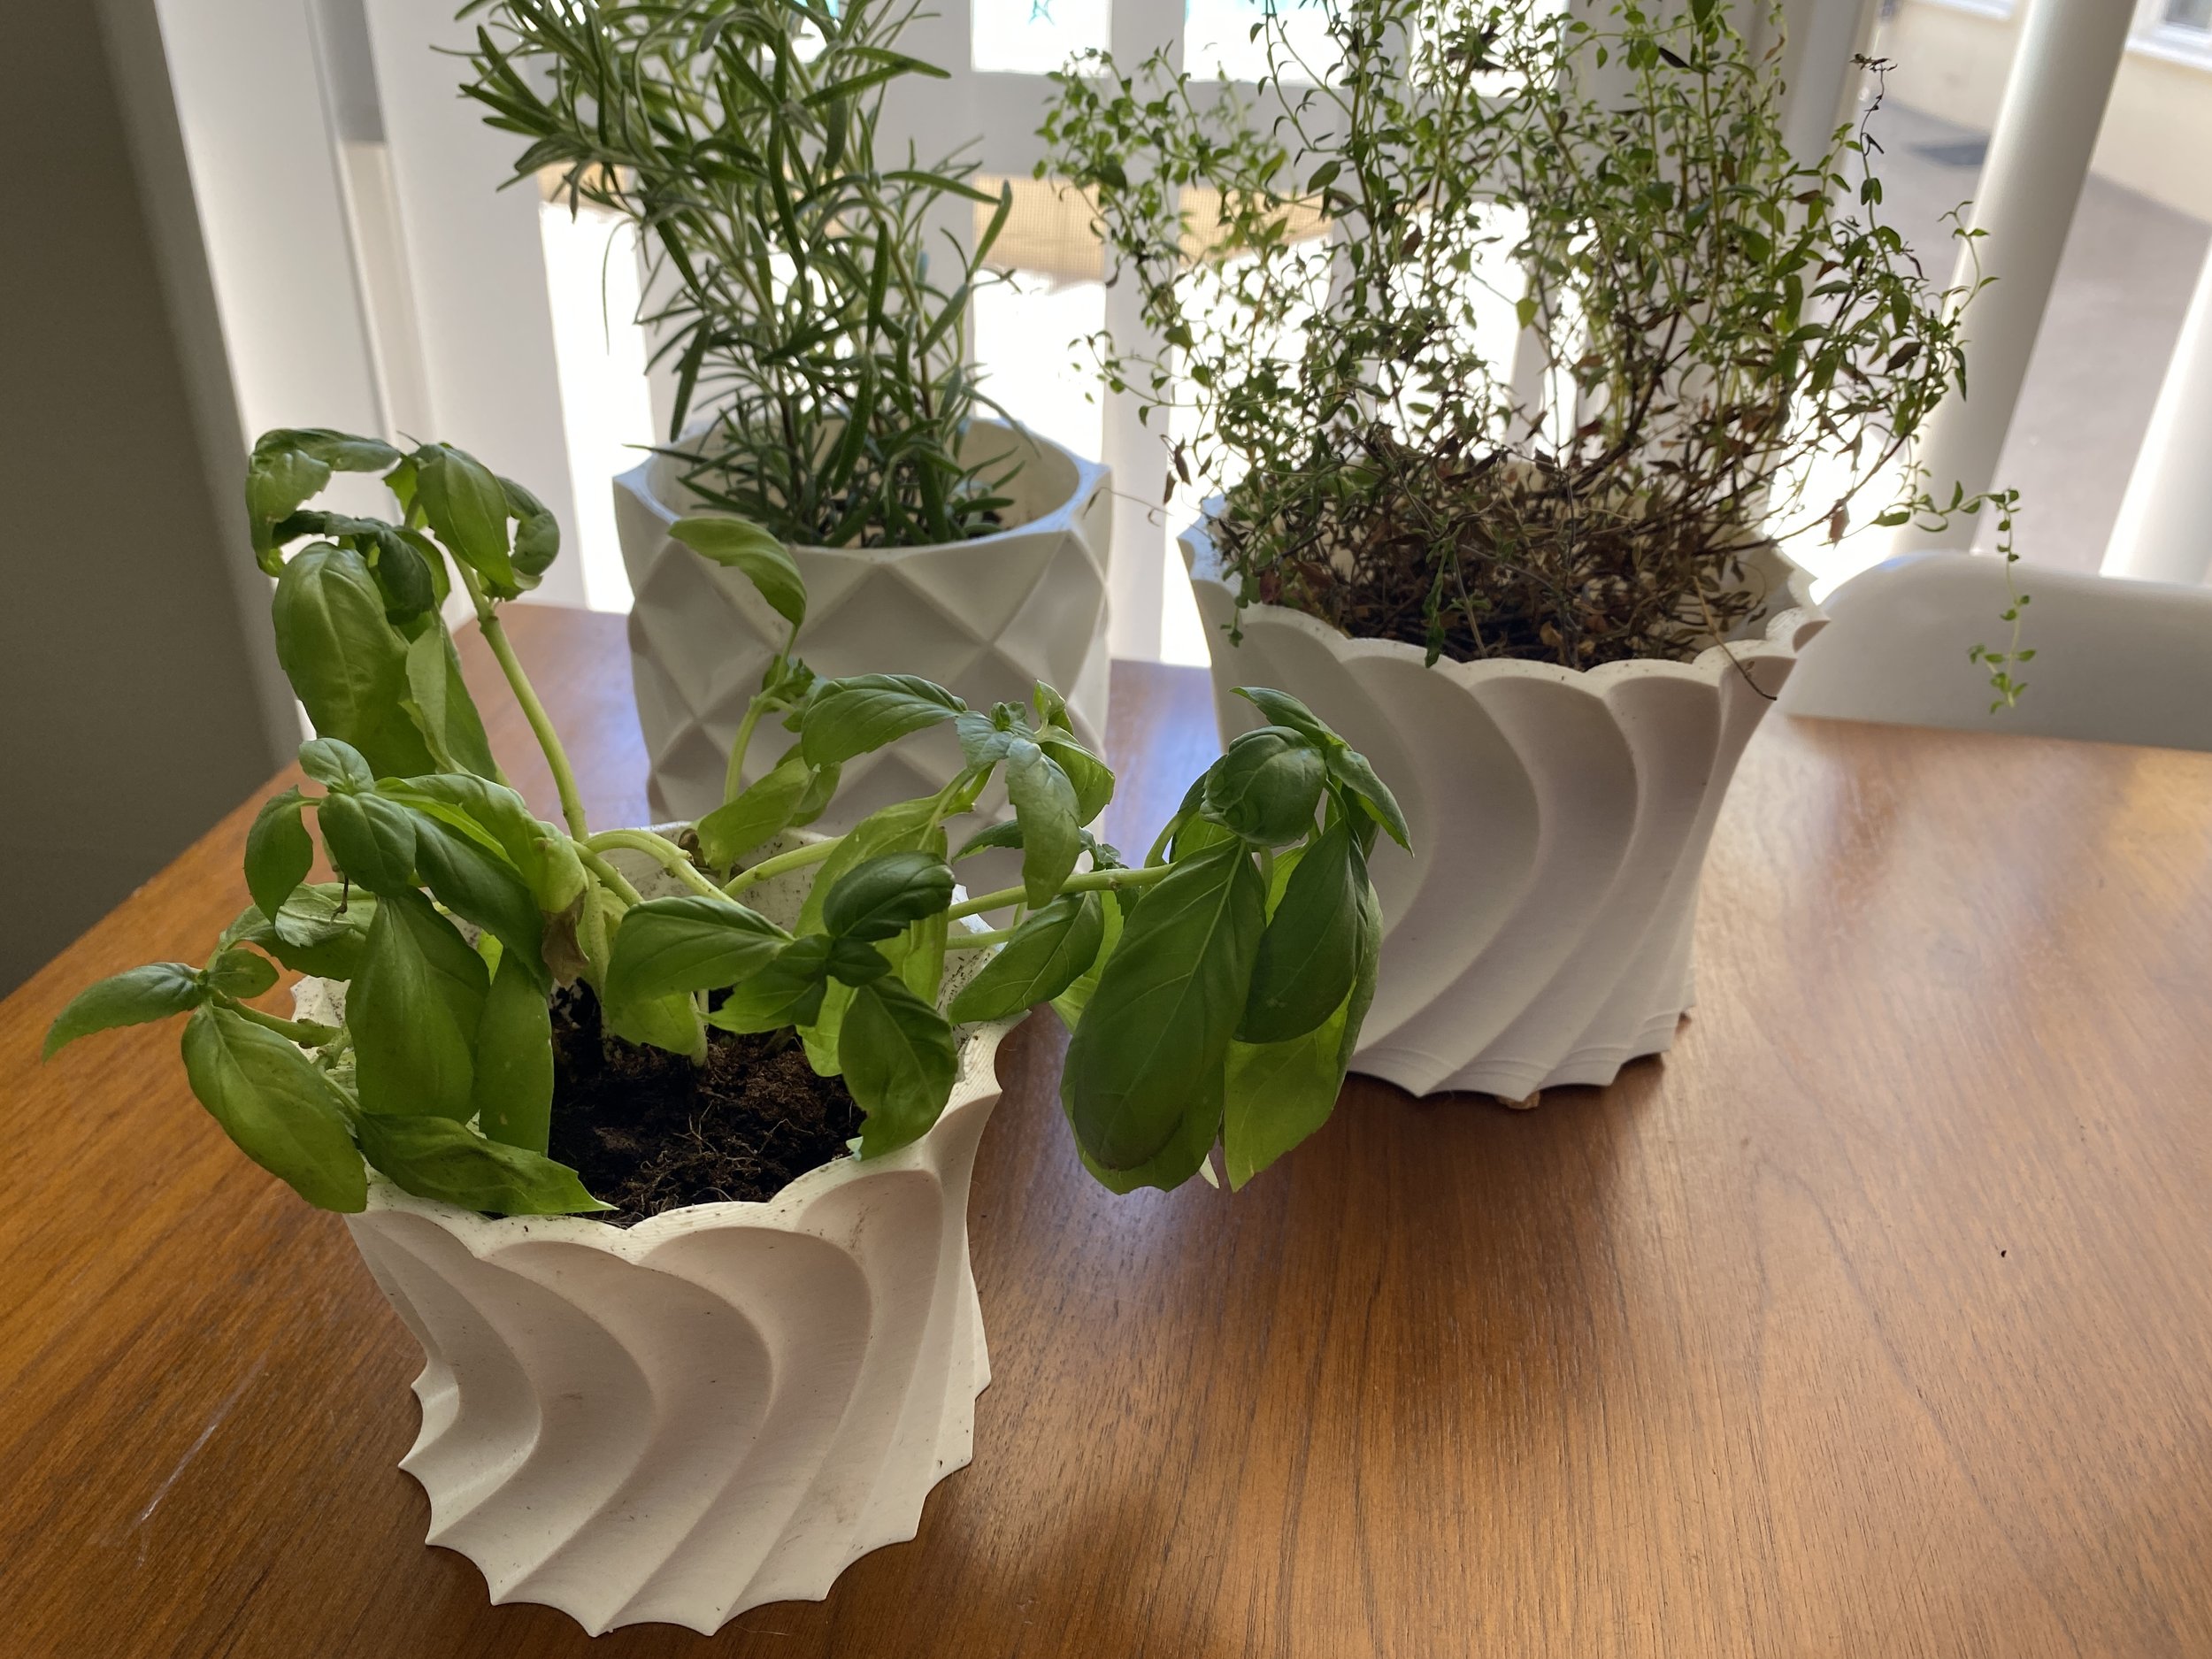
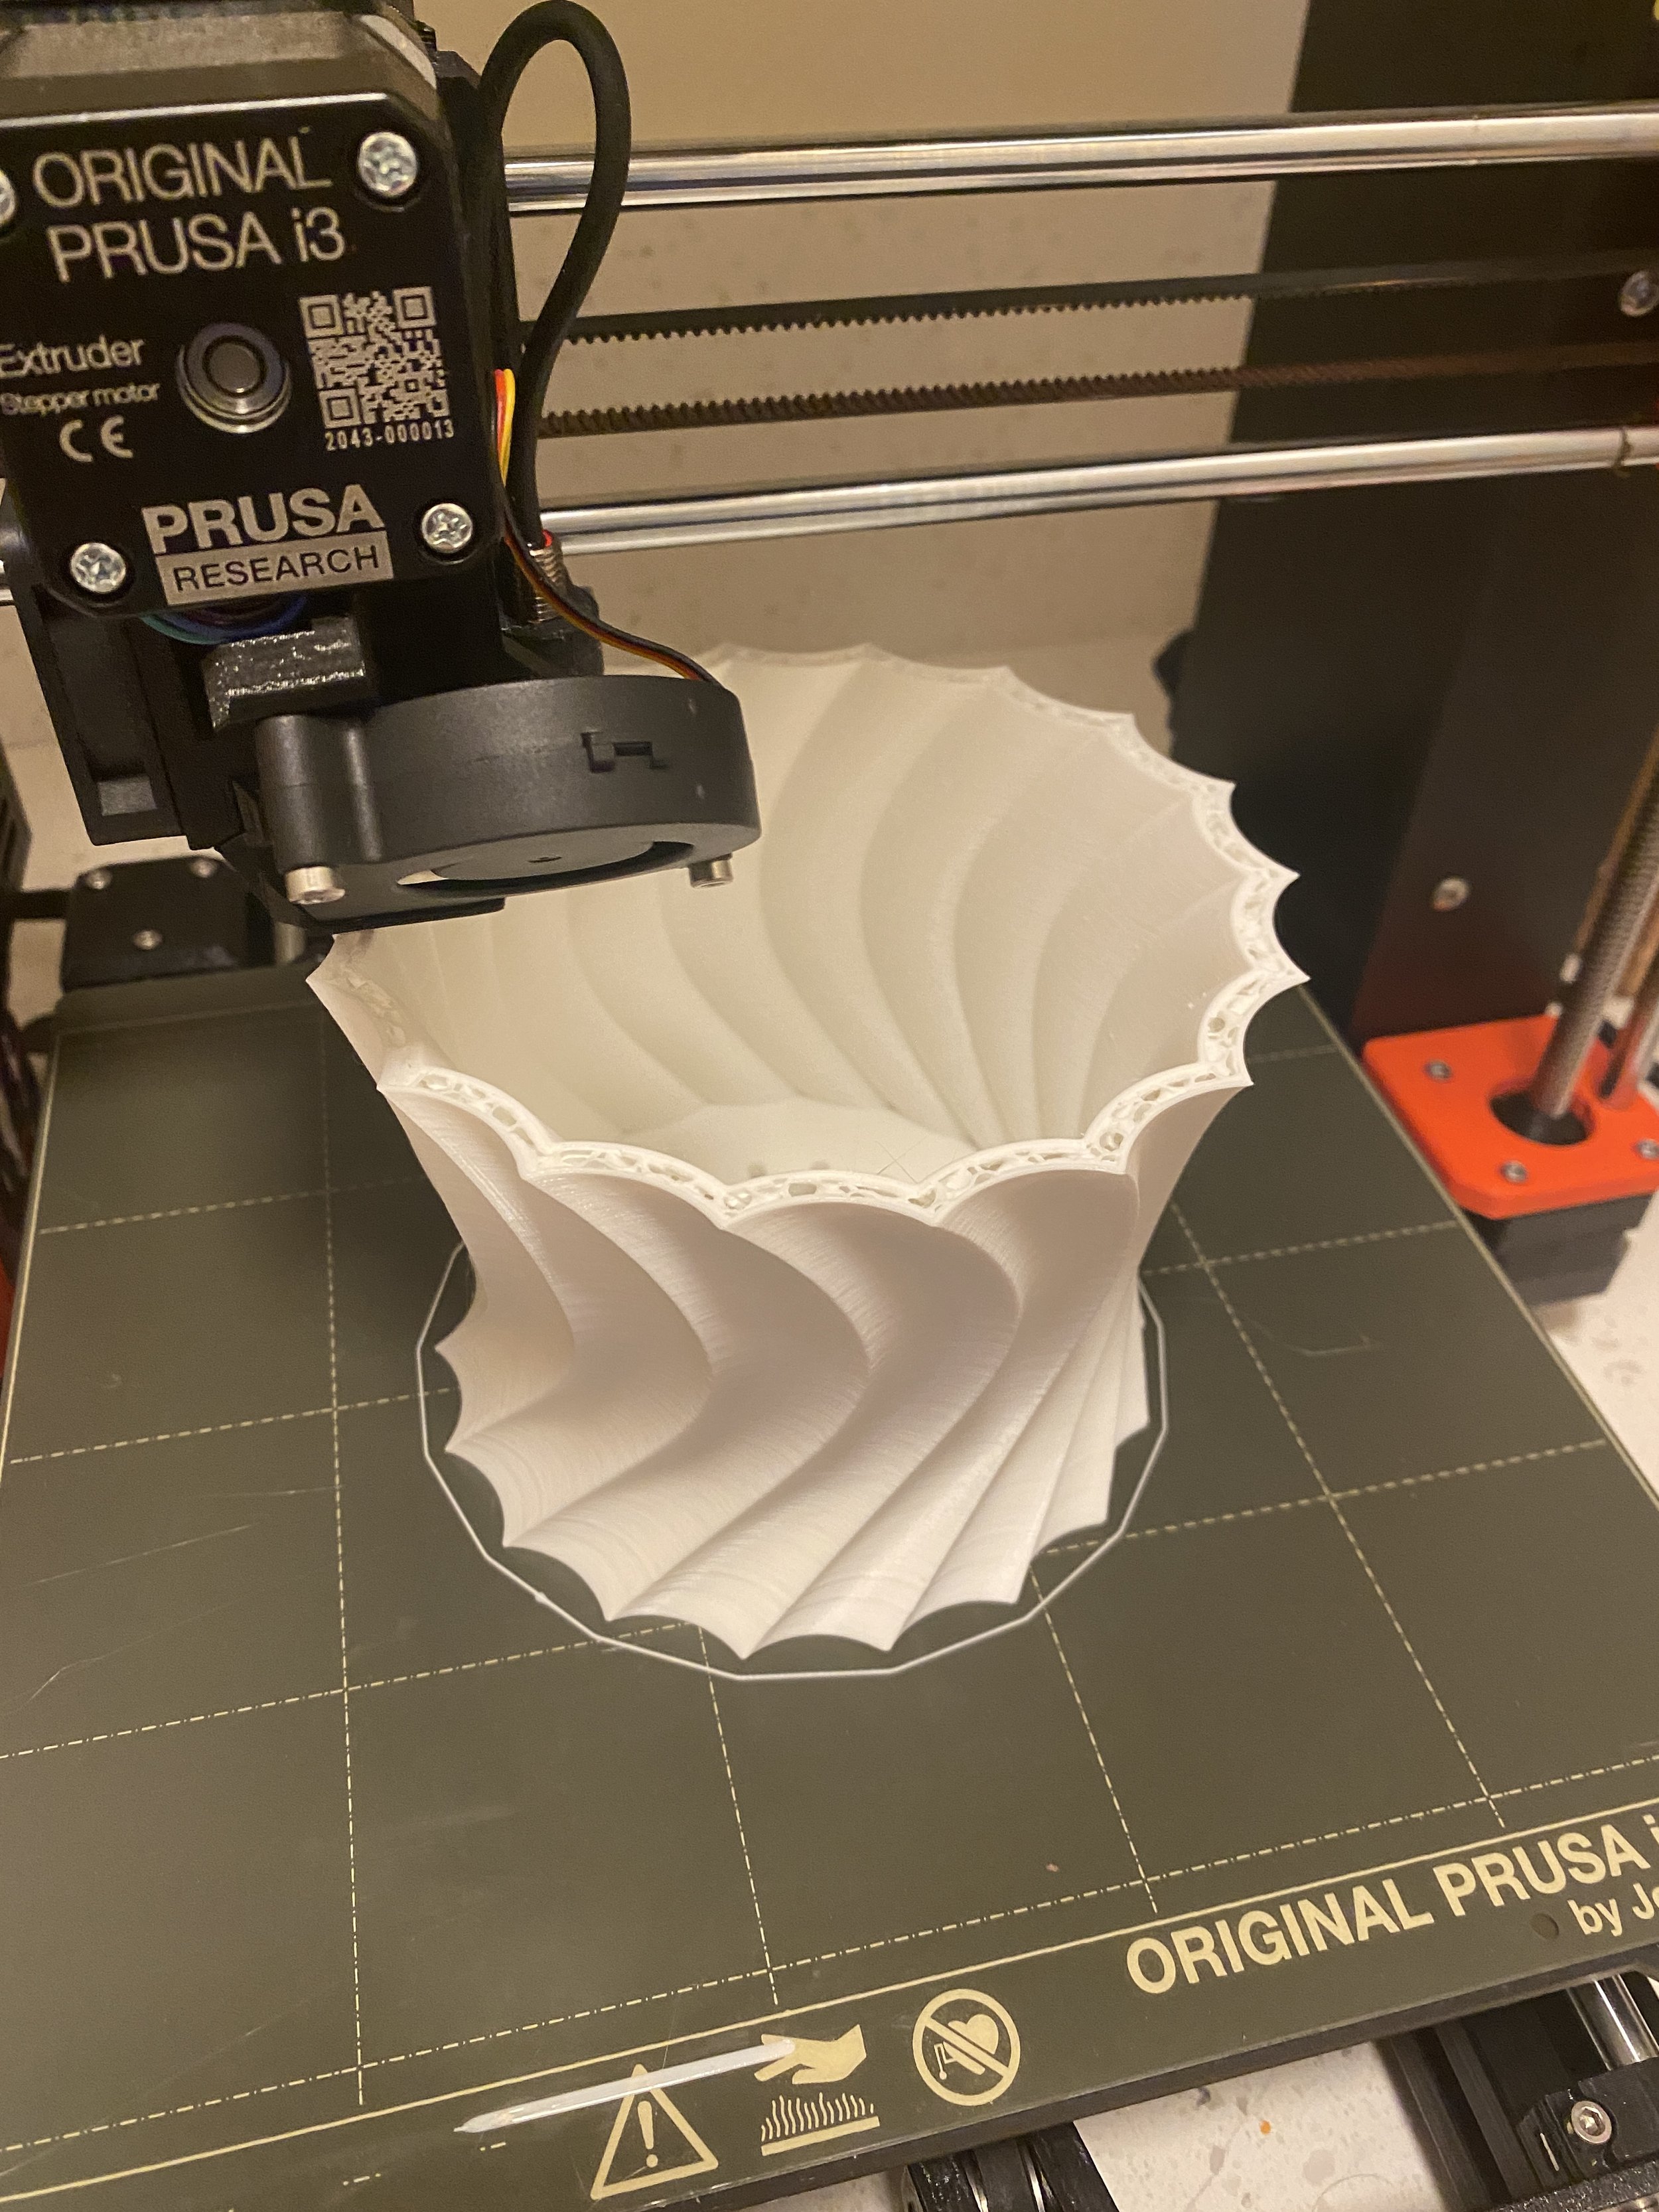
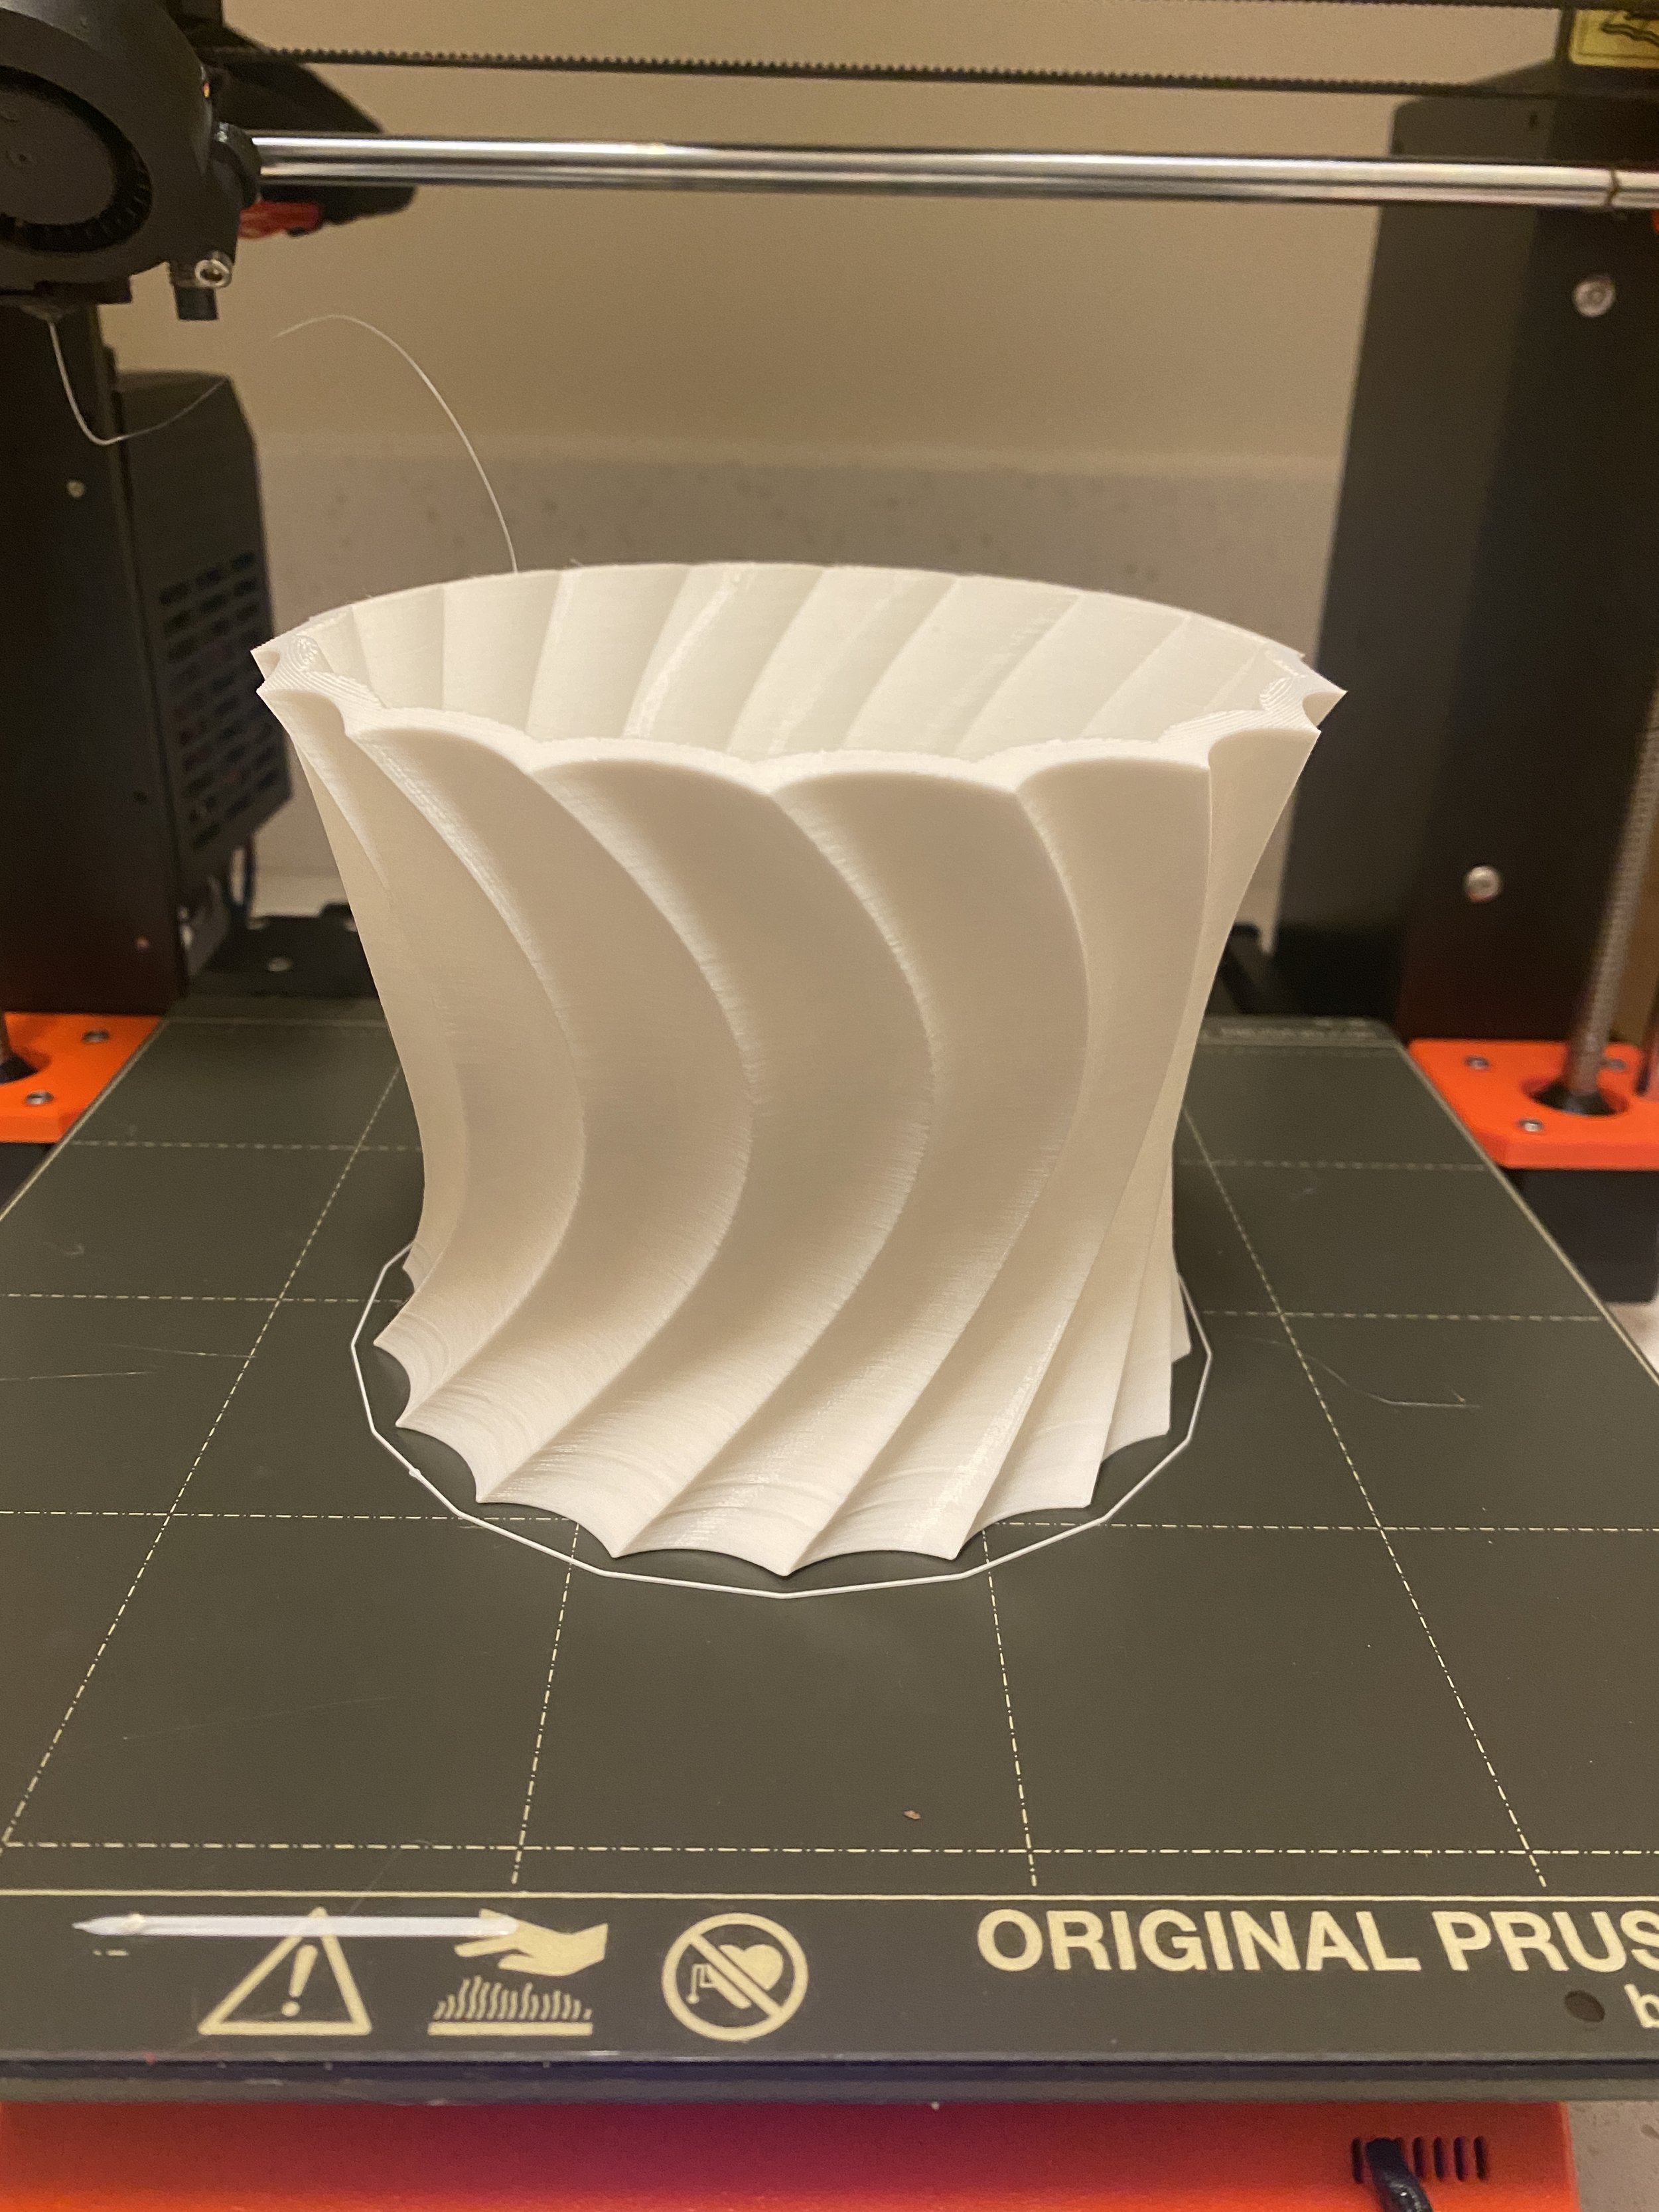
After almost 19 hours of printing, the first design turned out great!


I was very pleased with how this pot turned out. The overall shape looks modern and sculptural.
The rotating design has movement like a turbine.


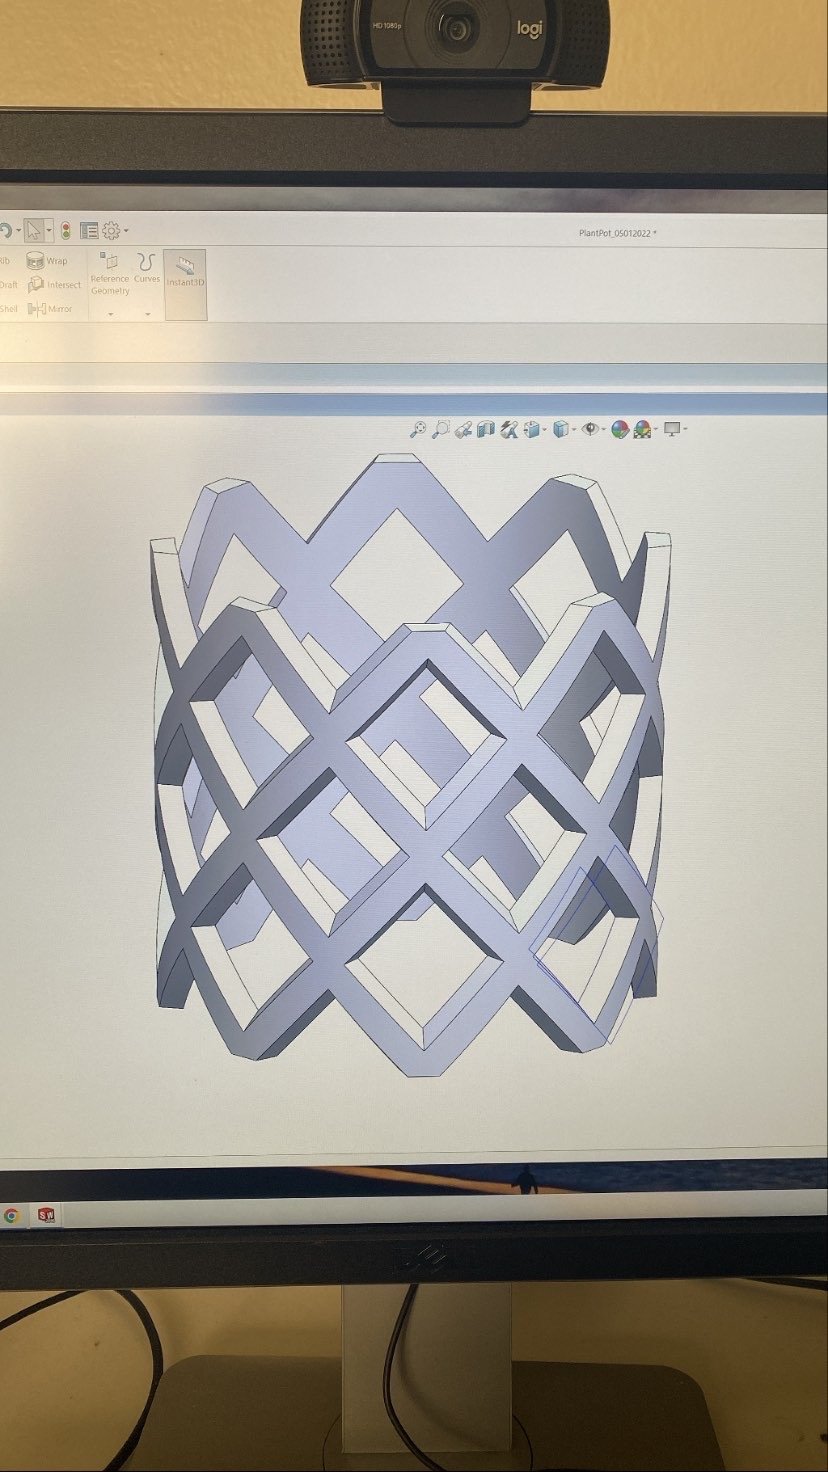
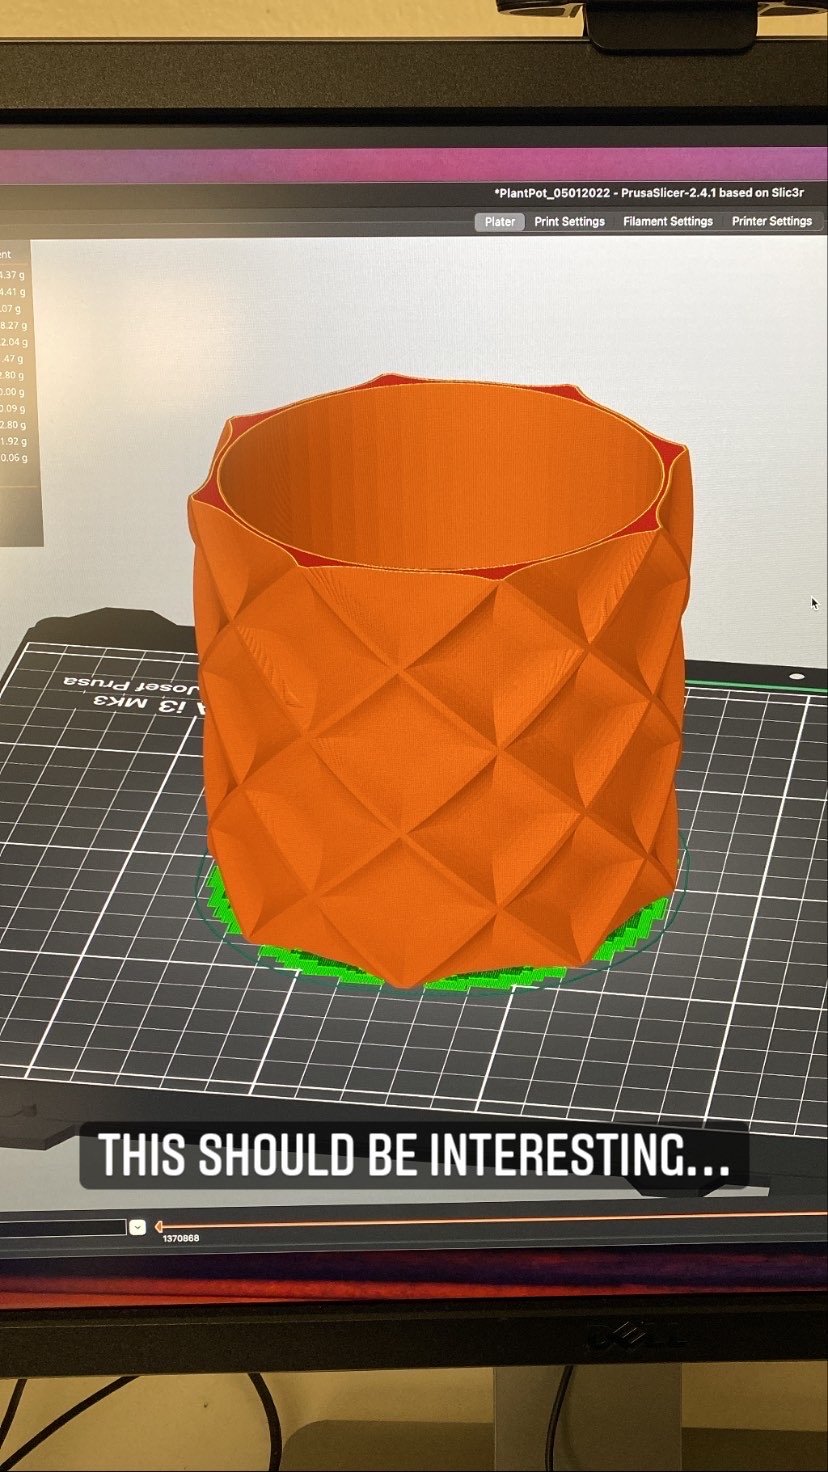
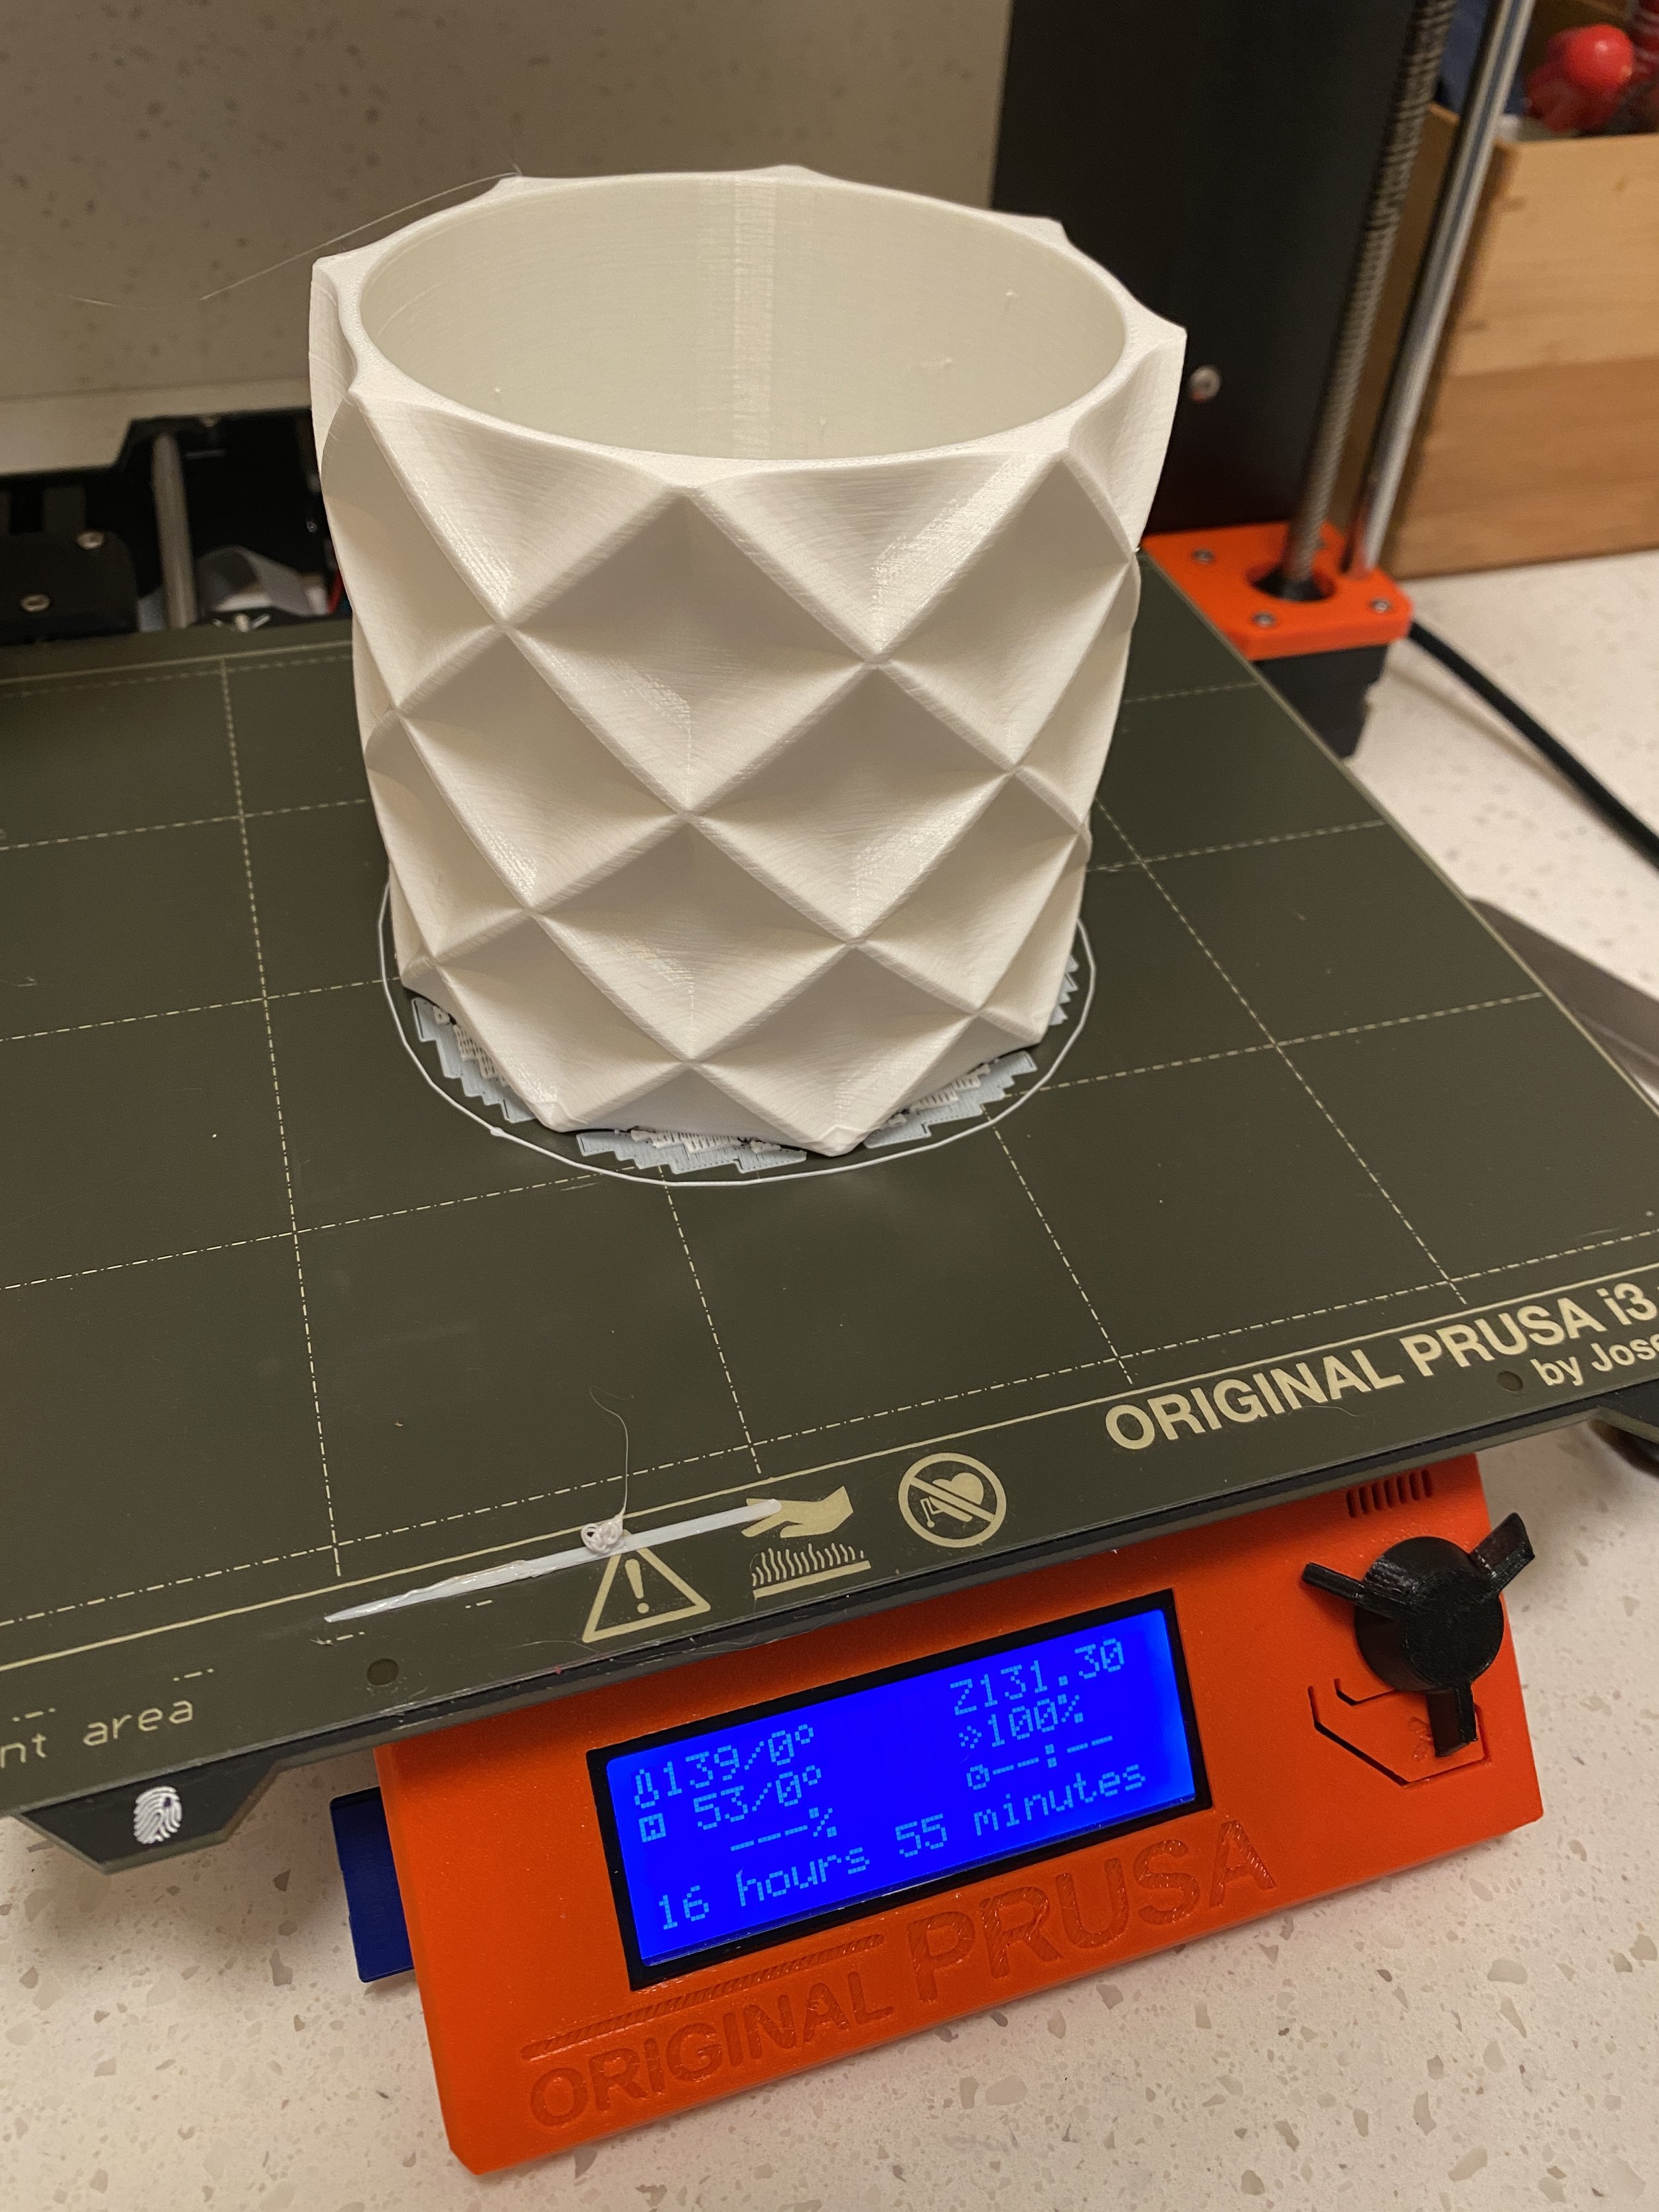
The next design I attempted to model was the “waffle” design. After a few attempts trying to emulate the scalloped surfaces I sketched, I settled upon creating a more geometric pattern and then added rounds to the inner surfaces to create a softer look. The pattern almost resembles a pineapple skin.


After 17 hours of printing, I was very satisfied with the result. The overall design looks more robust
compared to the more organic 1st design.


I’m very satisfied with how these first two designs turned out. I may create more designs in the near future. If theres enough interest, I may sell these pots individually.

 

Some 3D prints


Since the first Prusa nameplate print, I’ve been dabbling in a lot experiments. There has been a lot of headache, tweaking and failures.
Through these experiences, I’m now more comfortable using my Prusa MK3S+.

I bought and tested a variety of different filaments. I experimented with both PLA and PETG.


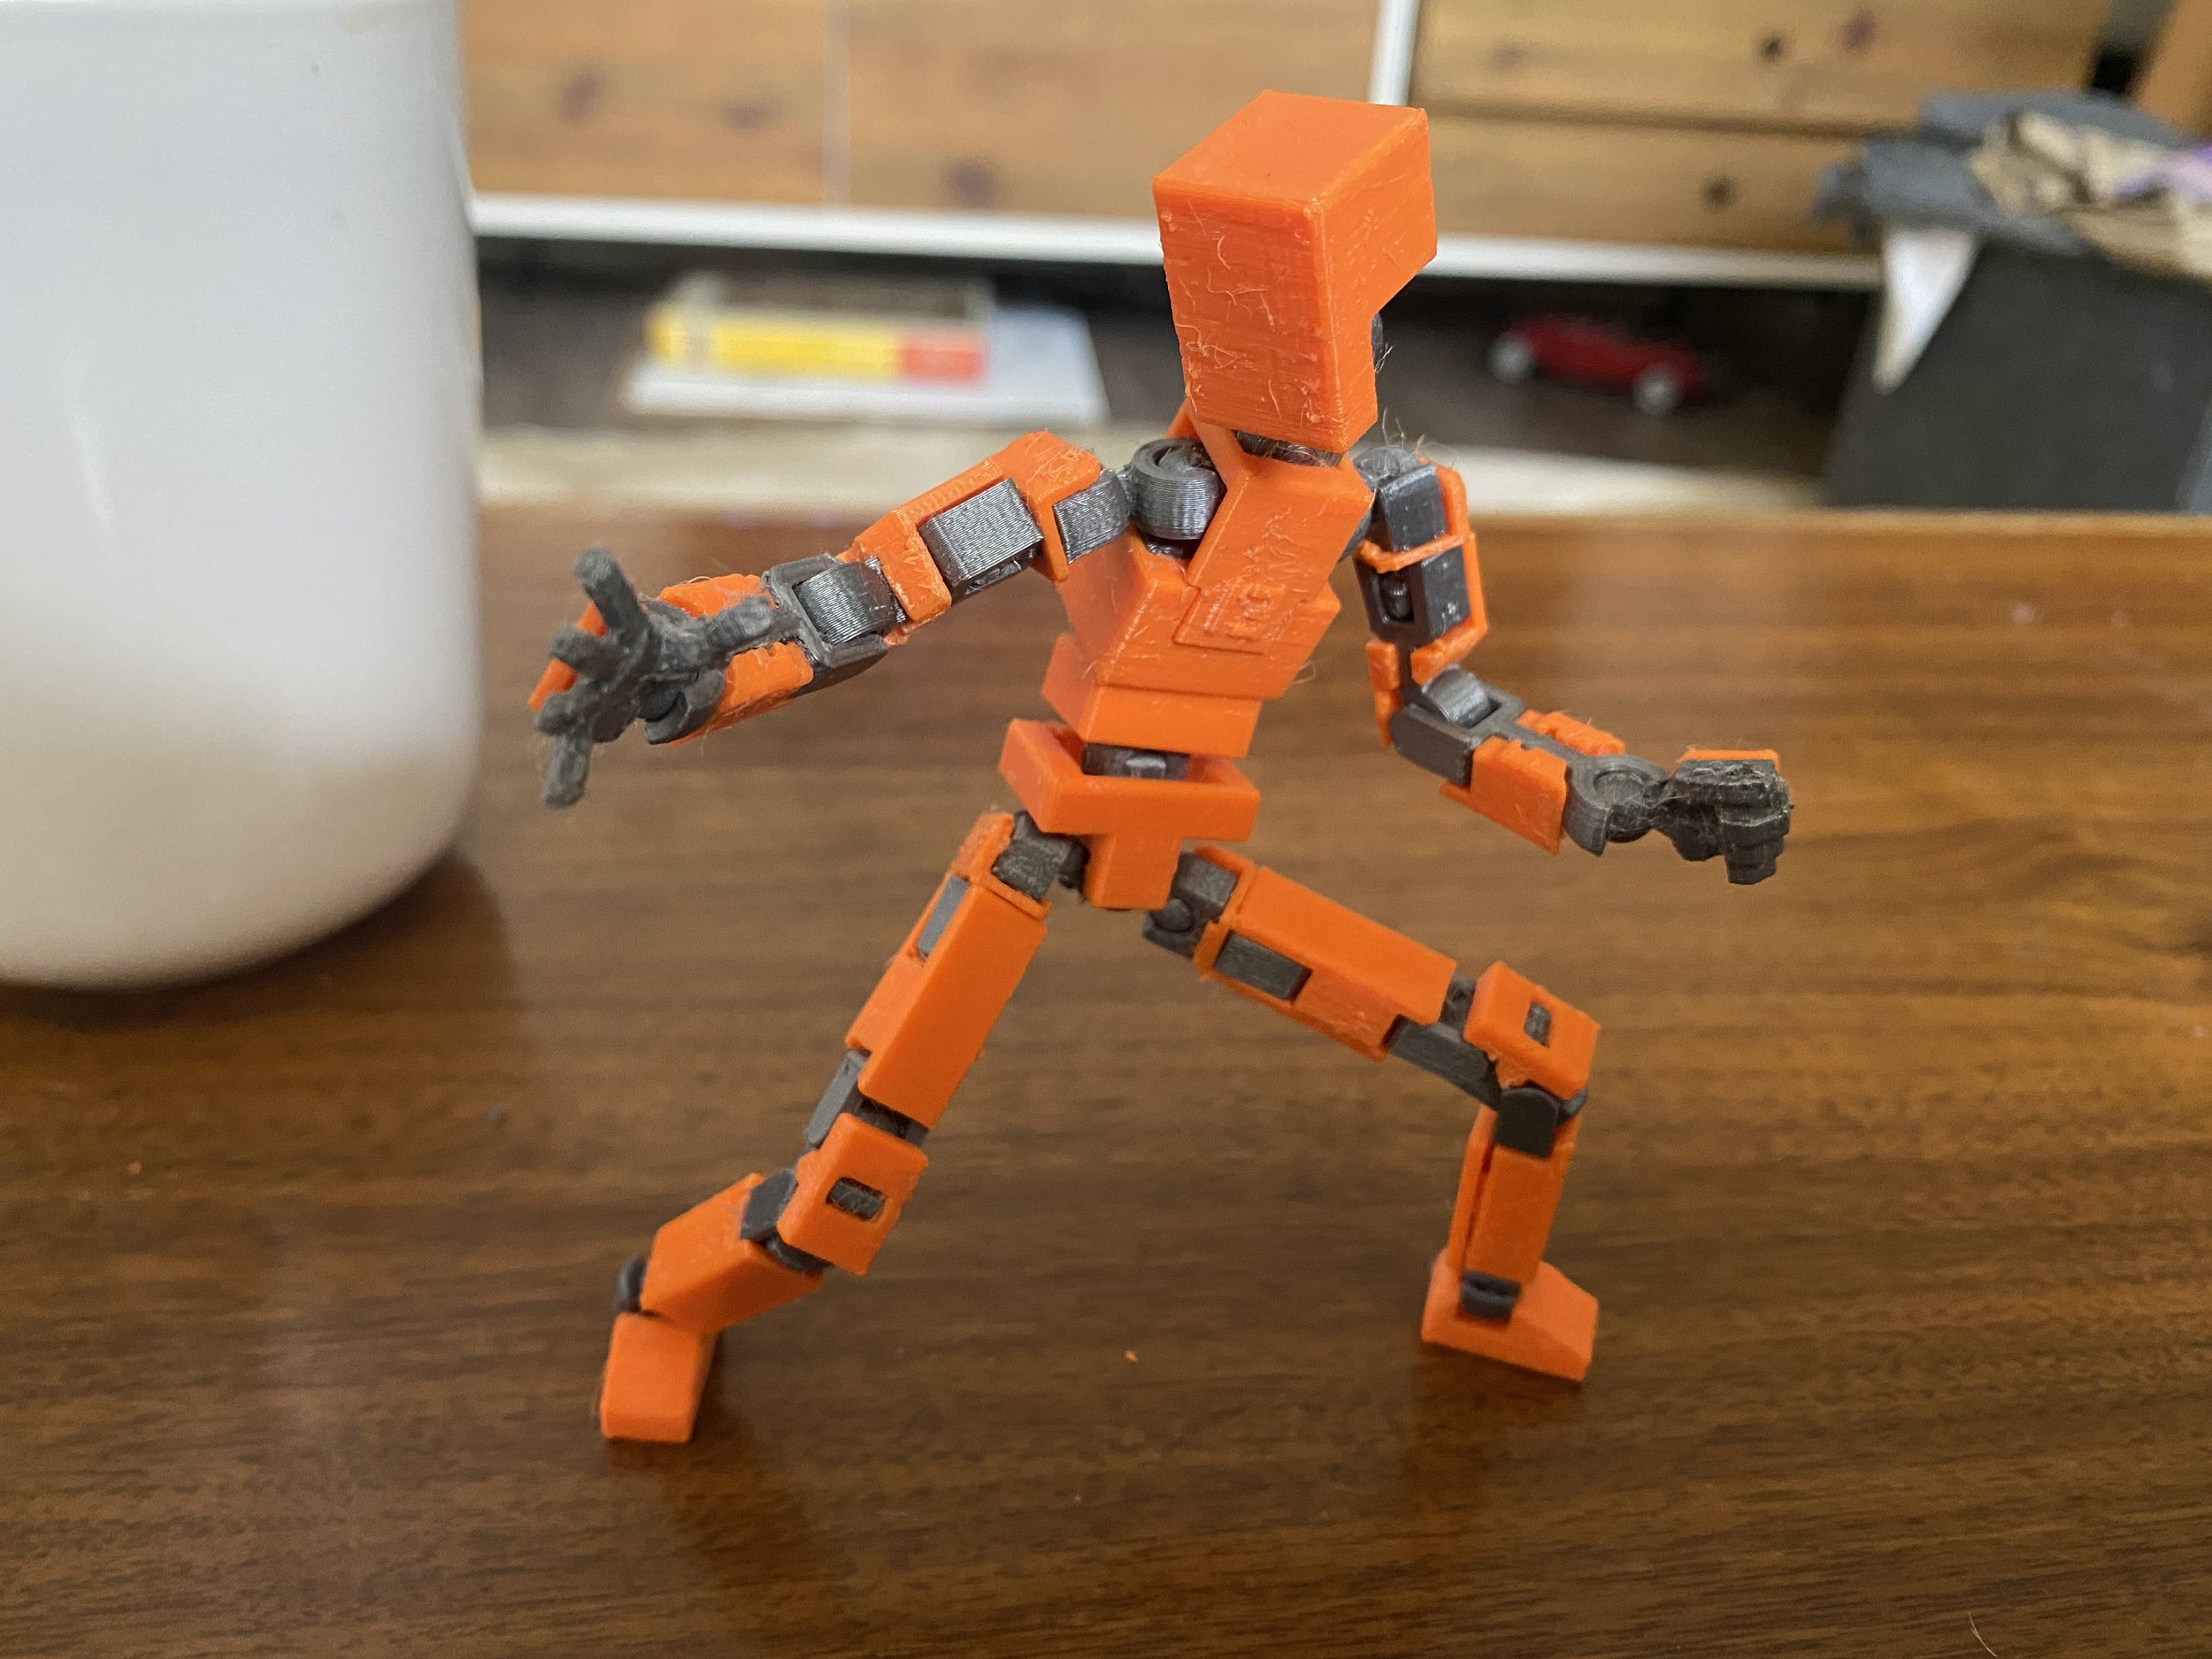
The Lucky 13 model was a bit tricky. It required more precision to print the smaller parts and make them fit to form a posable action figure.
I learned that PETG is a better material, due to its flexibility vs the brittleness of PLA.


After figuring out the smaller Lucky13 figure, I decided to print a larger version. The larger version was very successful, with the parts fitting together correctly and feeling robust. I think it may have taken around 4 days to print out all the parts.


My Prusa Mk3S+


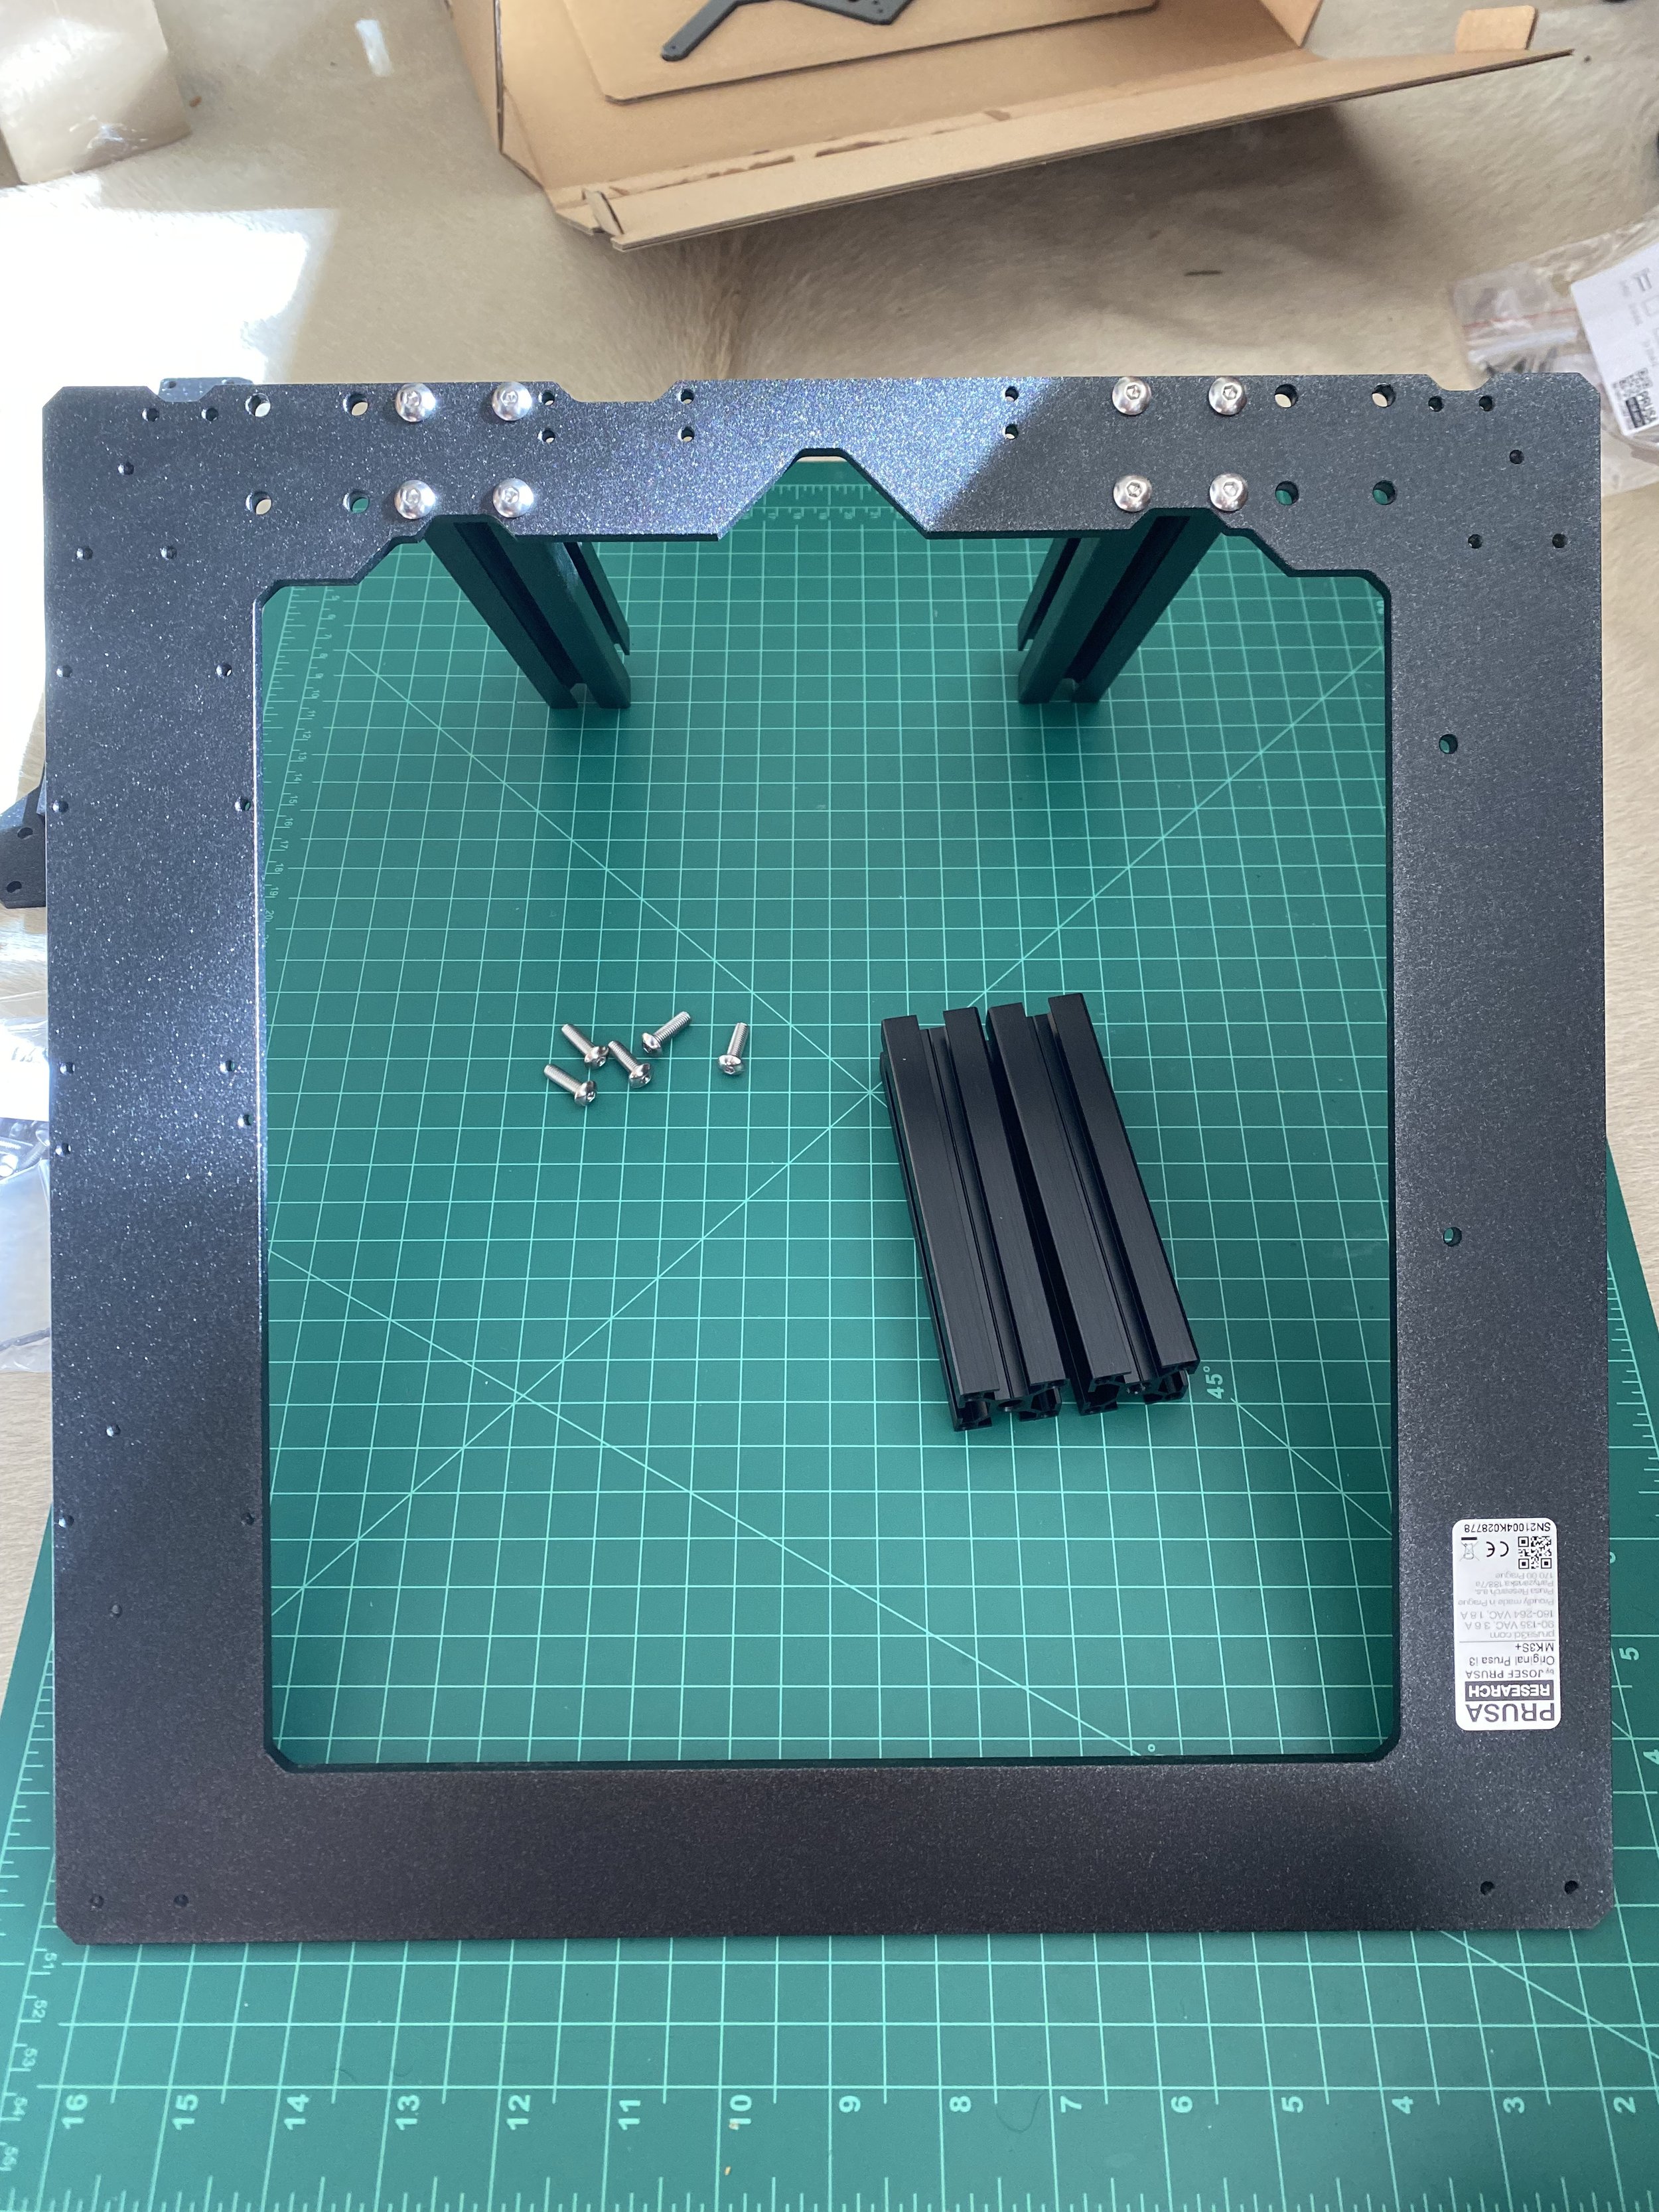
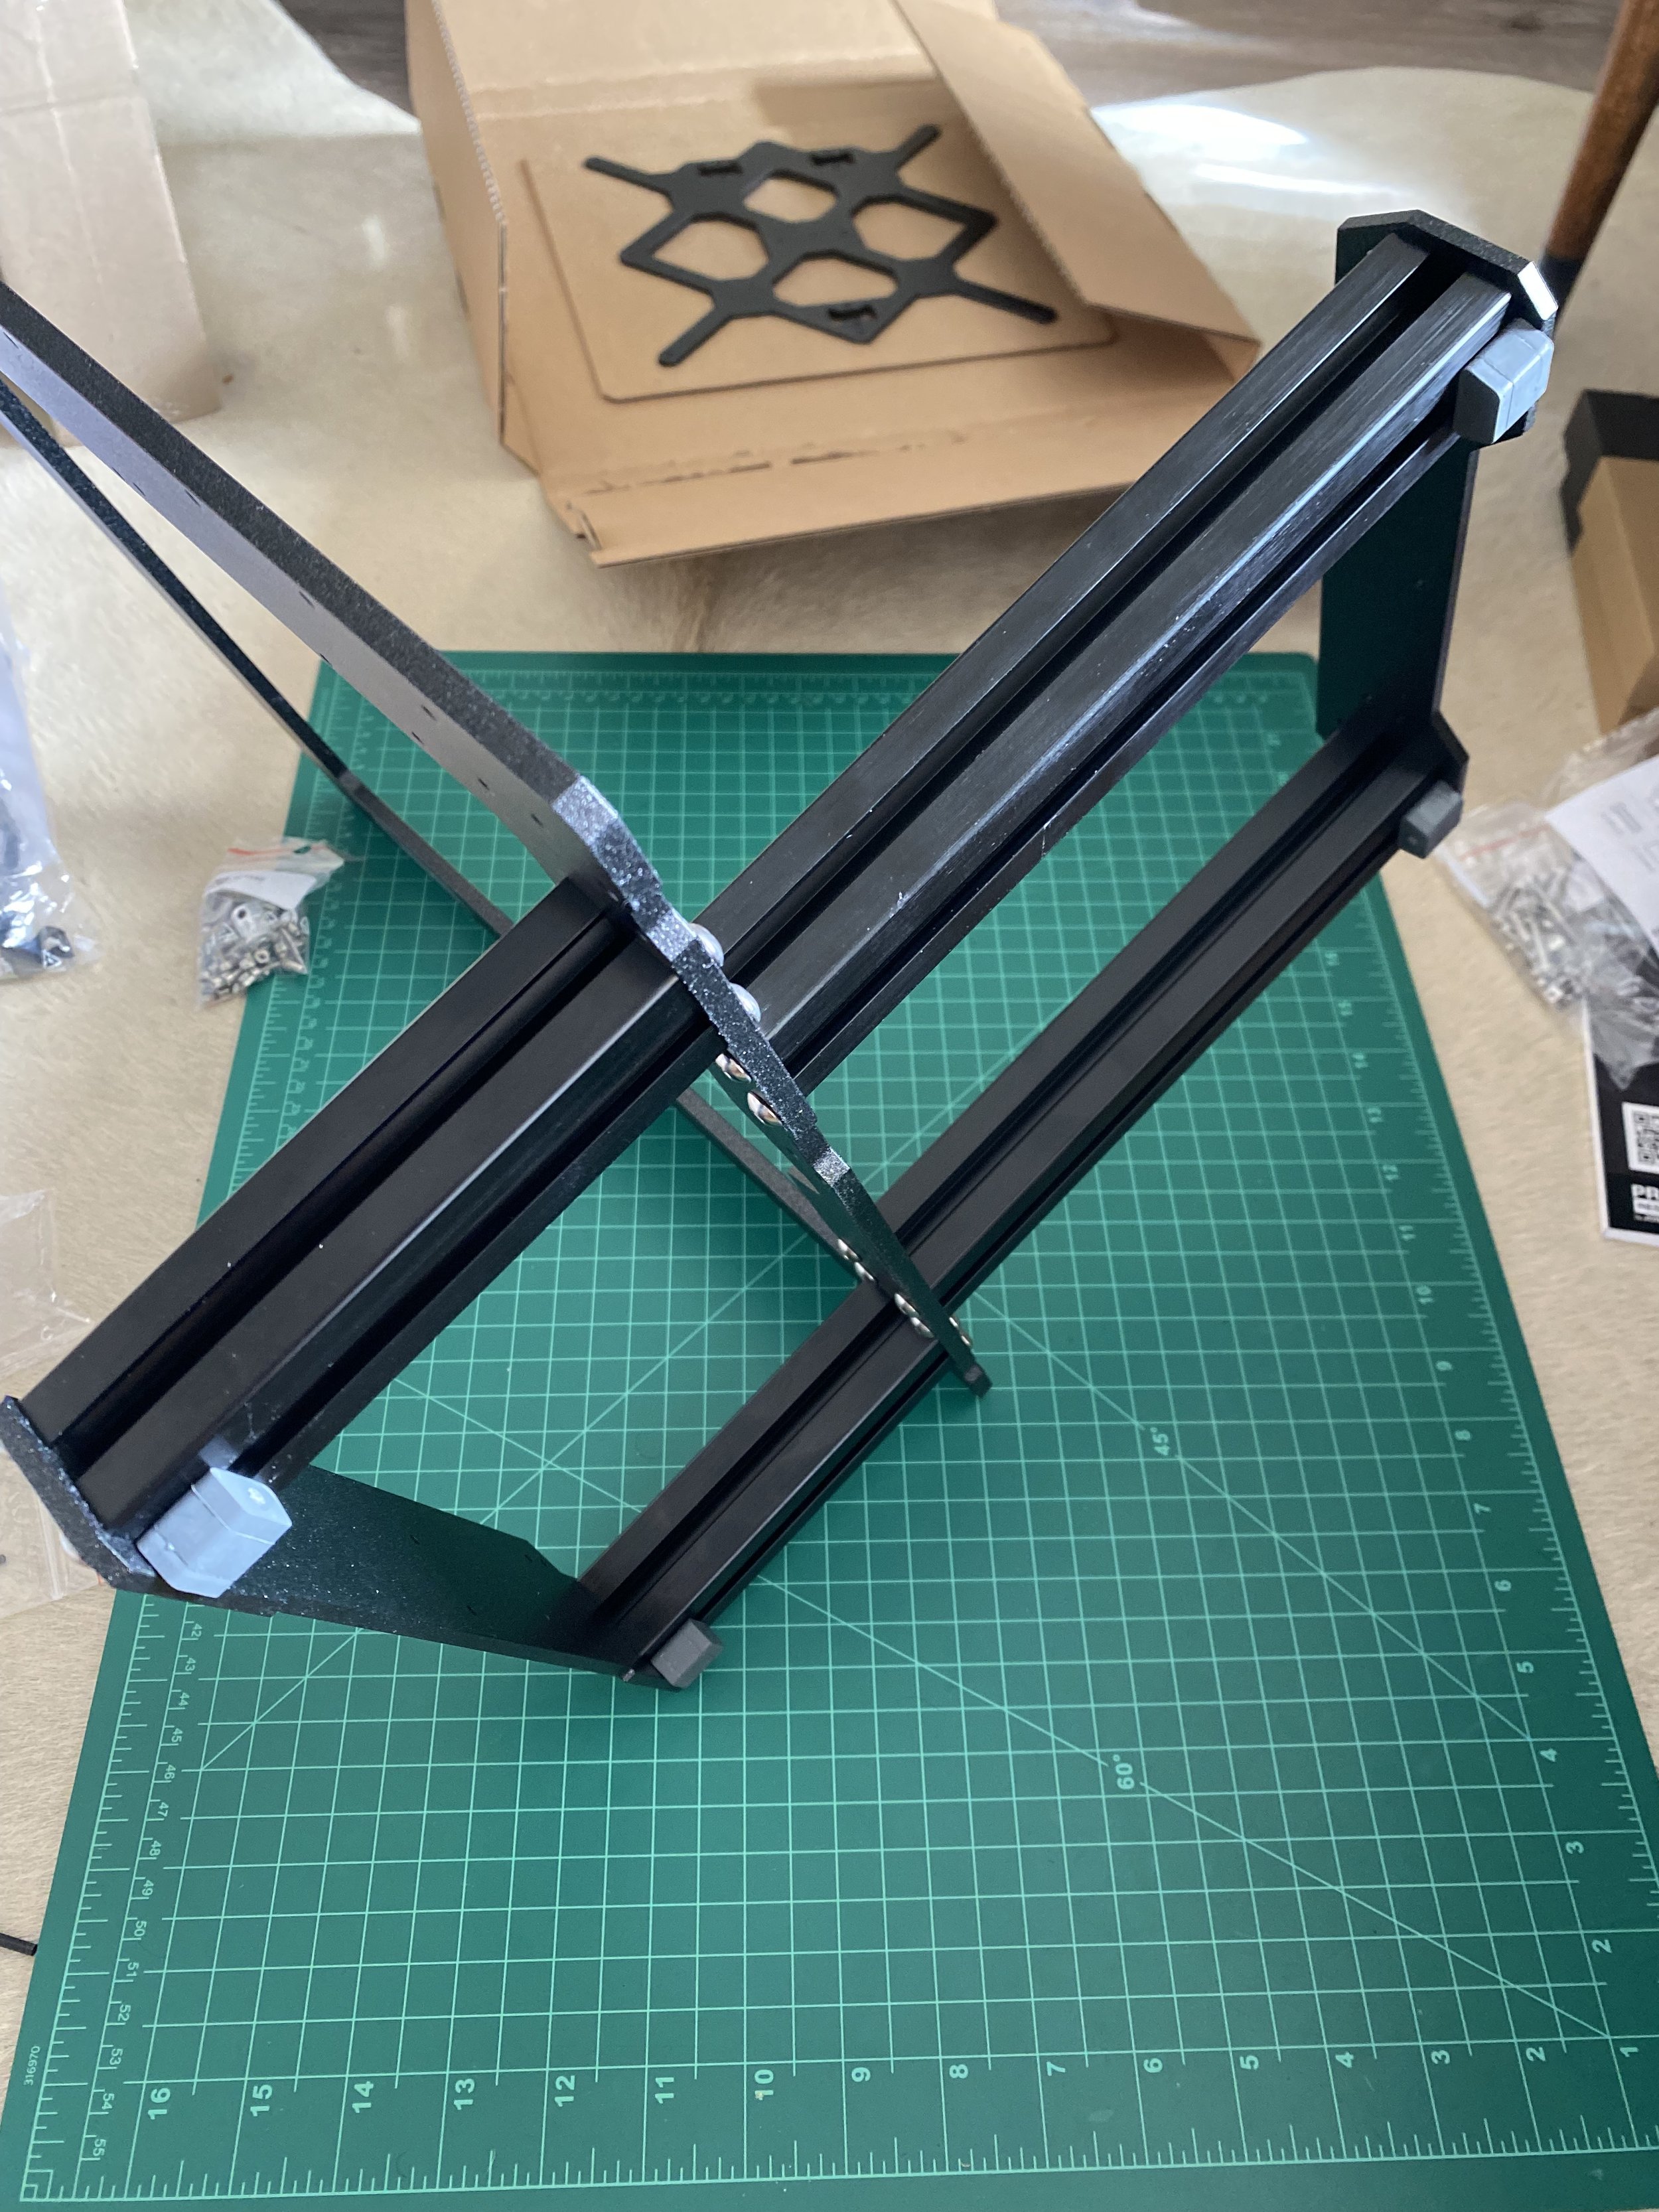
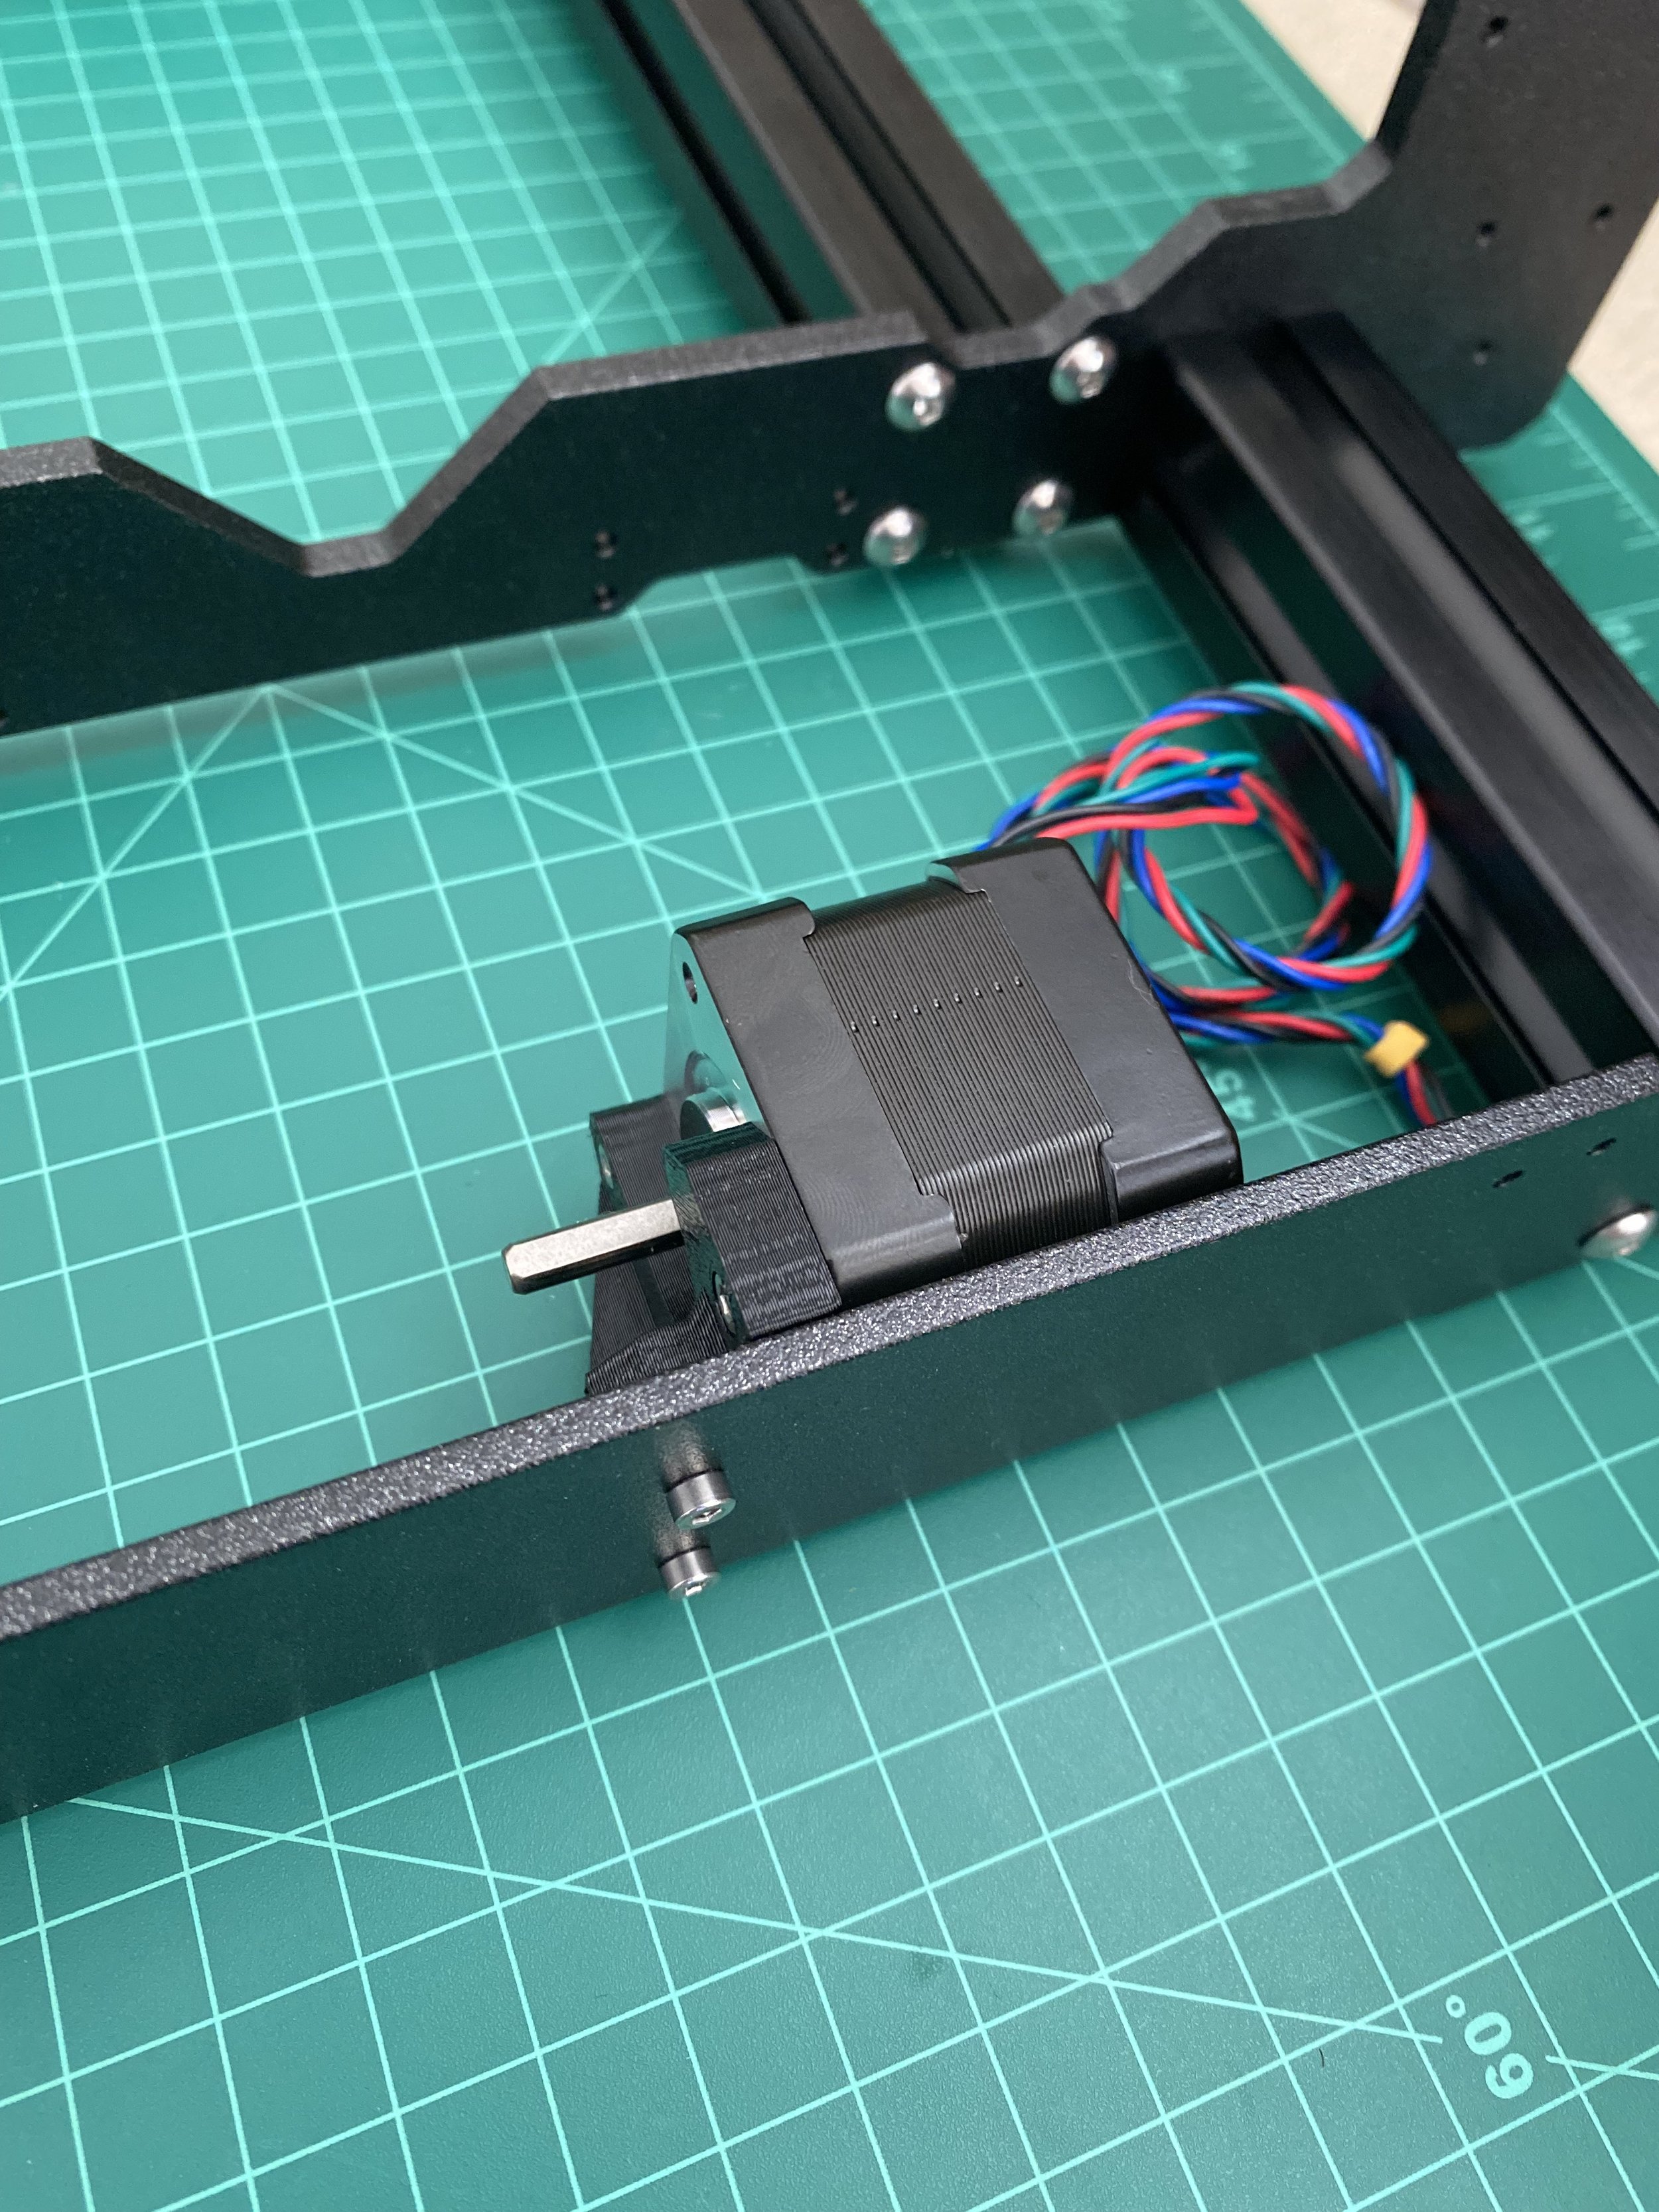
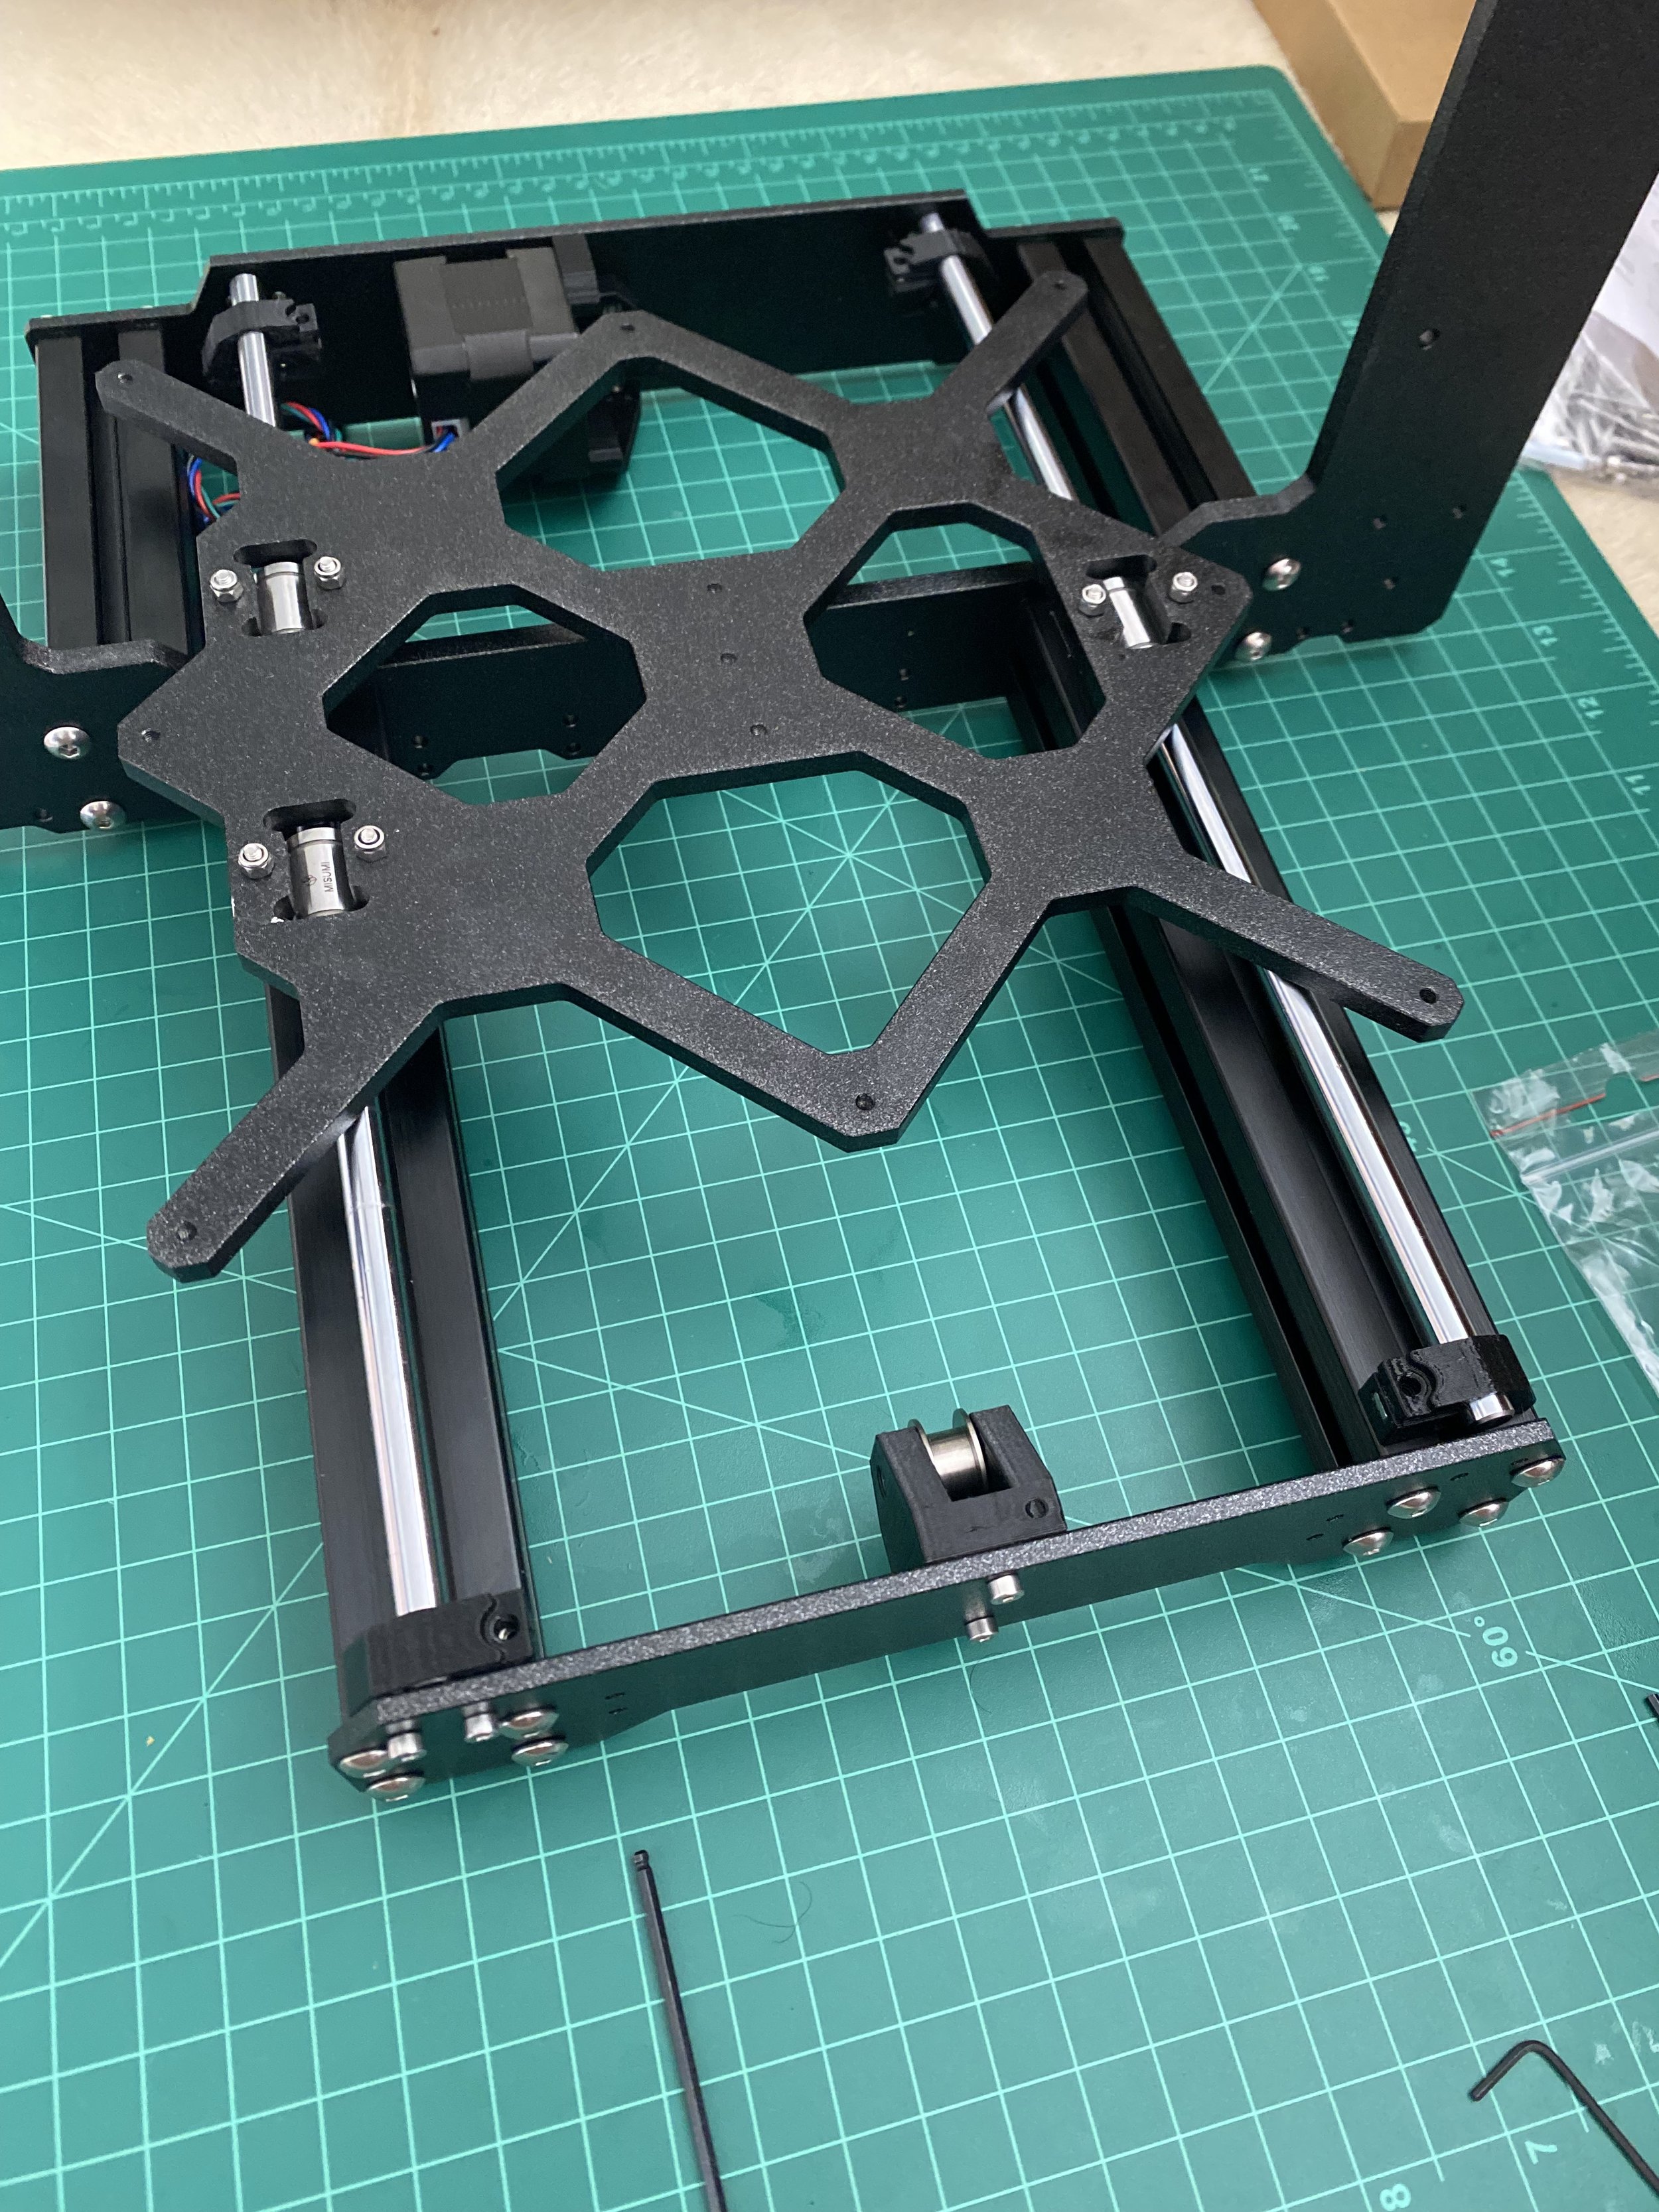
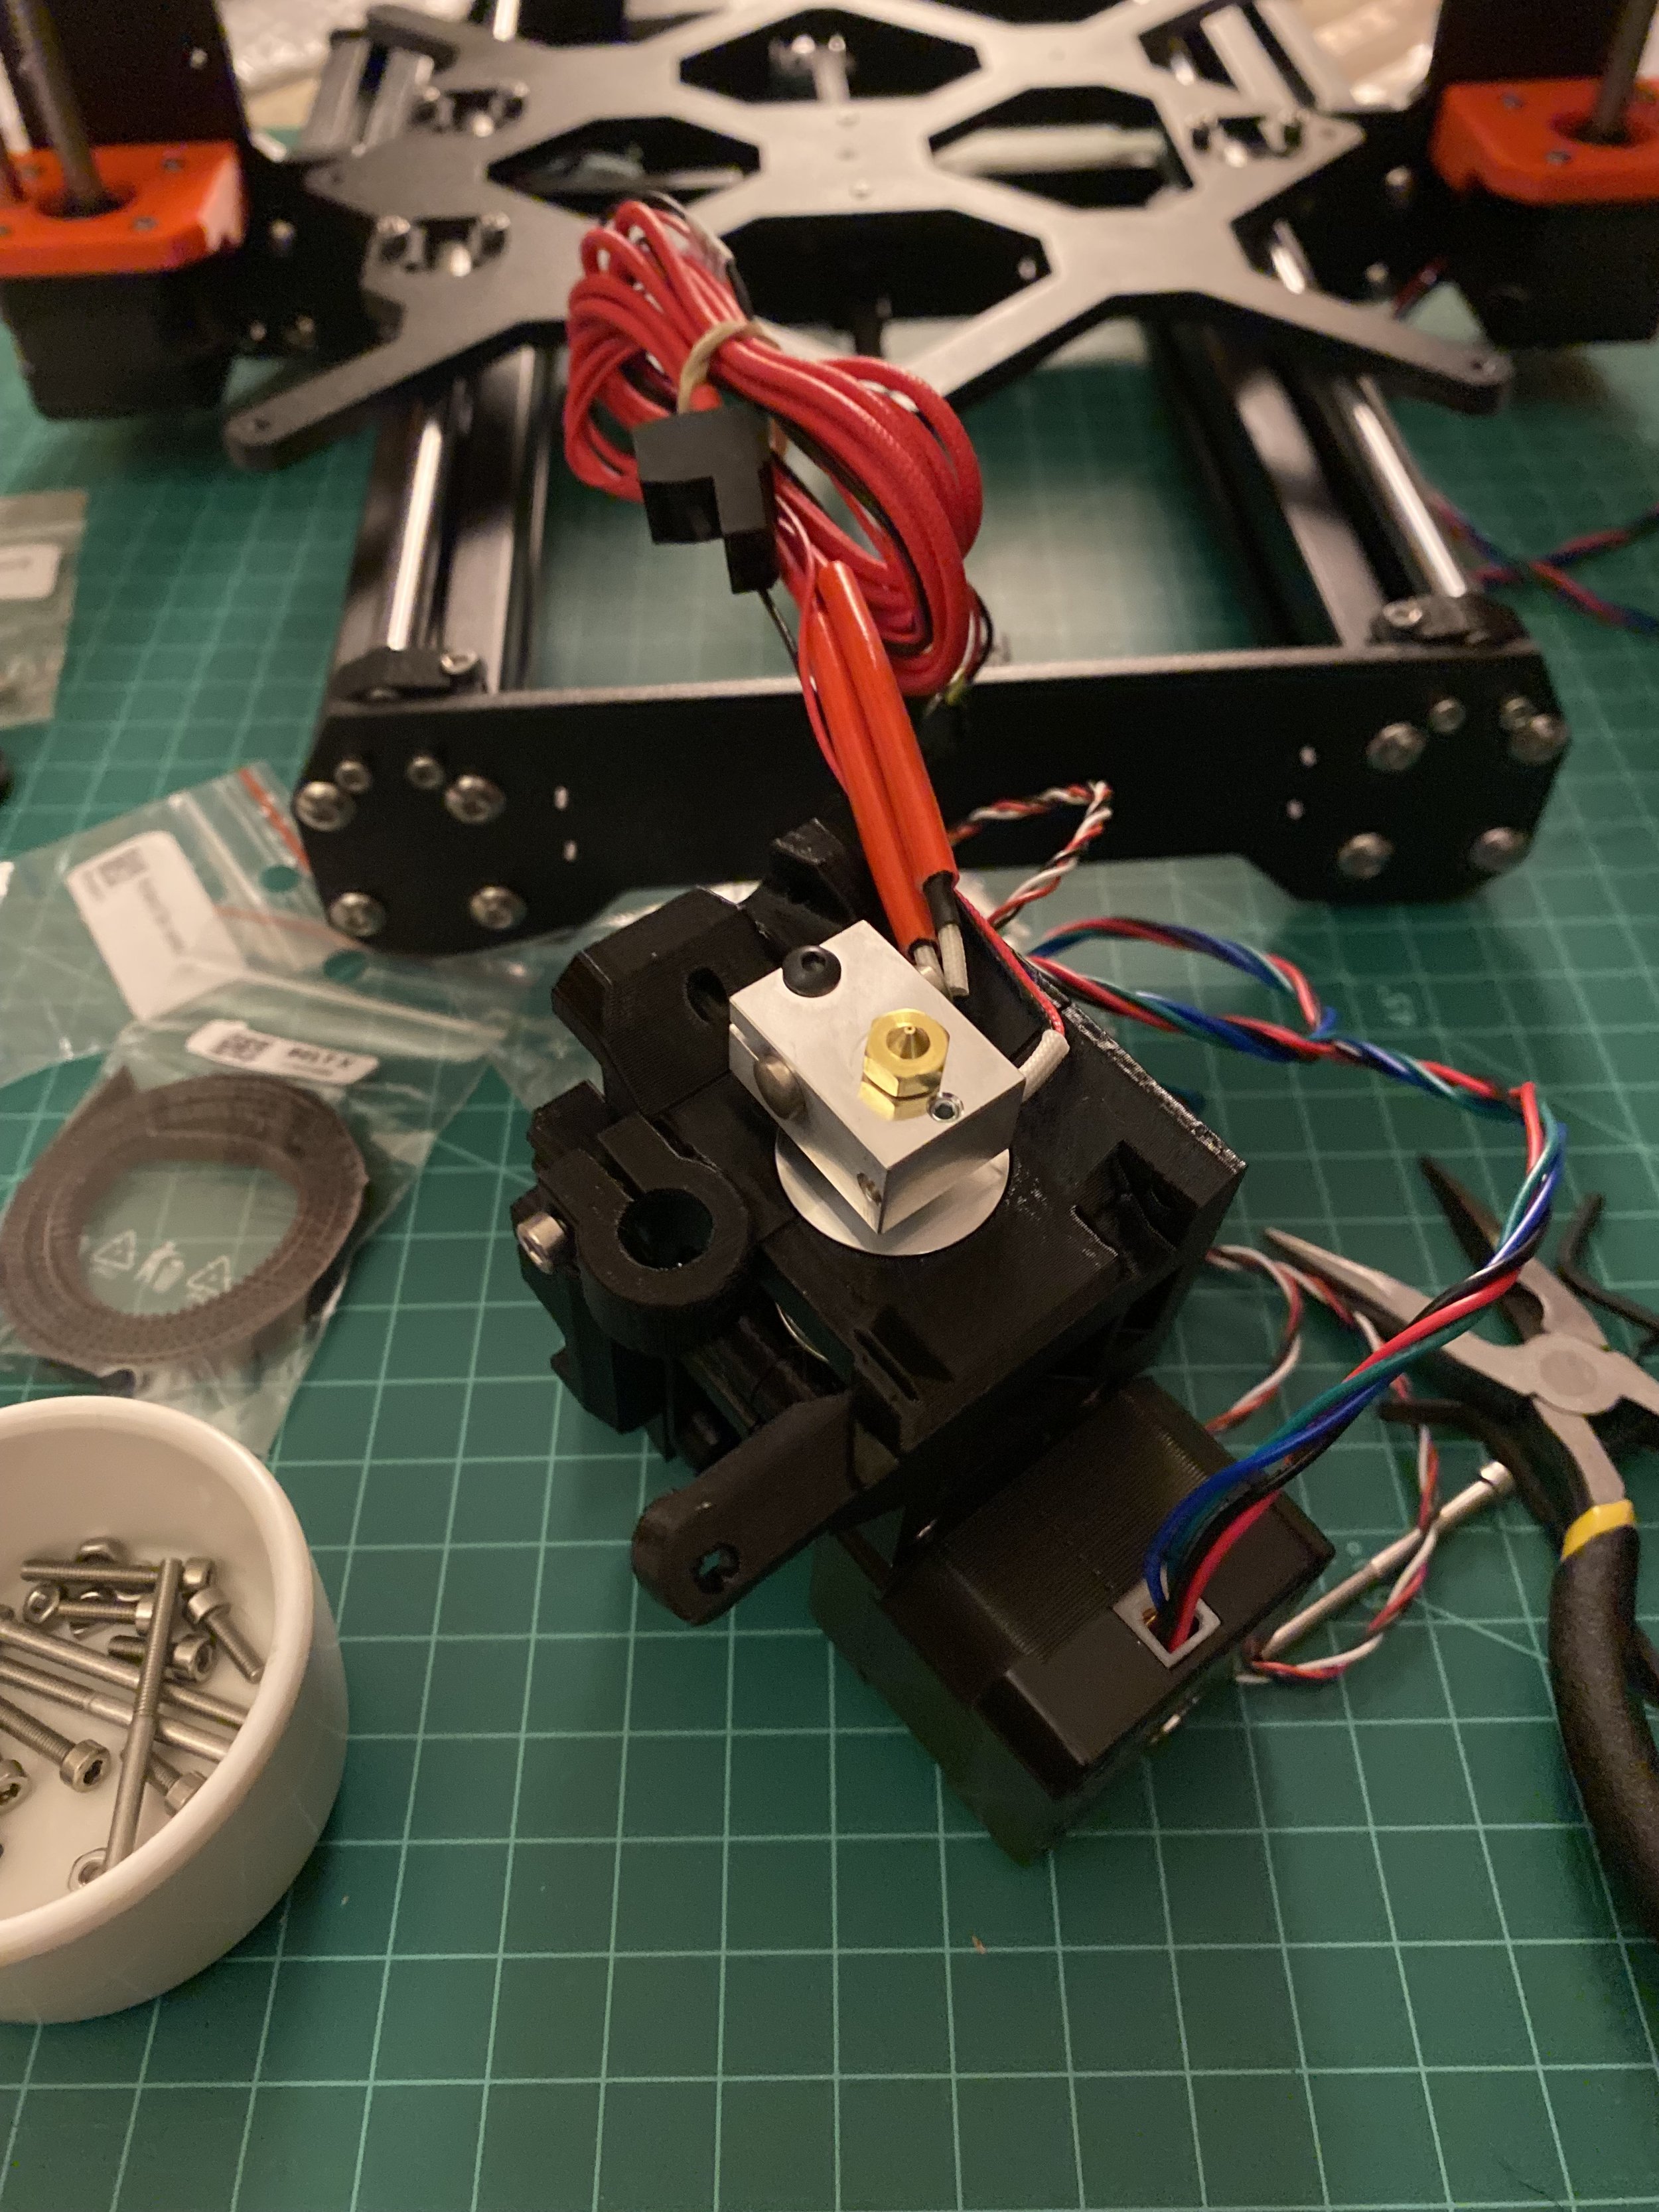
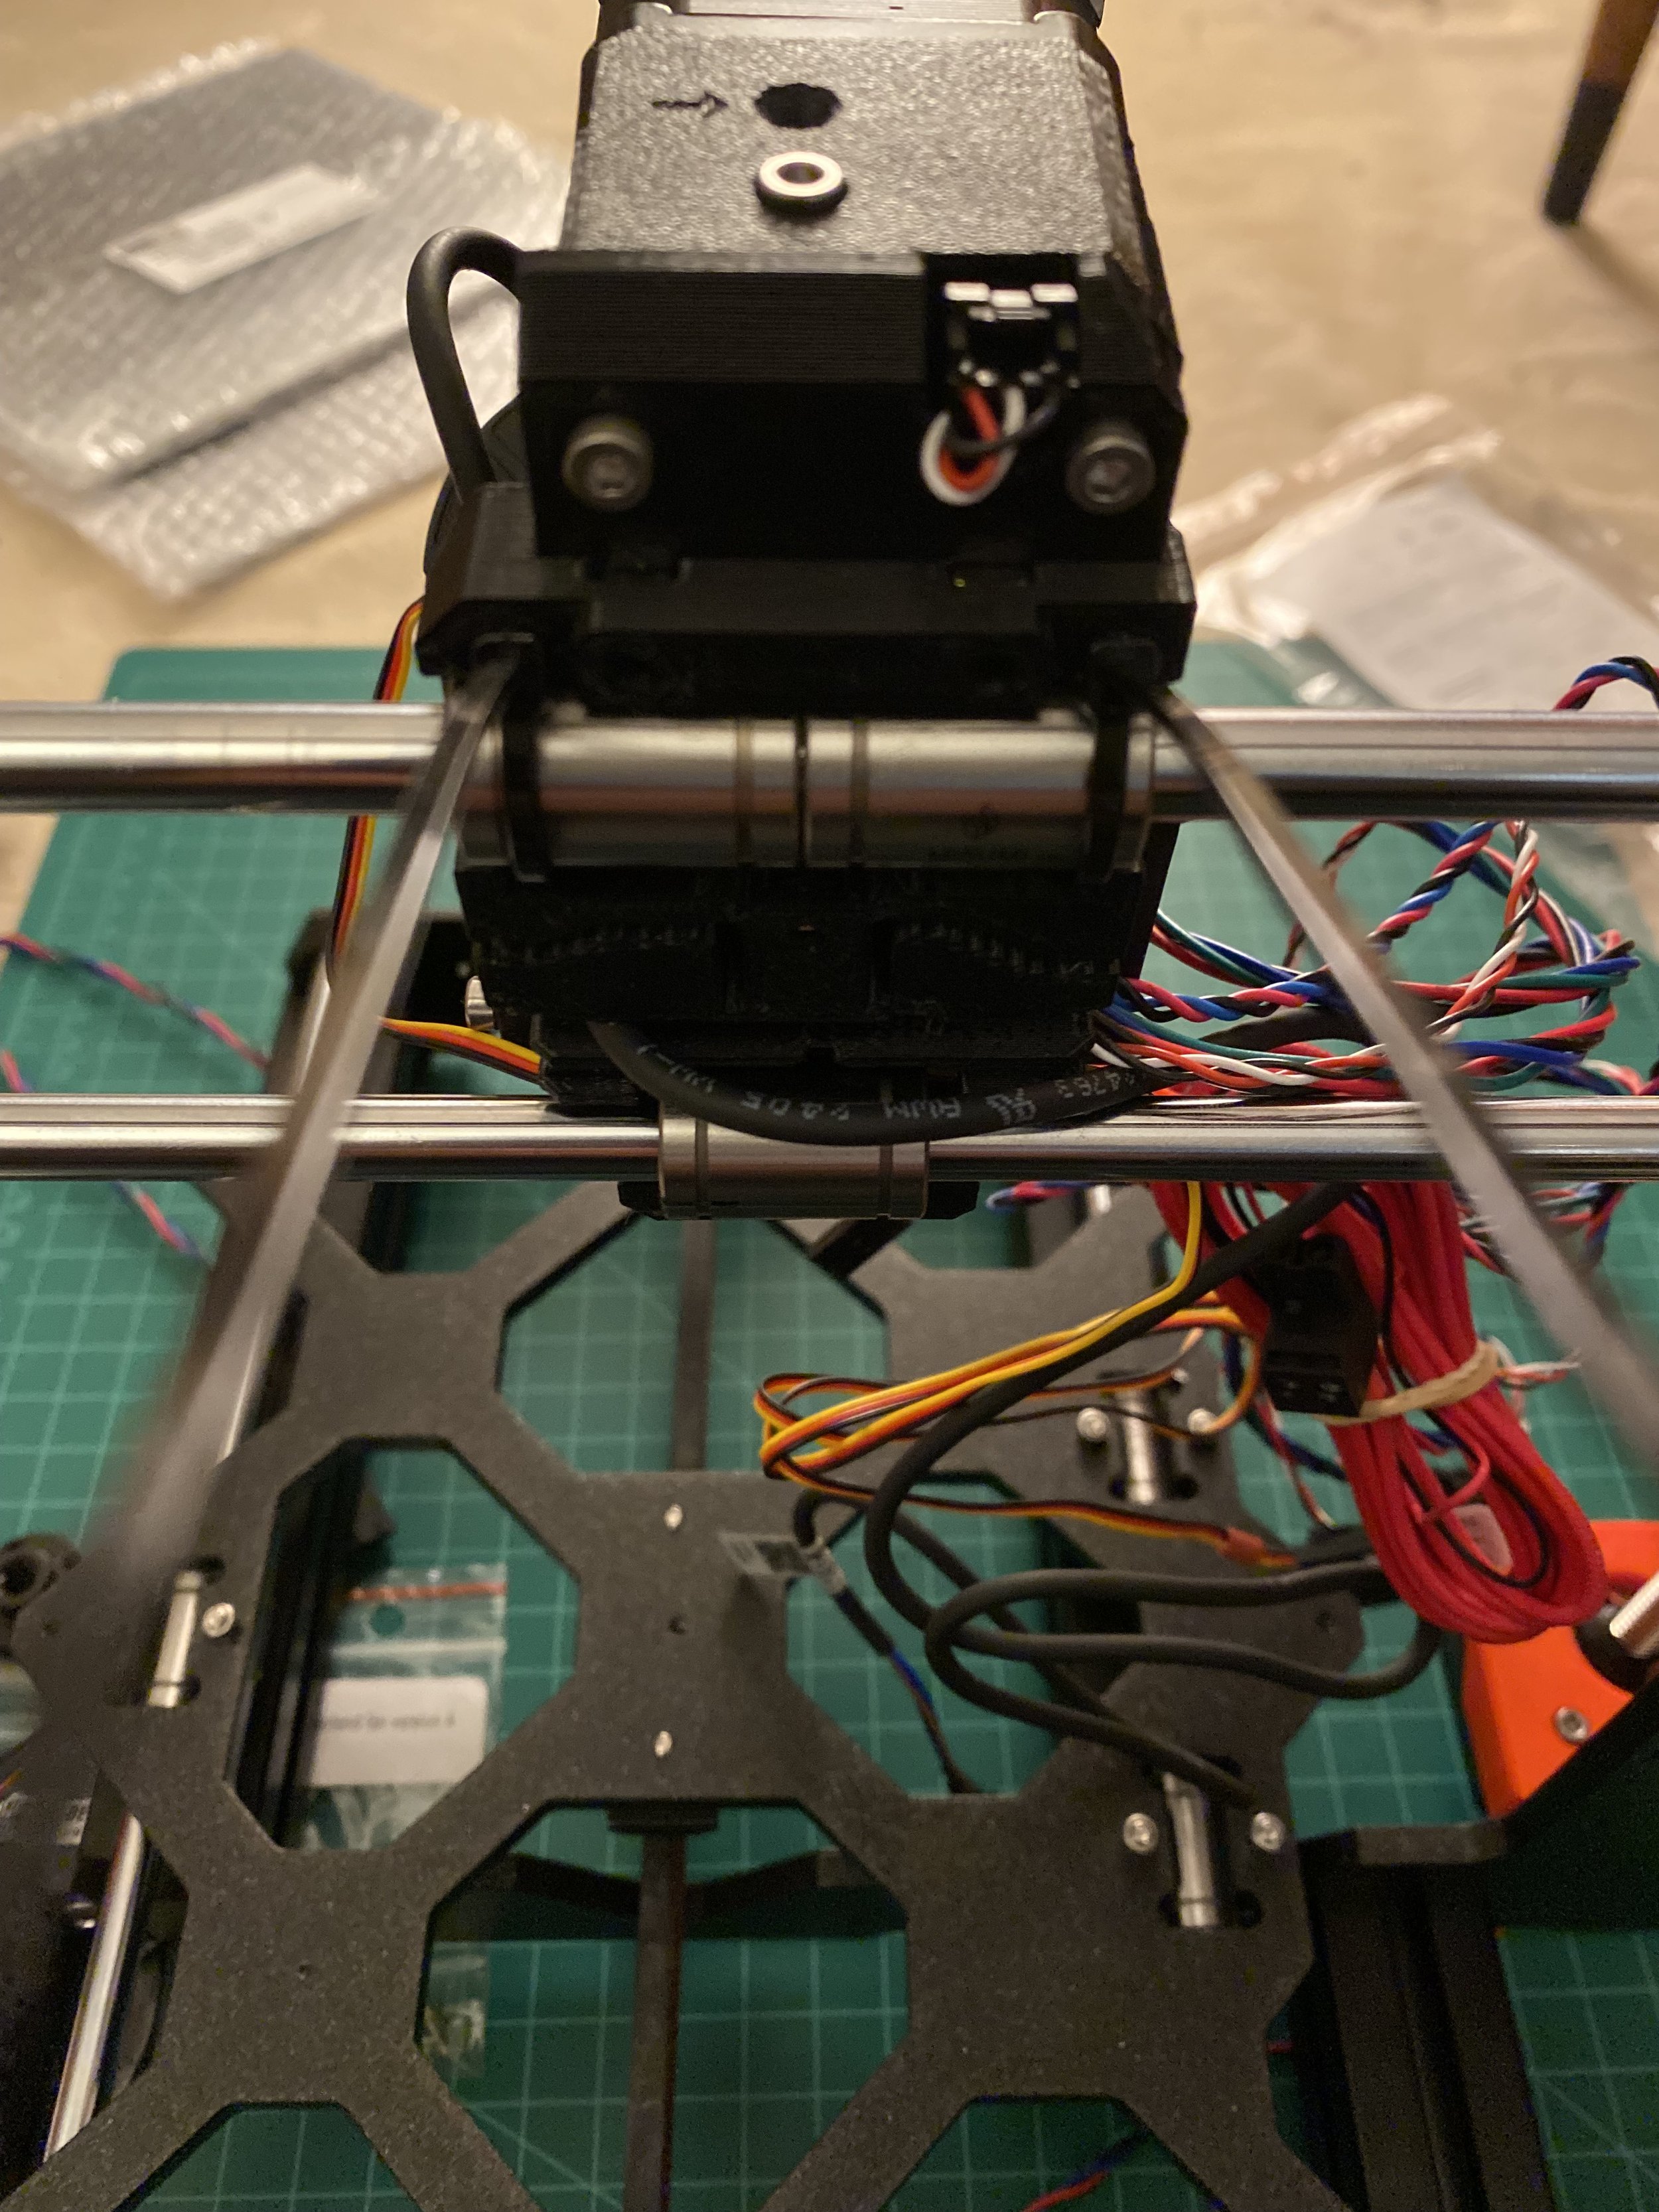
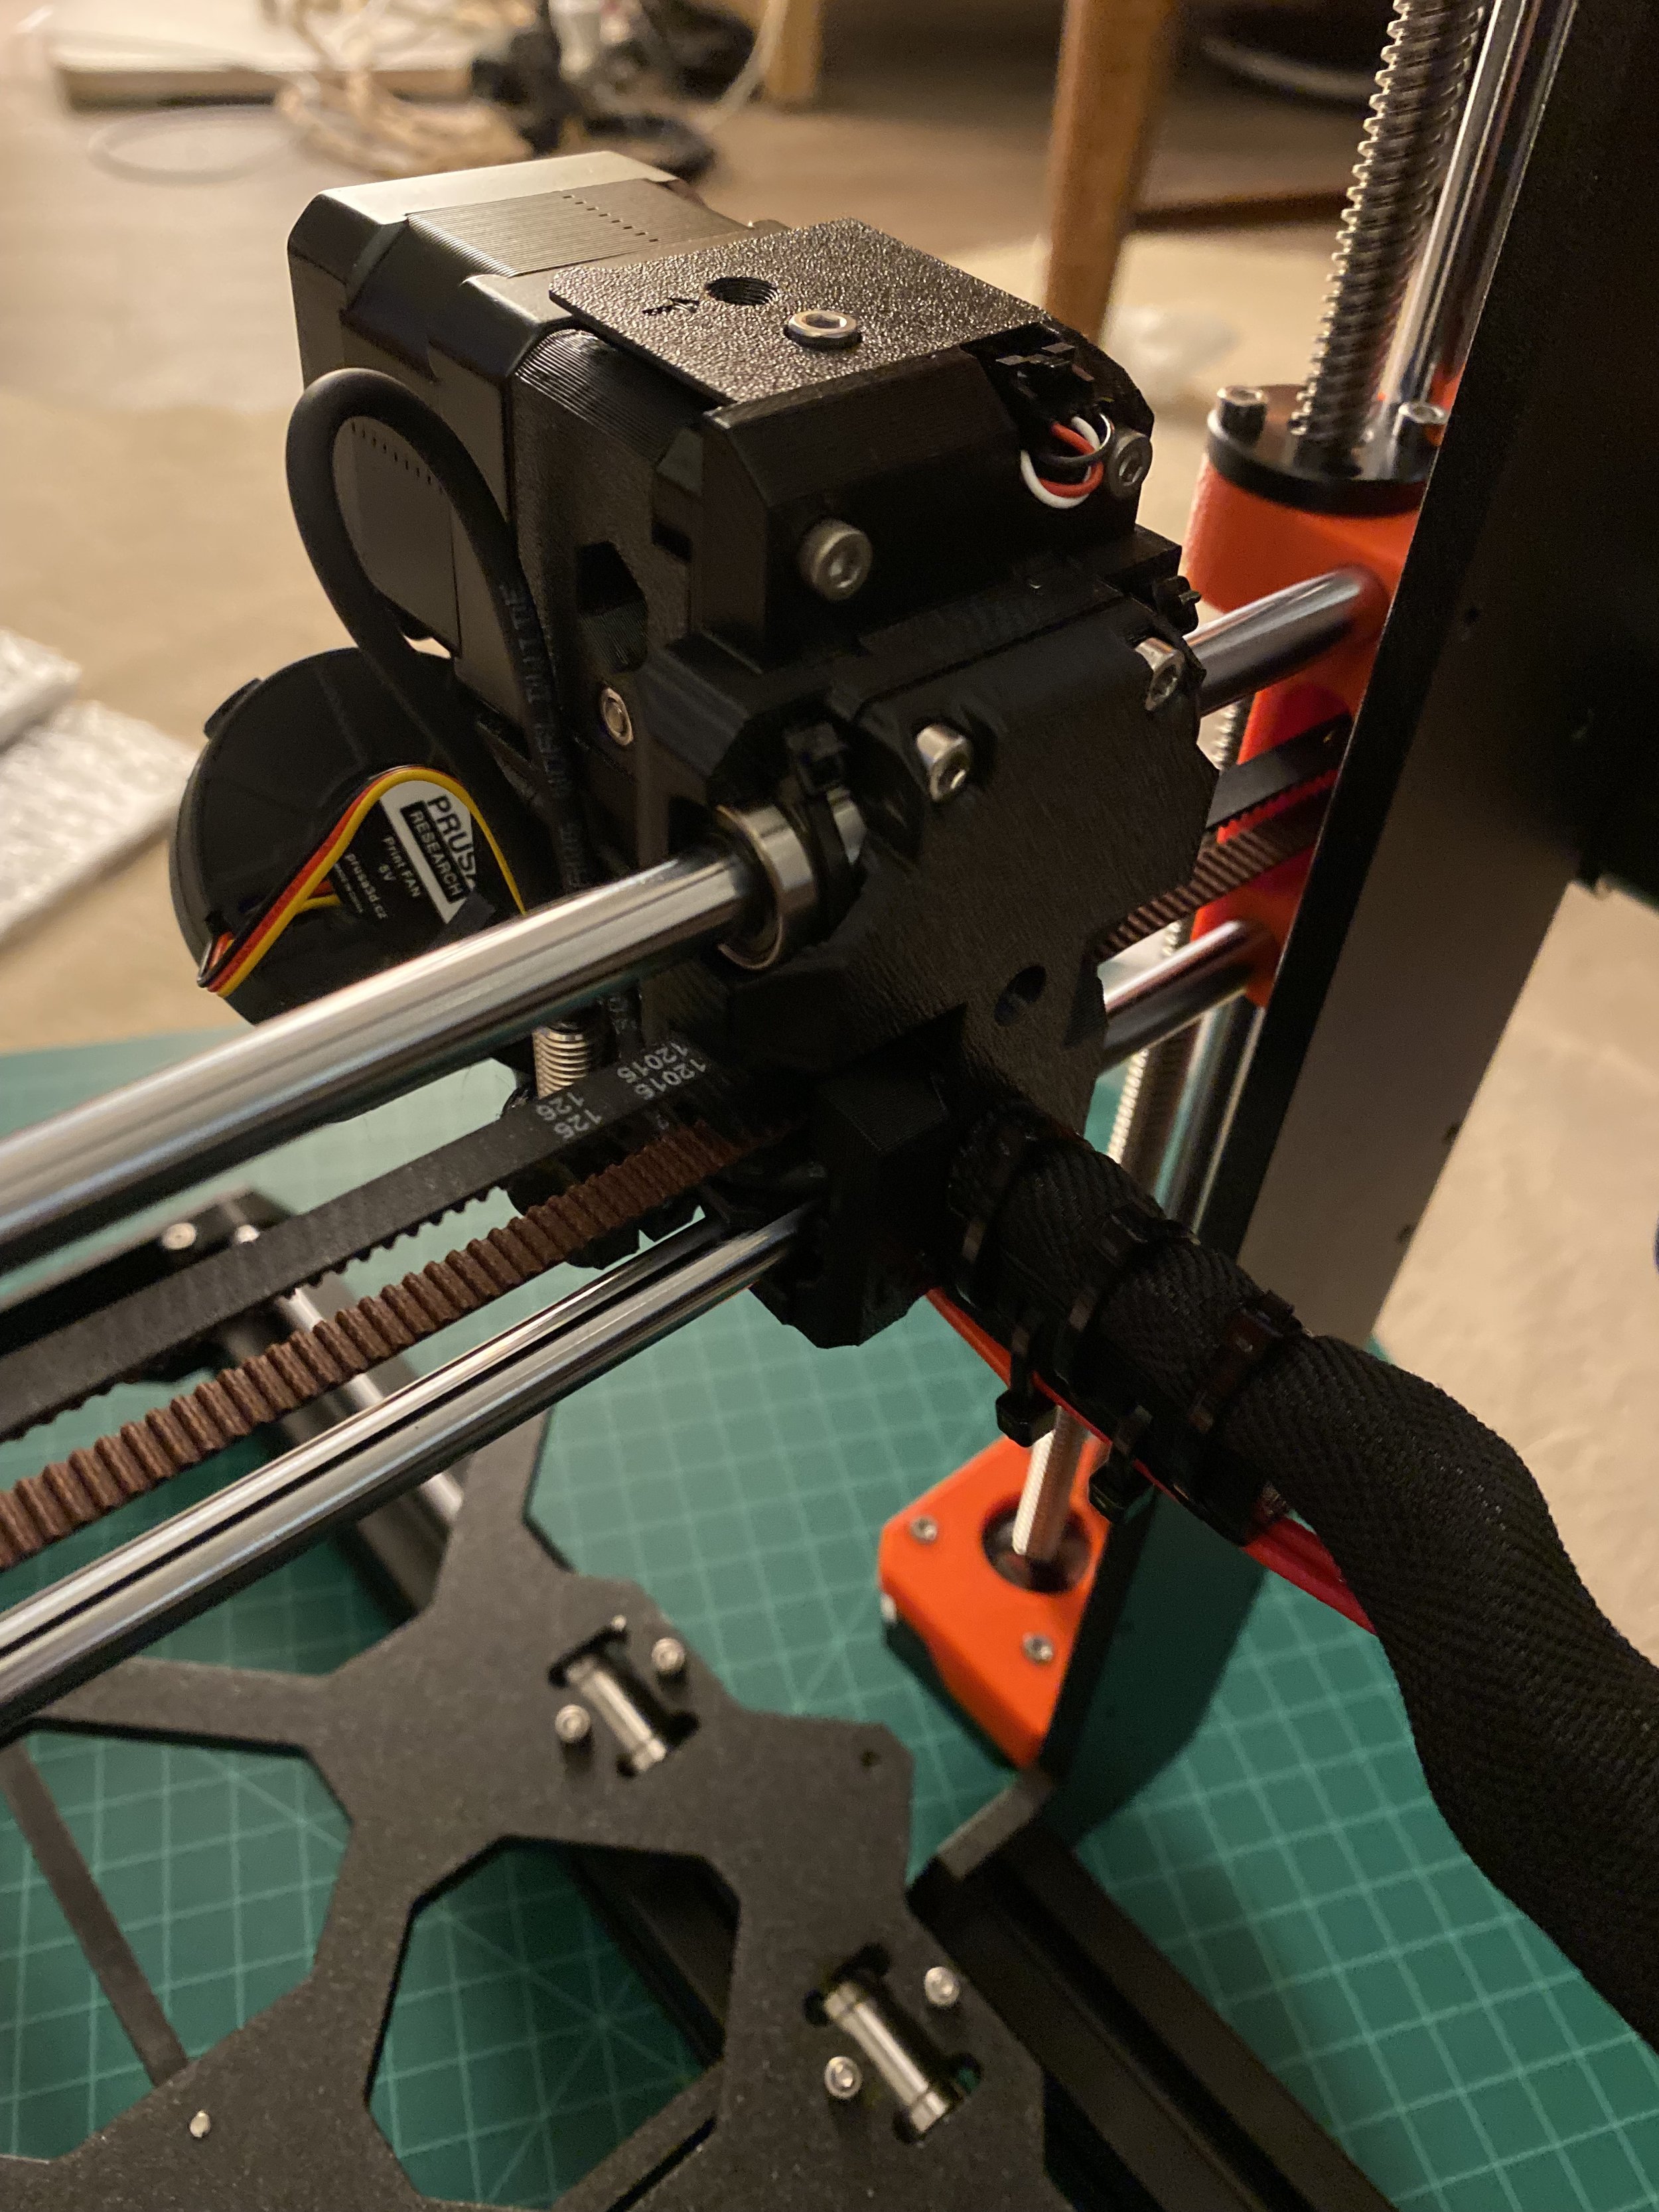
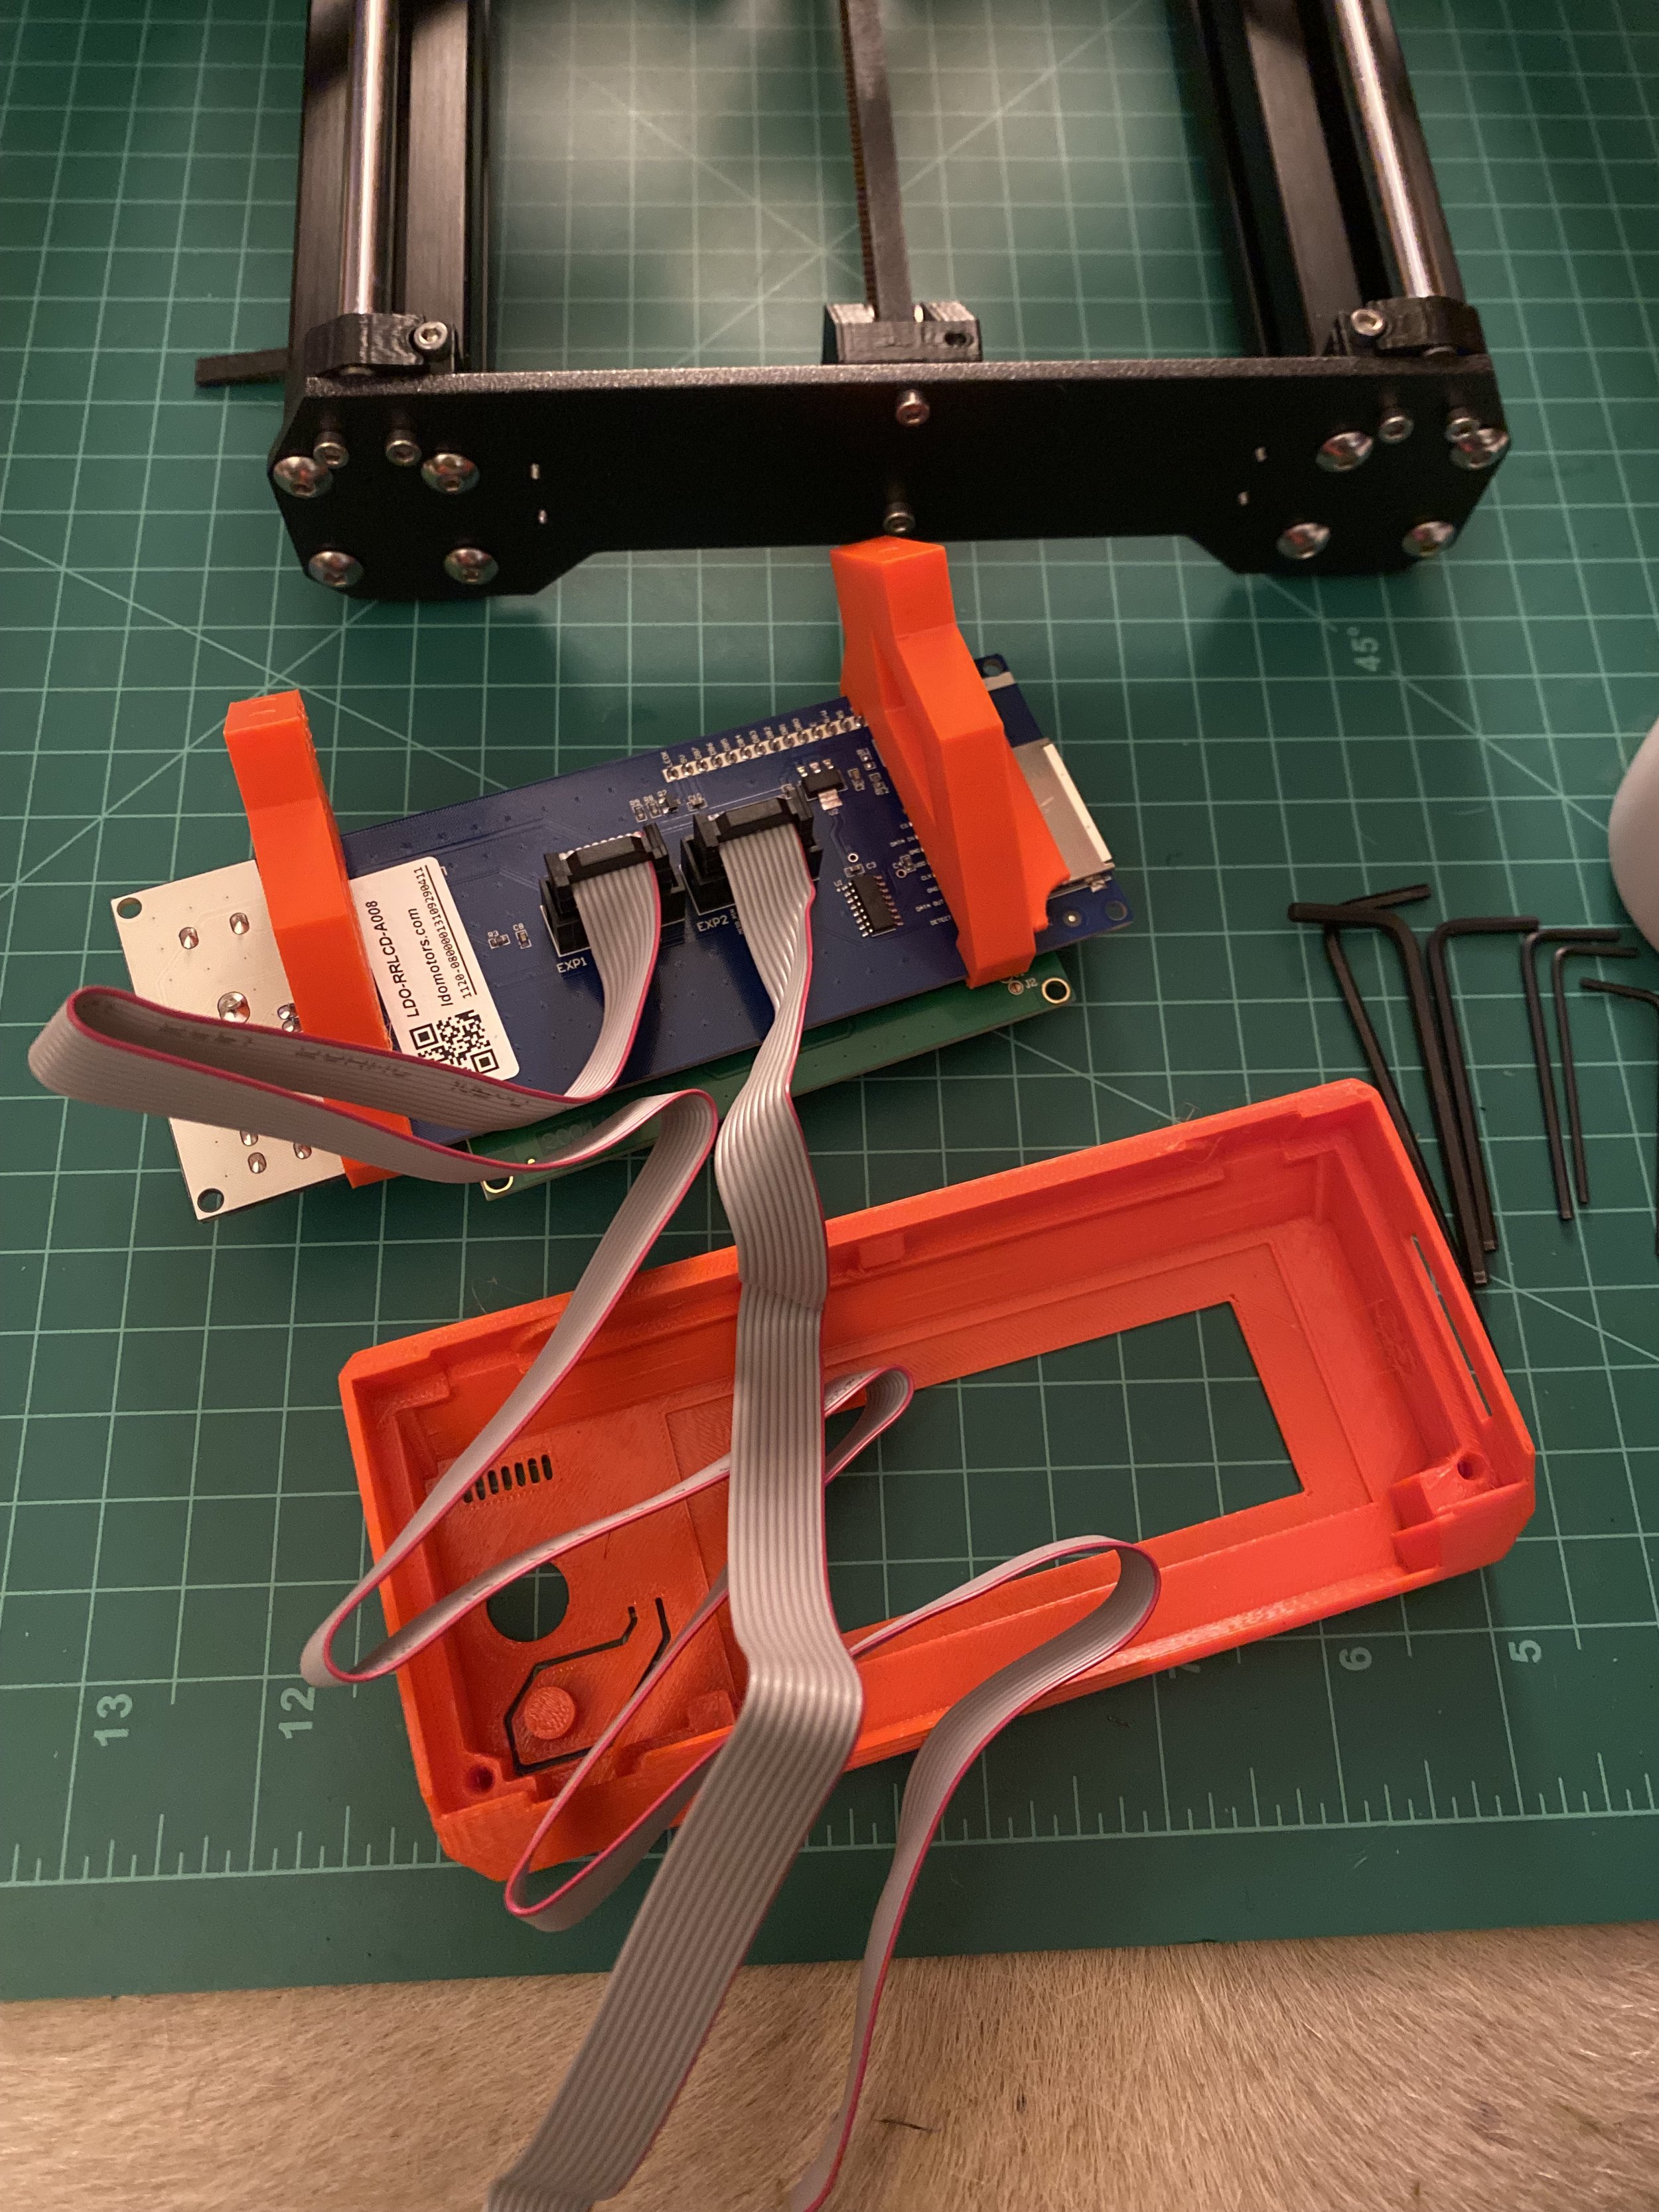
Around March 2022, I decided to finally assemble my Prusa 3D printer kit. It was definitely a very thorough process!


The kit was divided into a few boxes and helpful instructions. It even came with a packet of gummi bears.


The assembly process was thorough, but not too difficult. I would say it took around 10-15 hours to complete. First, the frame was assembled, then the bed assembly. The two Z-axis motor/screw assemblies were installed, then the sliding hotend extruder, control board, and wiring.
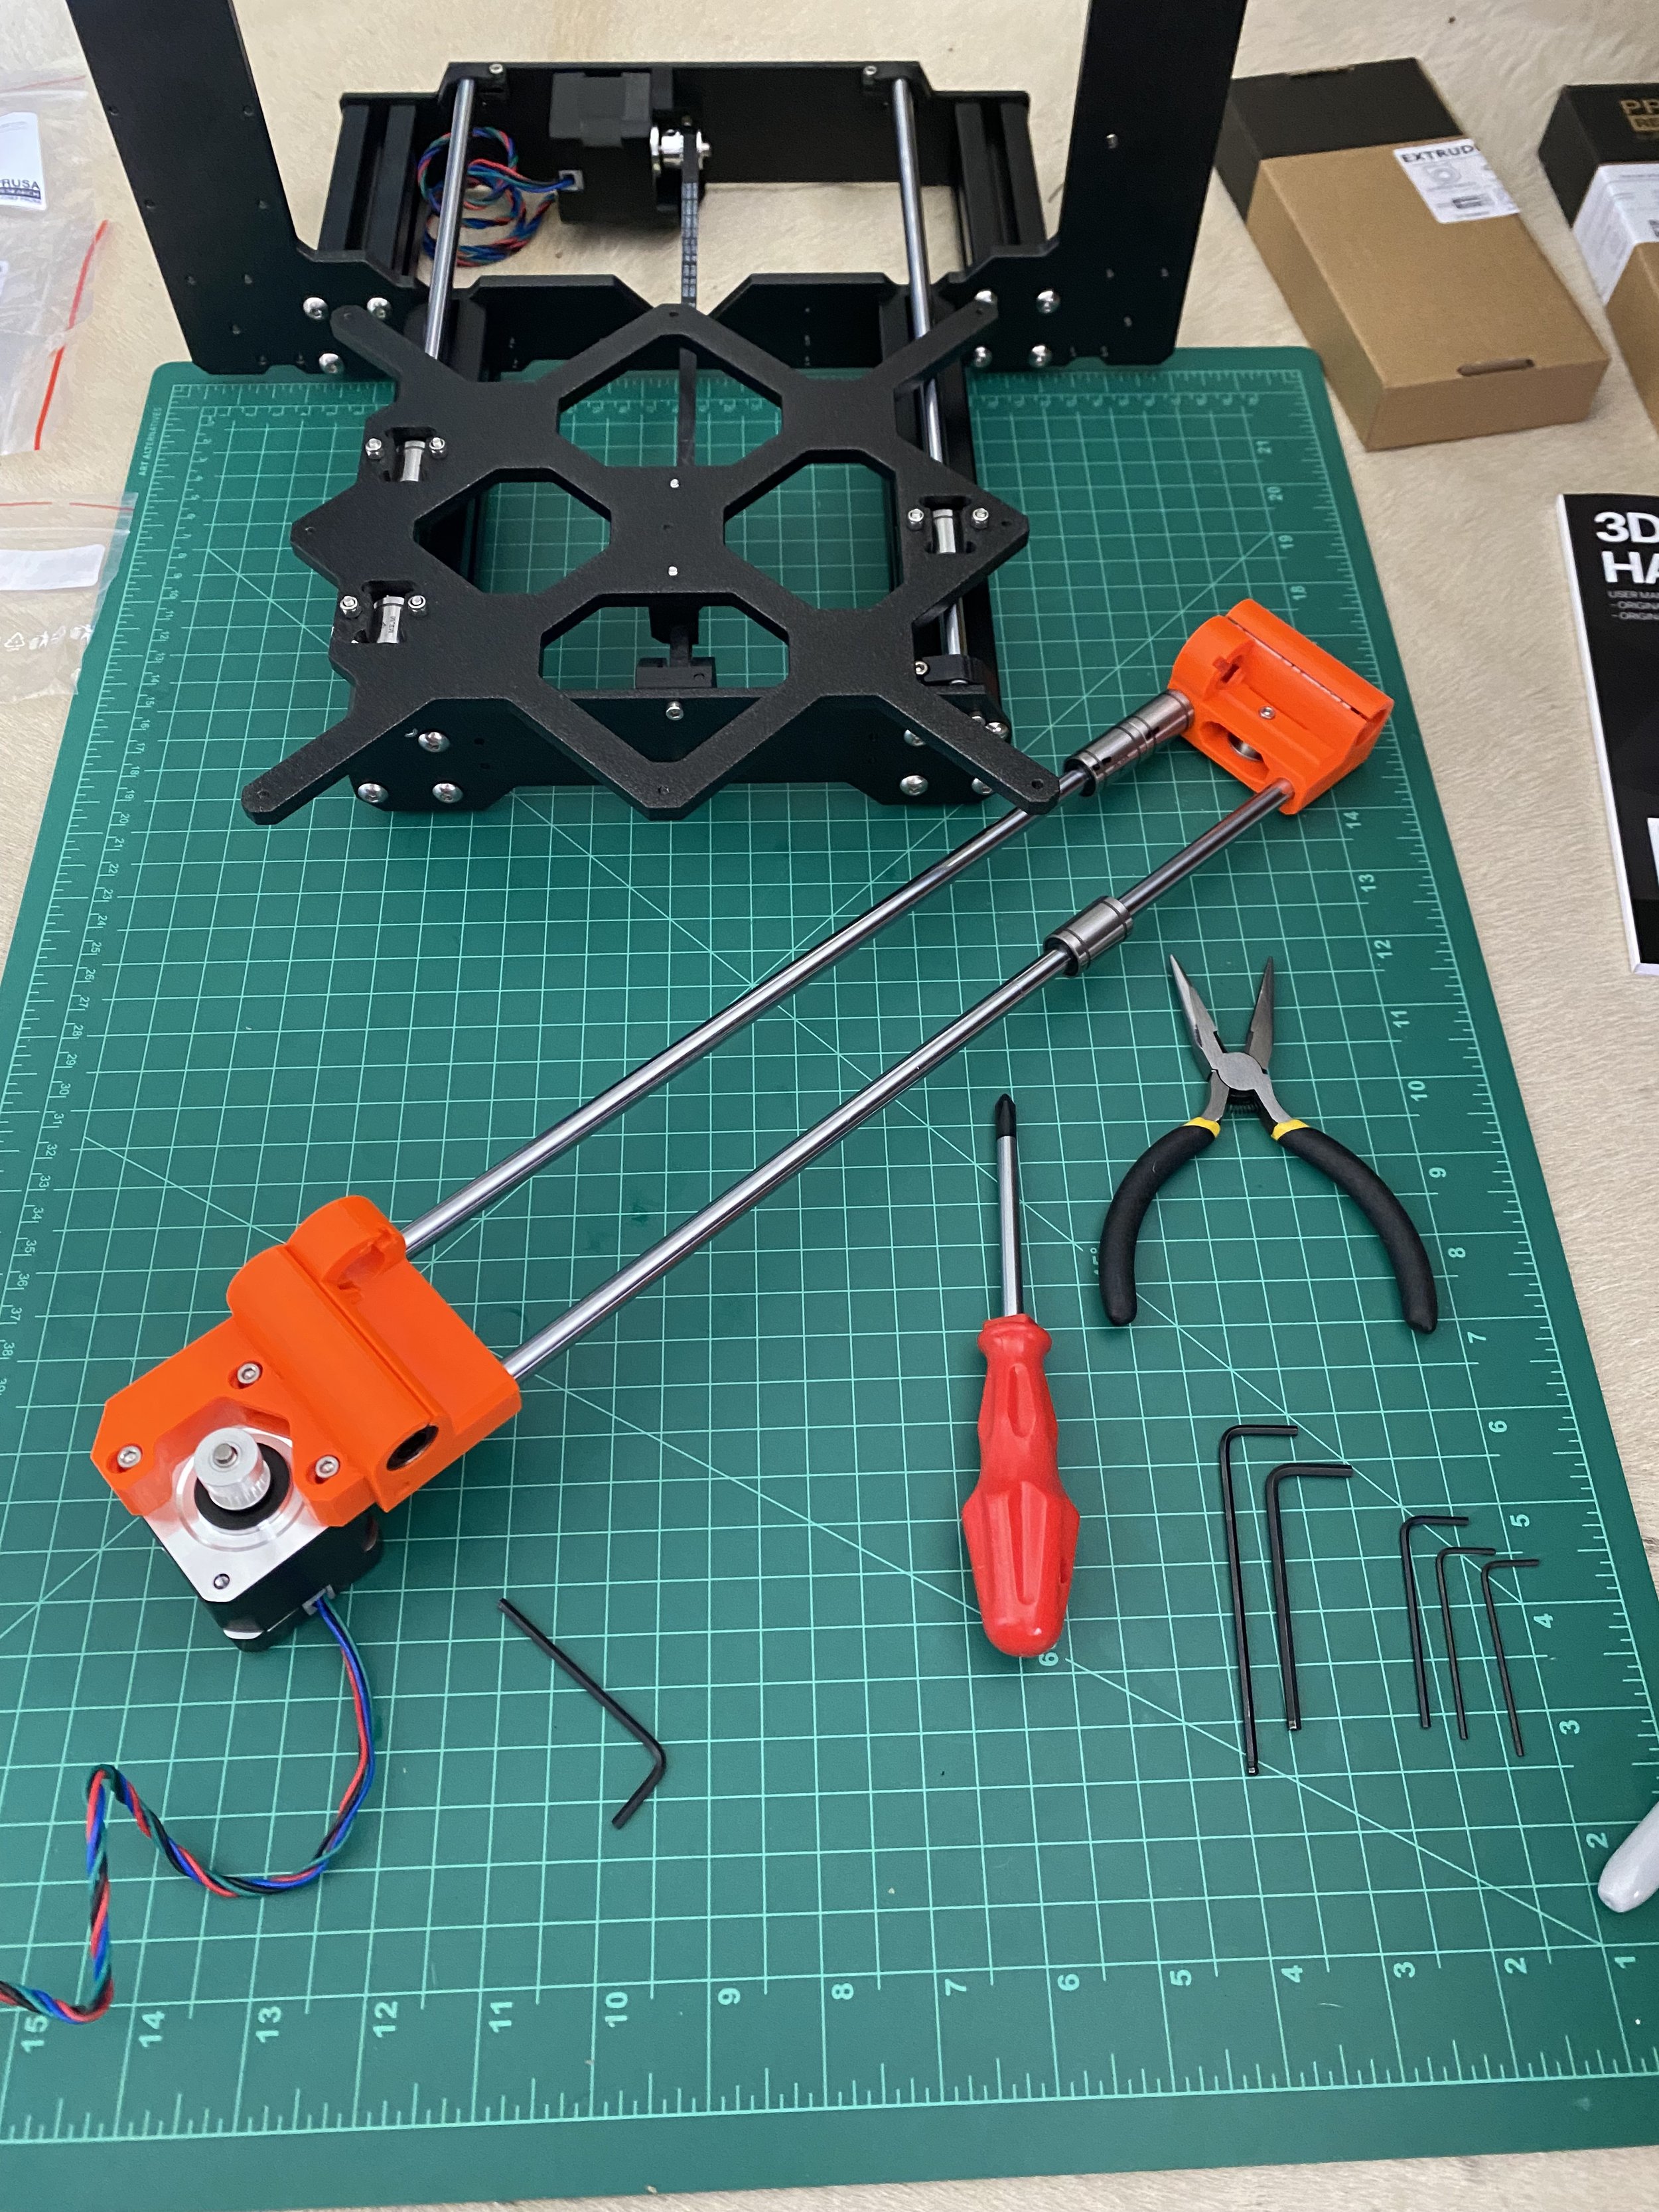
 

It was very satisfying to see the 3D printer assembled. After all this work, will it work?


It didn’t work after it was assembled. I wasn’t sure what was going on, but Prusa tech support was very helpful.
They asked to see the video of the printer in action, as well as some photos of the wiring to the PC board.


It turned out the Z axis wiring harness was in the wrong plug. After the wiring was corrected, the Z axis movement worked more smoothly.
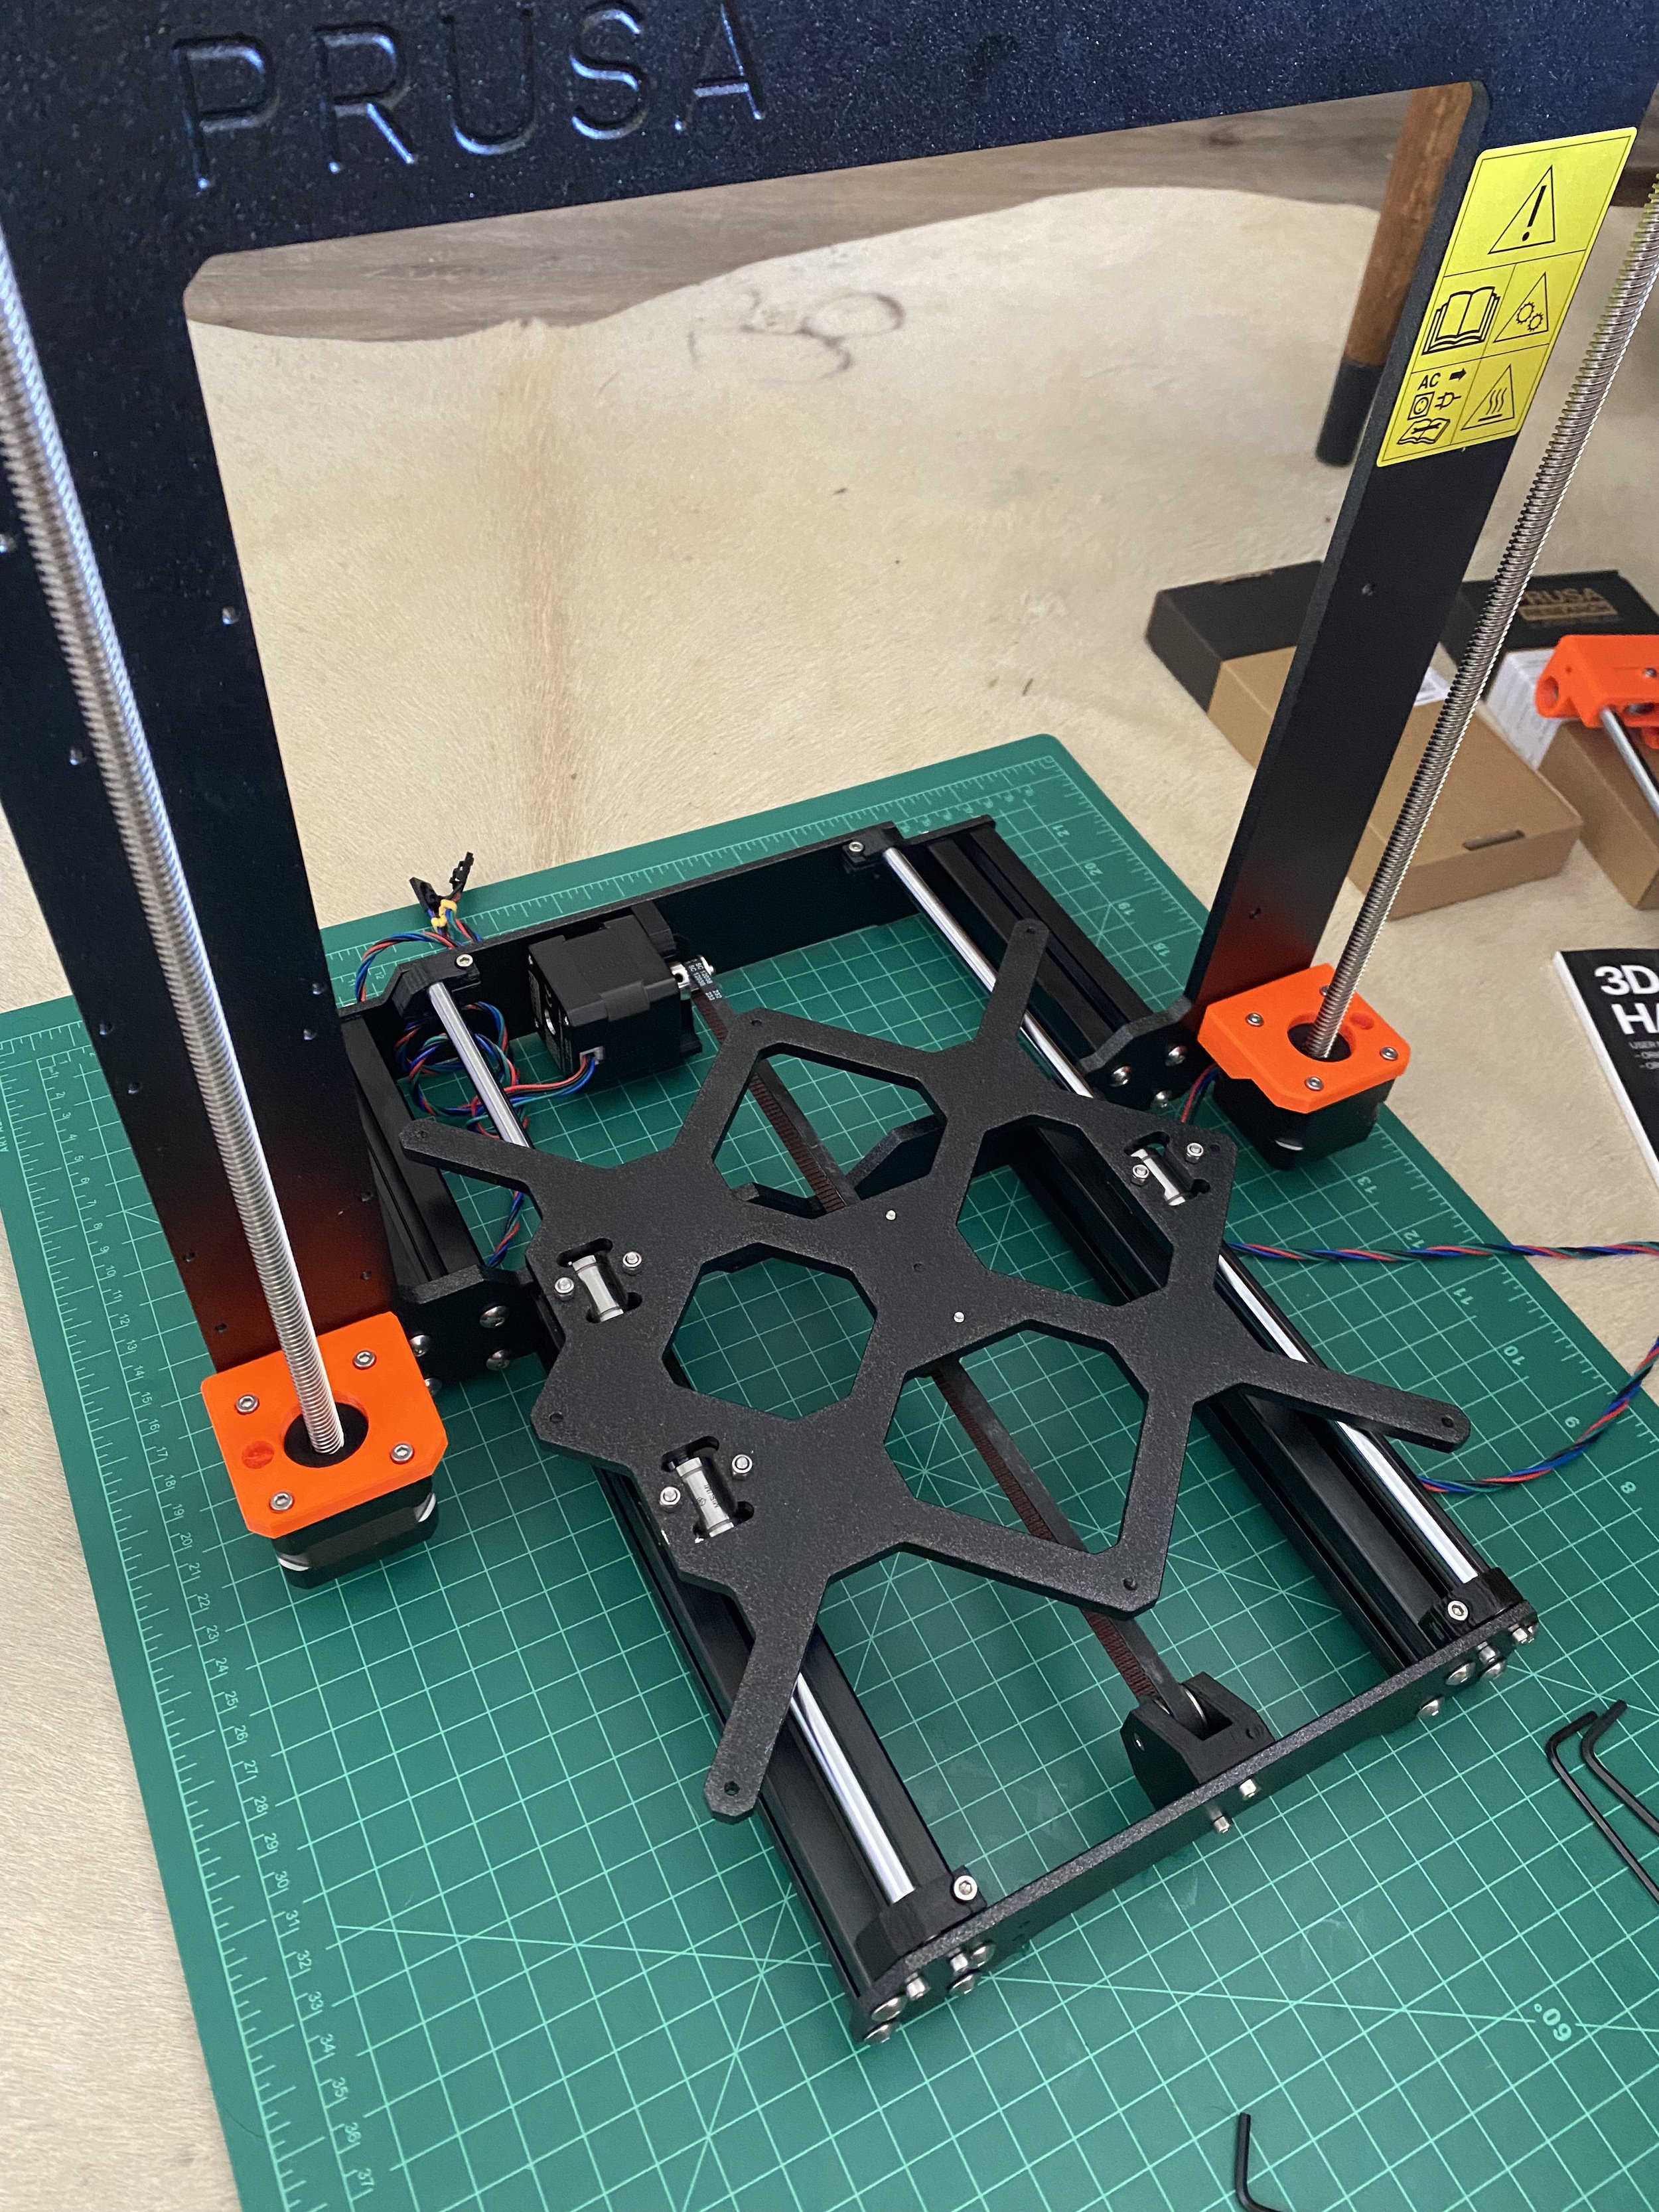
 

After going through some alignment checks, I finally got the printer to work.
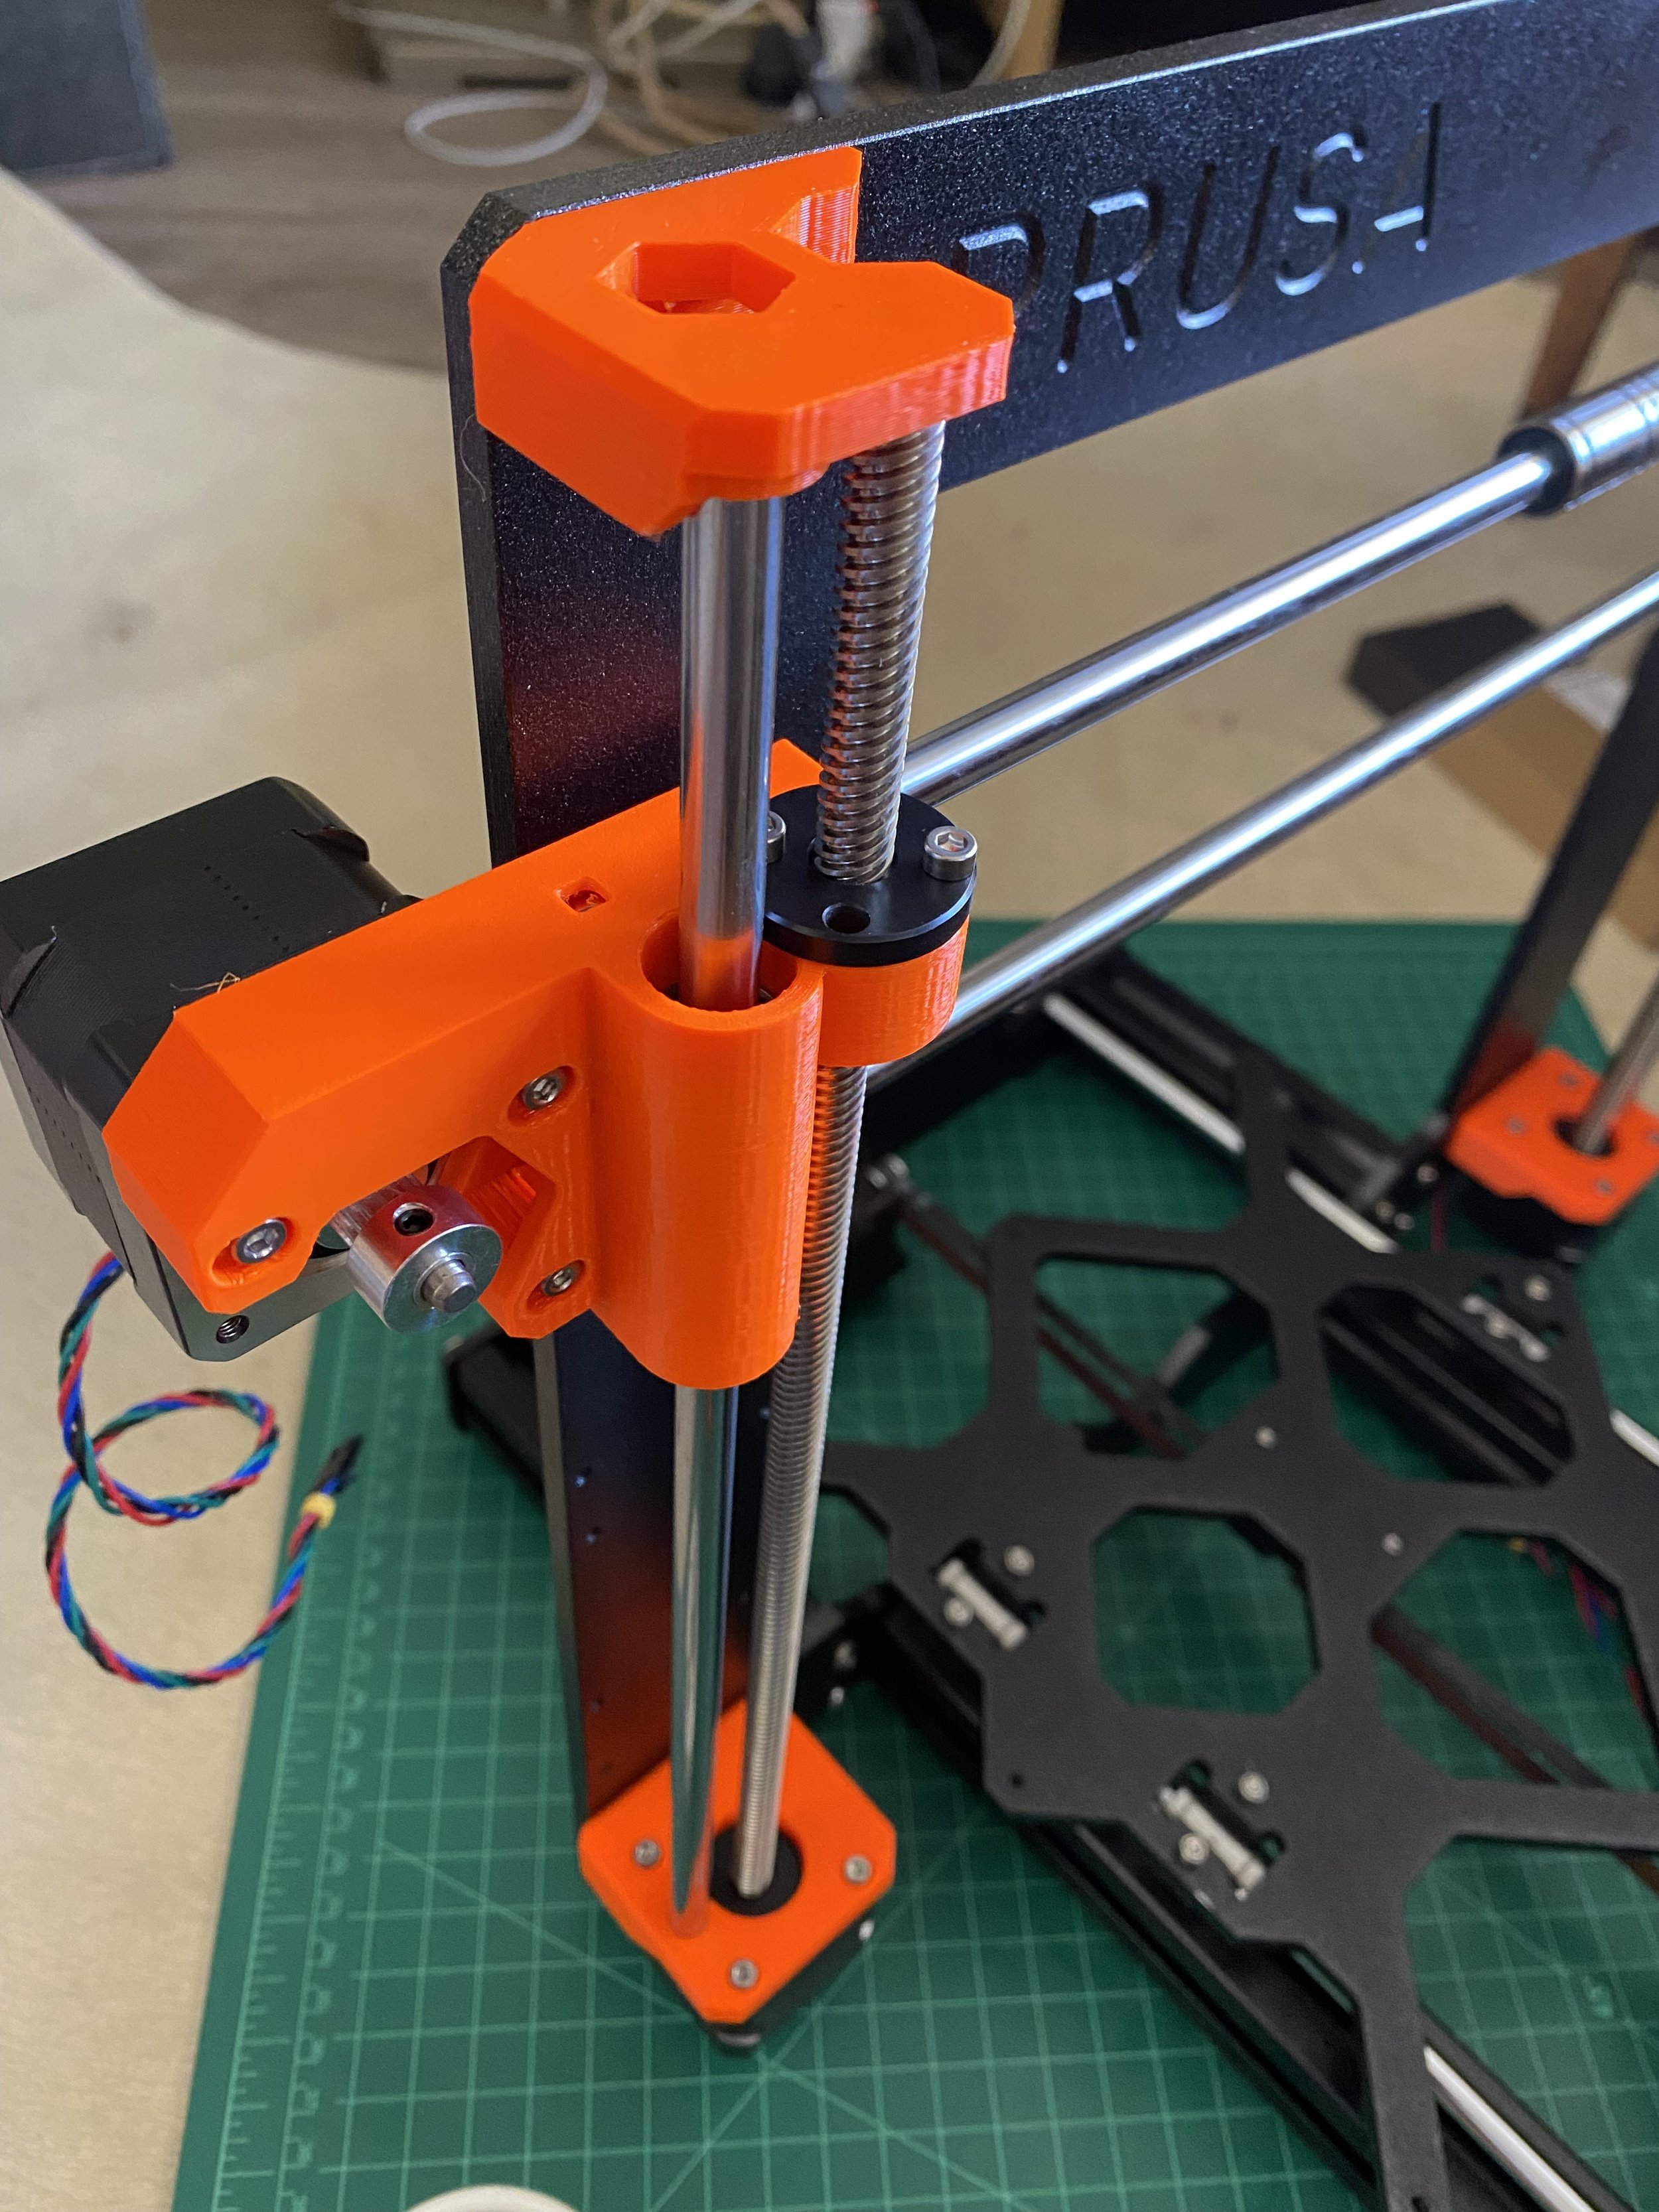
 

The first print was misaligned. After some belt tweaking, I did get it to work. Even after this print, I have ran into issues, but learned to overcome them.
3D printing is definitely a learning experience through a lot of trial and error. It’s still very satisfying to see something on the screen turn into reality.


Continued progress on my Cartier watch design


There has been some free time with the job search. I've been utilizing that time to better my CAD skills. Some time ago, I sketched a Cartier watch for Sketchwars. I've been practicing Solidworks by modeling this design. I would say that its progressing pretty well. The watch face and movement should be an interesting challenge!

My Cartier watch design in Solidworks

 
Cartier render.11.jpg
Watch3 6.24.19.png
Watch2  6.24.19.png
Cartier ideation.jpg
Cartier watch.jpg

Lately I've been interviewing for a new position and have been learning a lot about where I stand as a designer and where I want to go. One area where I would like to improve is with my CAD skills. CAD is a very powerful tool for designers, especially when you are trying to make an idea work for manufacturing. Seeing an idea go into production is an area where I would like to have more involvement.

With this exercise, I chose to model a Cartier sketch from a prior Sketchwars entry. At Dell, I was using Creo. Most companies use Solidworks, so I thought this would be a good way to become more familiar with that program. A lot of techniques are applicable, but the interface is different from Creo.

Personally, I really love watches. I consider watches to be a form of jewelry, another way to express your style. I'm a big fan of Nixon, Bell and Ross, Cartier and other fine watches. This has been a really great exercise, and I'm looking forward to honing down the details.